The Year of Living Audaciously

Former food blog, now travel blog - following my year as a Fulbright ETA in Indonesia

  • Home
  • About Me
    • Travels and Life Updates
    • Privacy Policy
  • Fellow Fulbrighters
  • Never Skip Dessert
    • Recipes By Category
    • Recipe Index
    • The Best of the Best
    • The Social Kitchen Project
  • Recommended

Peanut Butter Kiss Cookies

November 28, 2014 by Mackenzie

Peanut Butter Kiss Cookies

Happy day-after Thanksgiving! How was your holiday? Mine was fantastic – I am back in Seattle and am so happy to be with my family and friends. We had a full house – family and friends from Spokane, California, New York, Indonesia… quite the holiday!

Peanut Butter Kiss Cookies

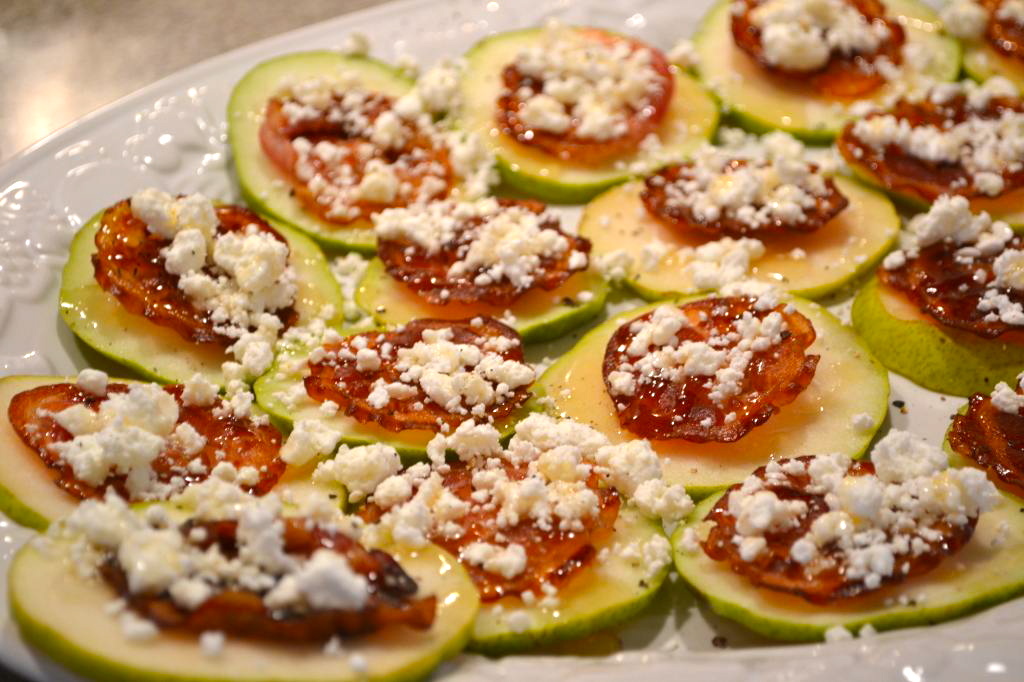
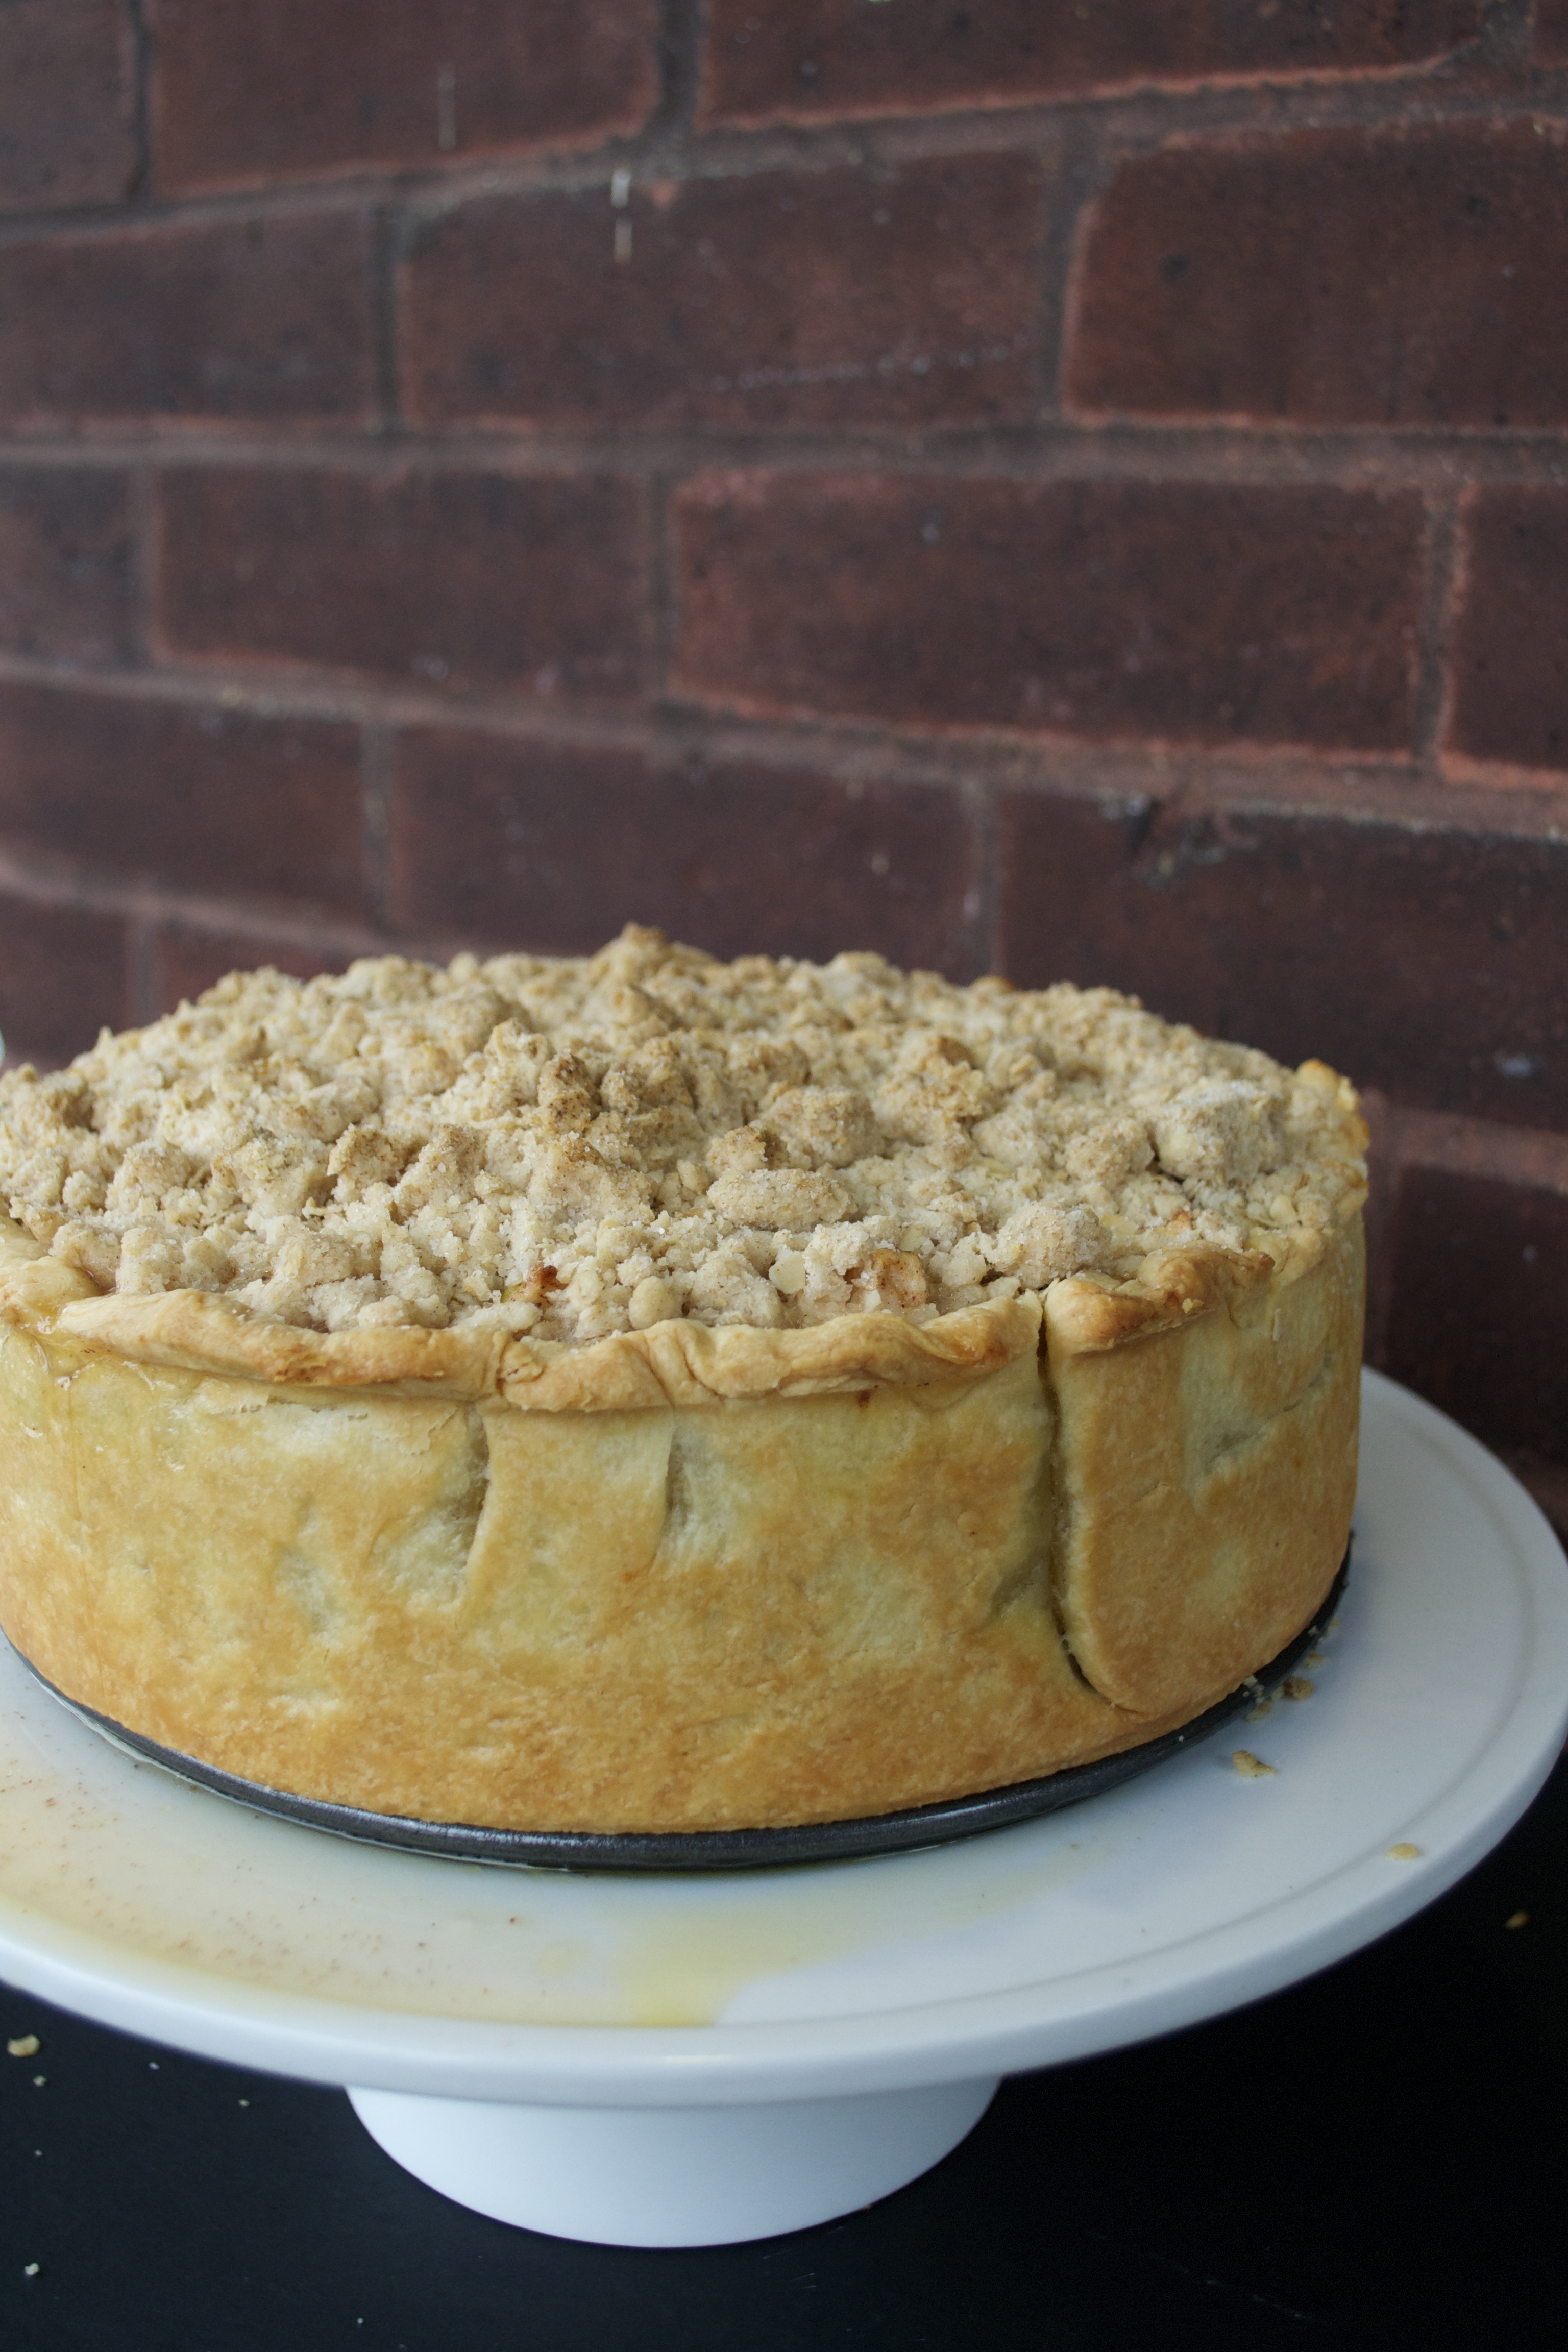
We tried a couple of new recipes this year – the Dutch Apple Pie from Dieter’s Downfall was my personal favorite! And Smitten Kitchen’s Pumpkin Pie with Pecan Praline Sauce was to die for! Then we did all of our standards – my stepdad’s stuffing, my aunt’s mashed potatoes, these lightened up sweet potatoes… One of my favorite appetizers is my Rosemary Roasted Cashews – we only make them for the holidays because they are so addicting!

Peanut Butter Kiss Cookies

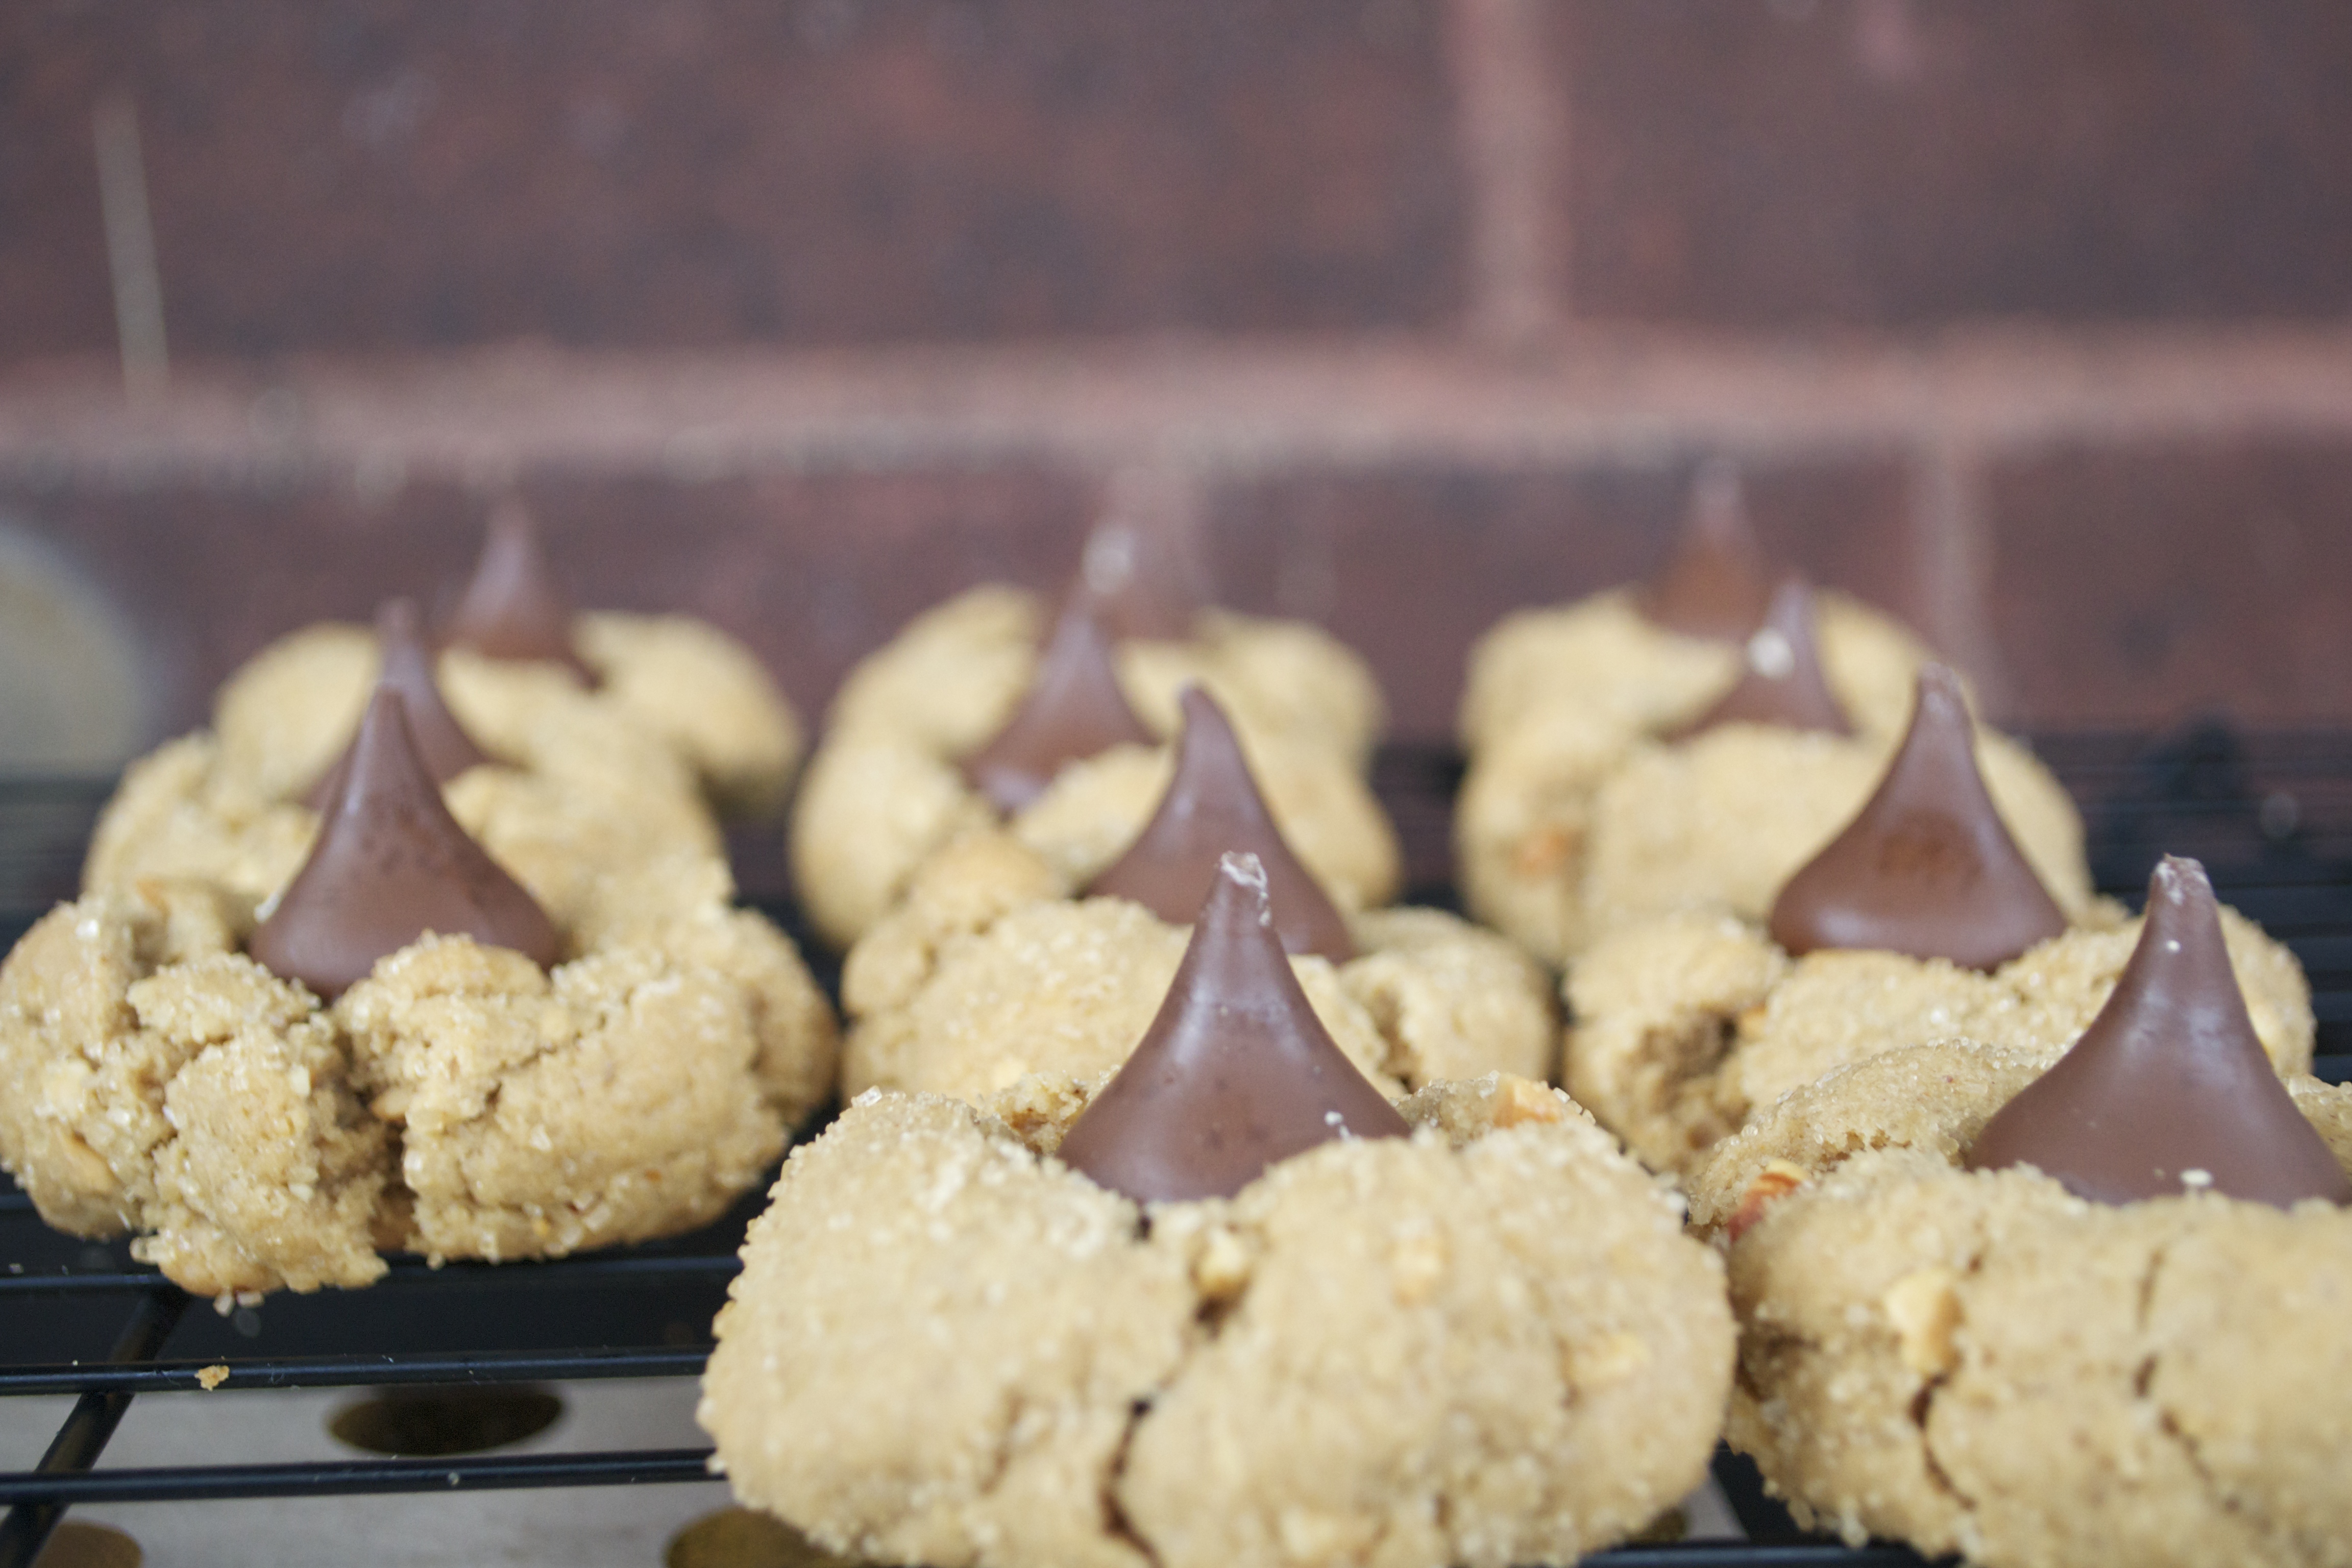
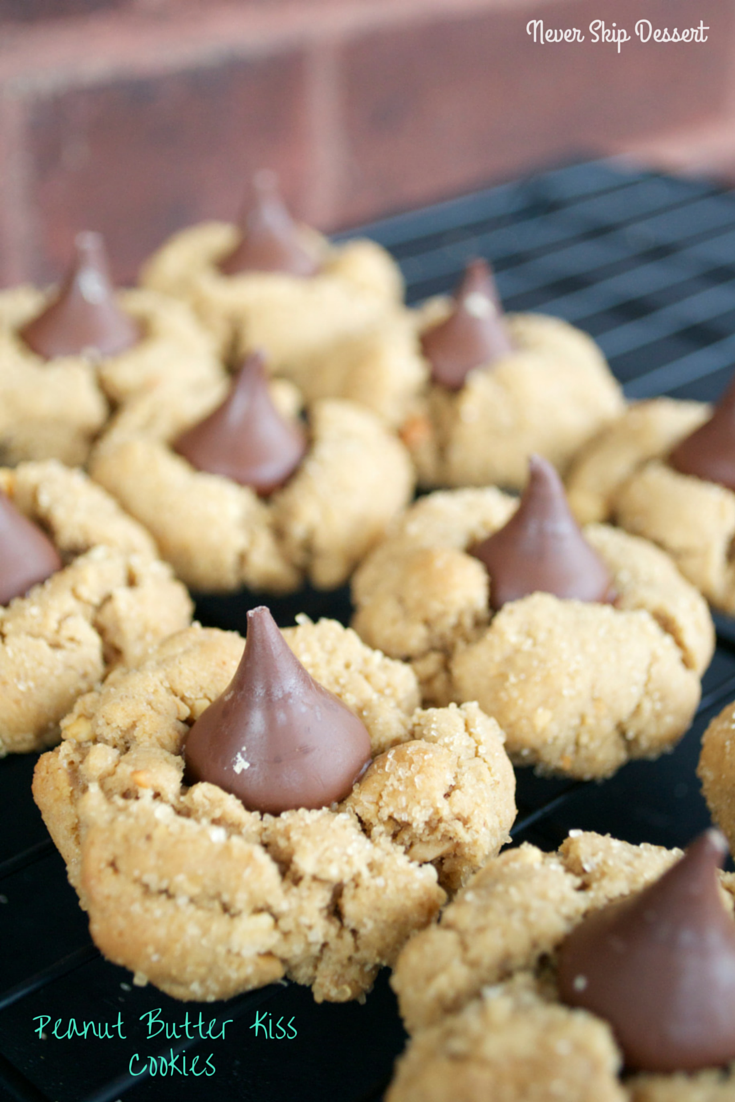
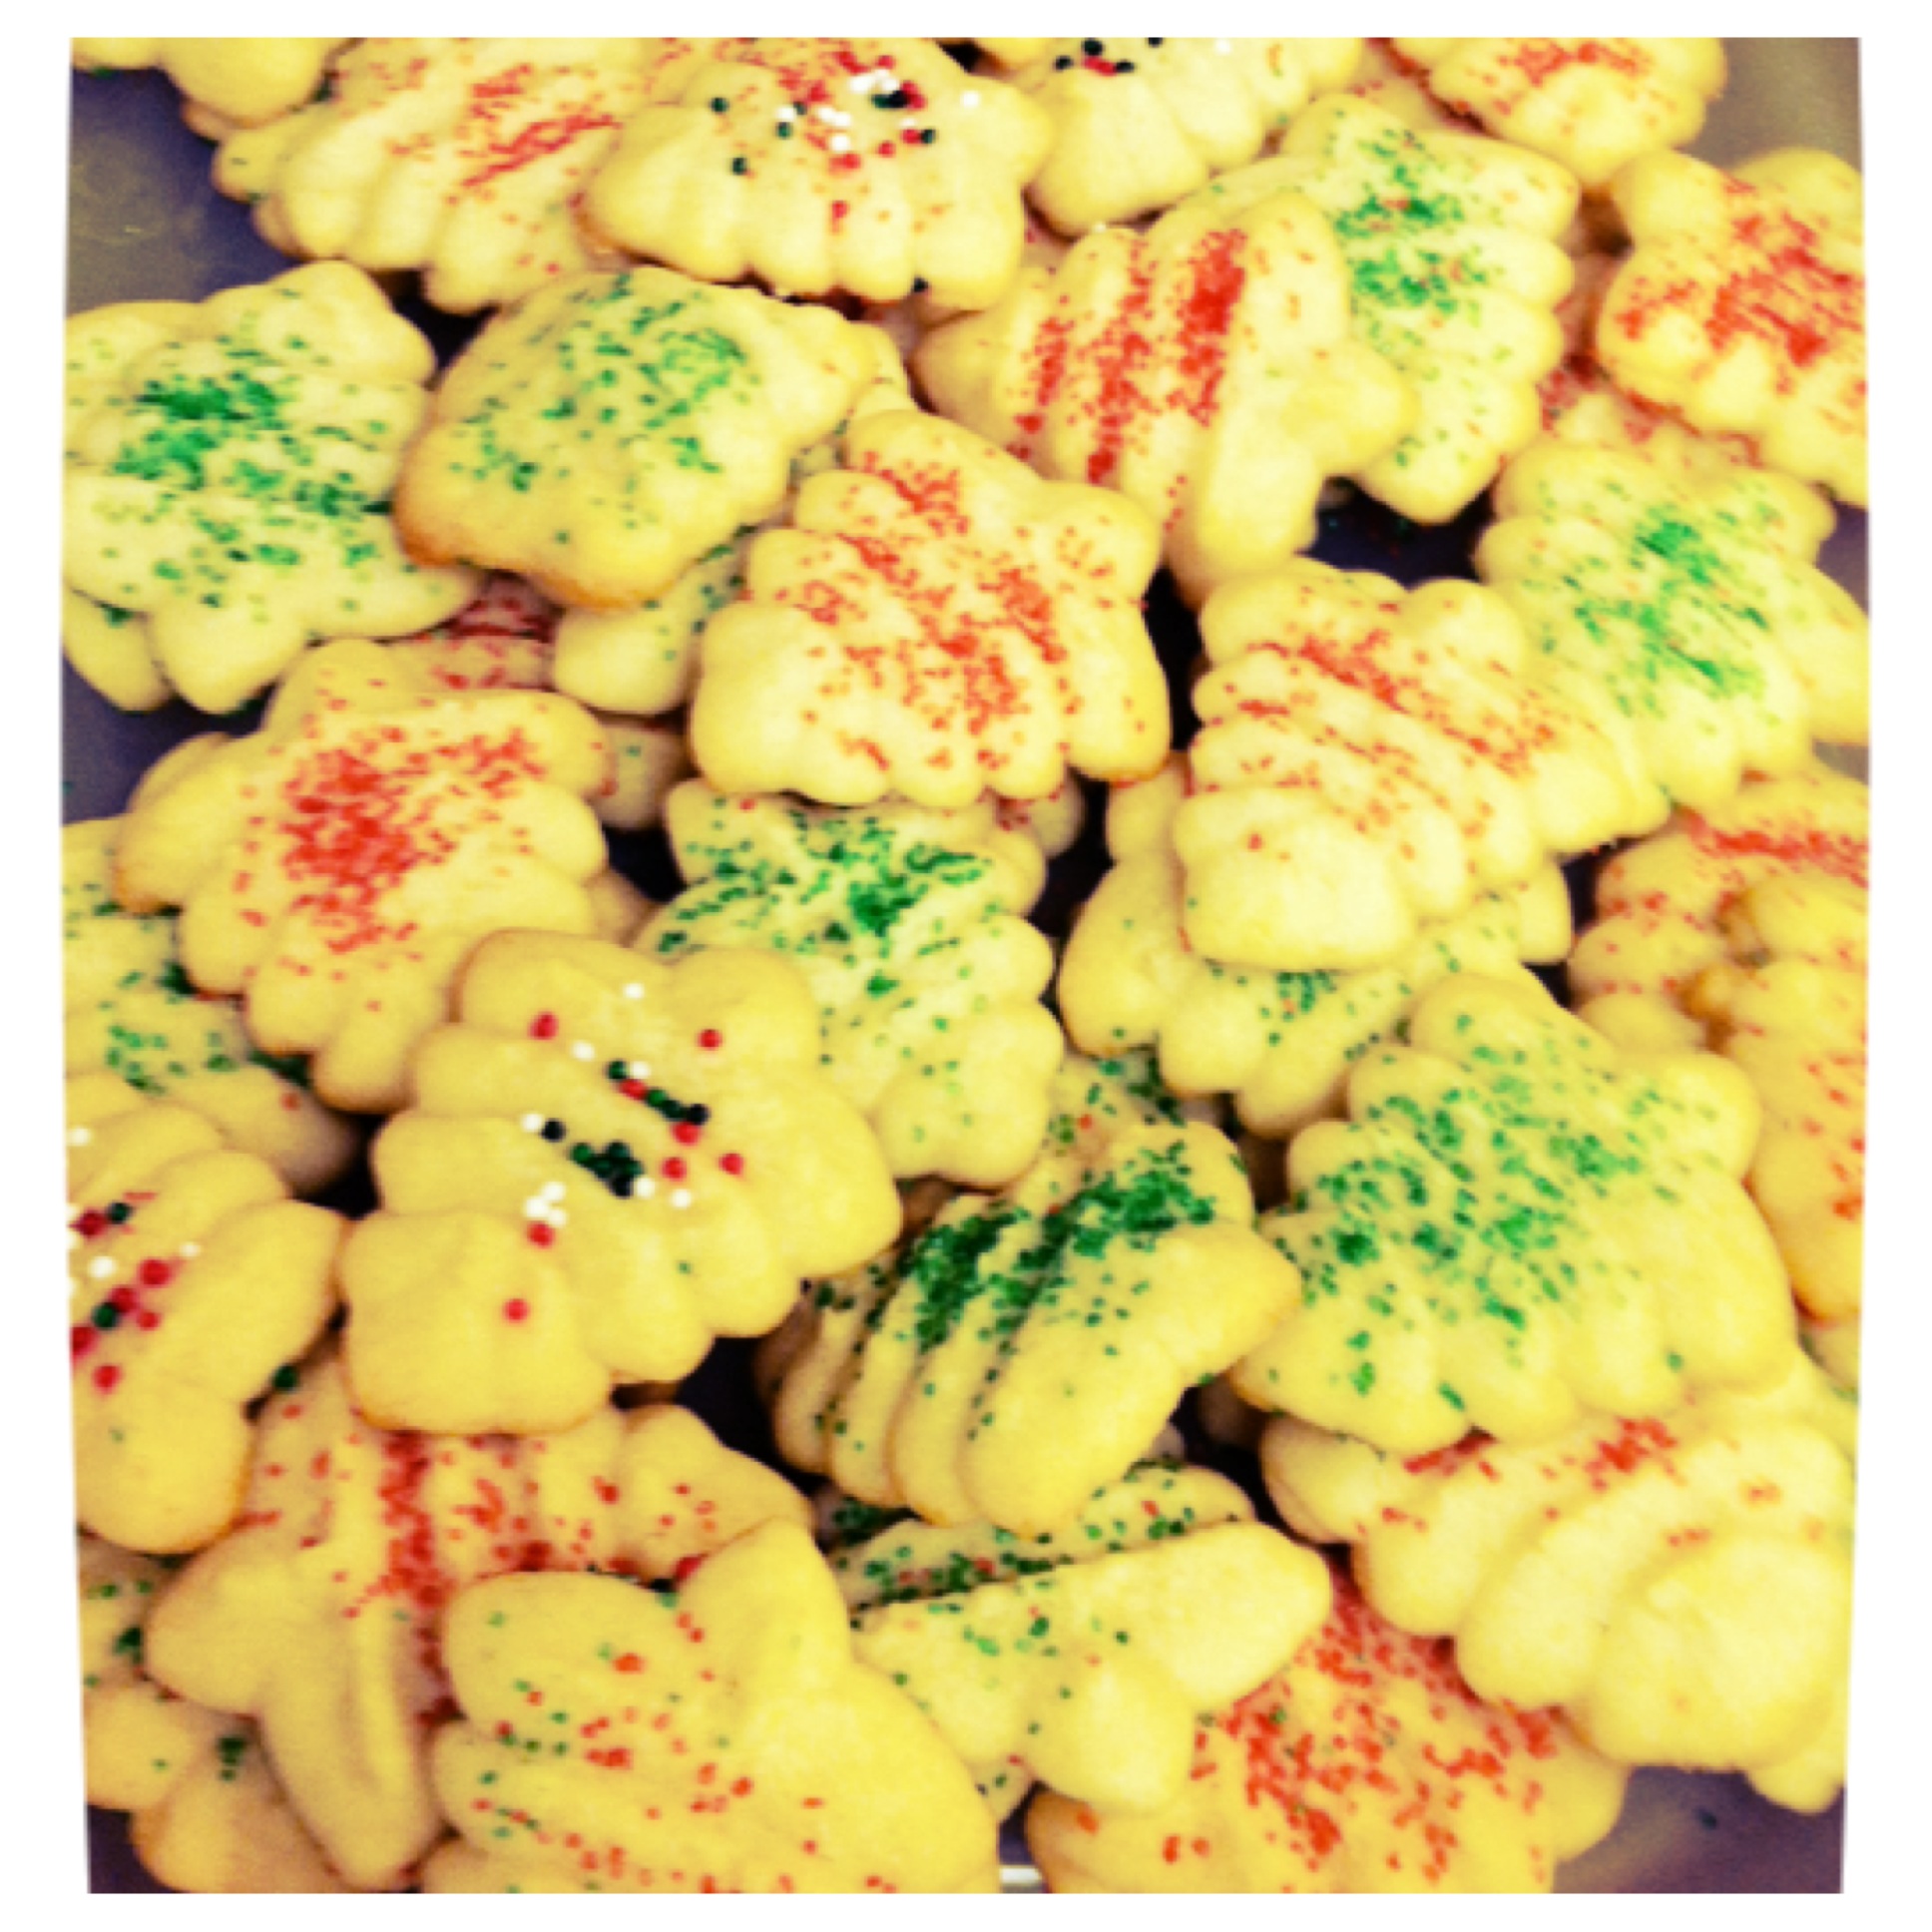
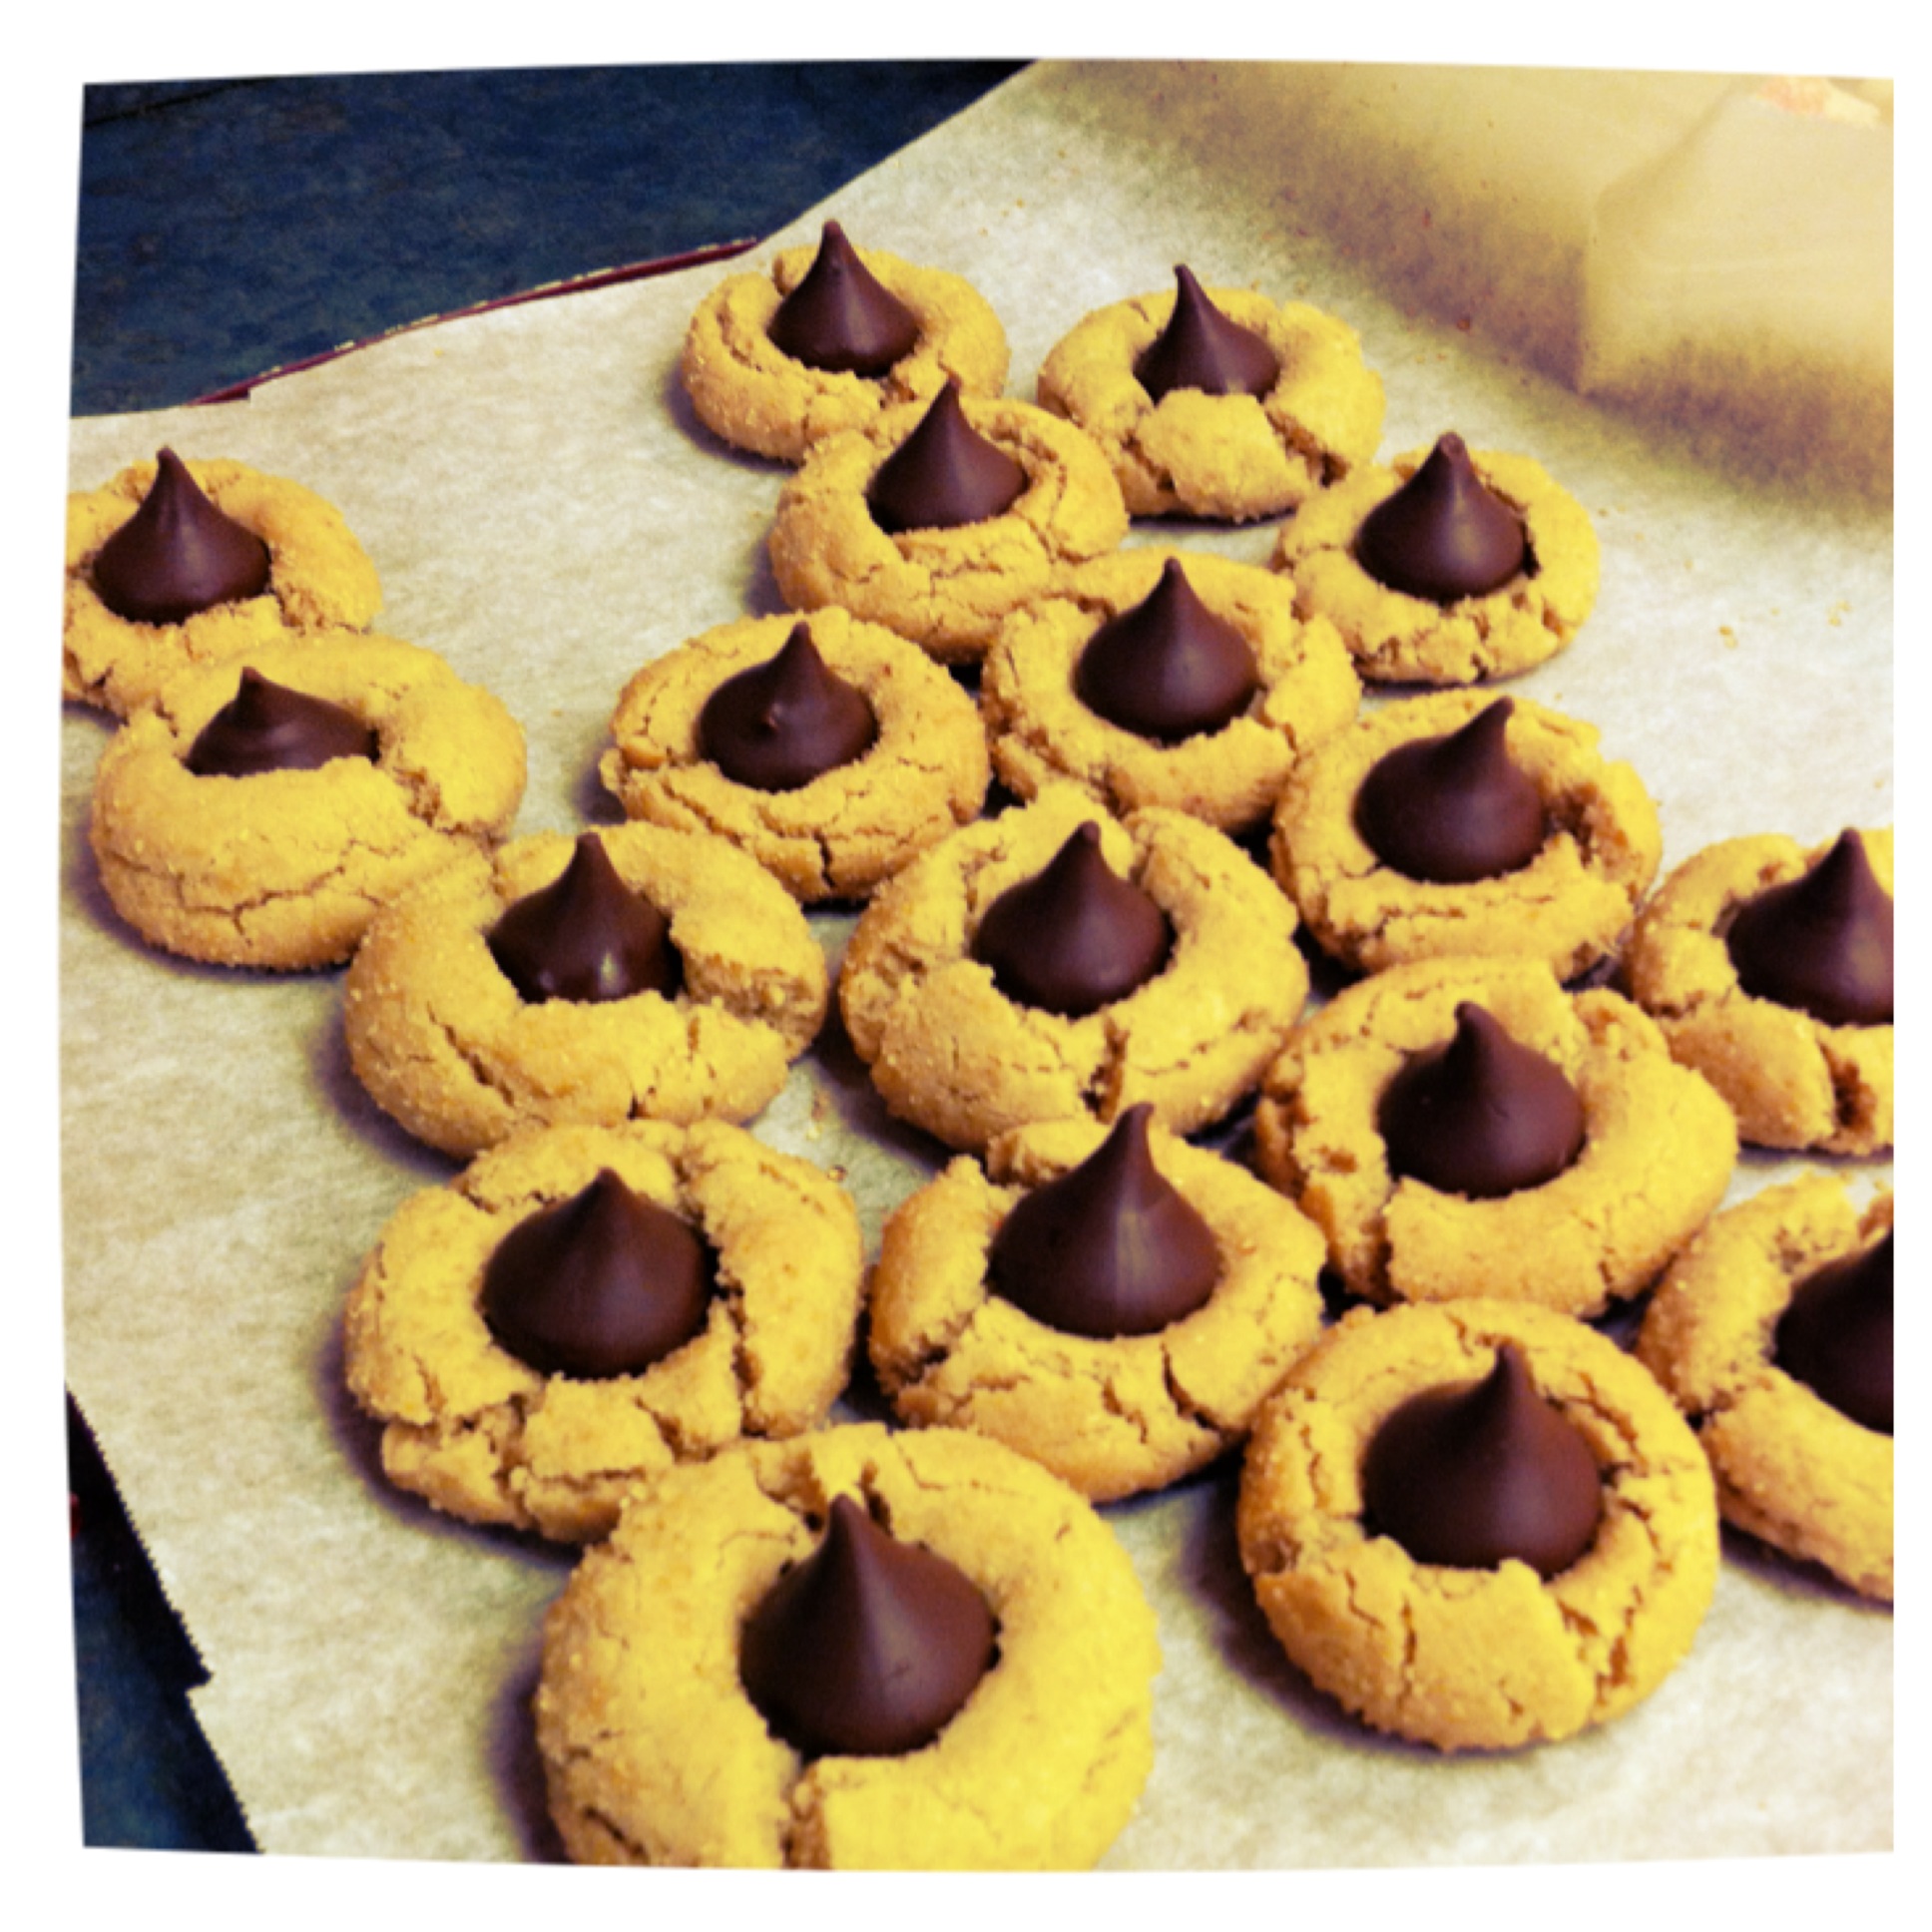
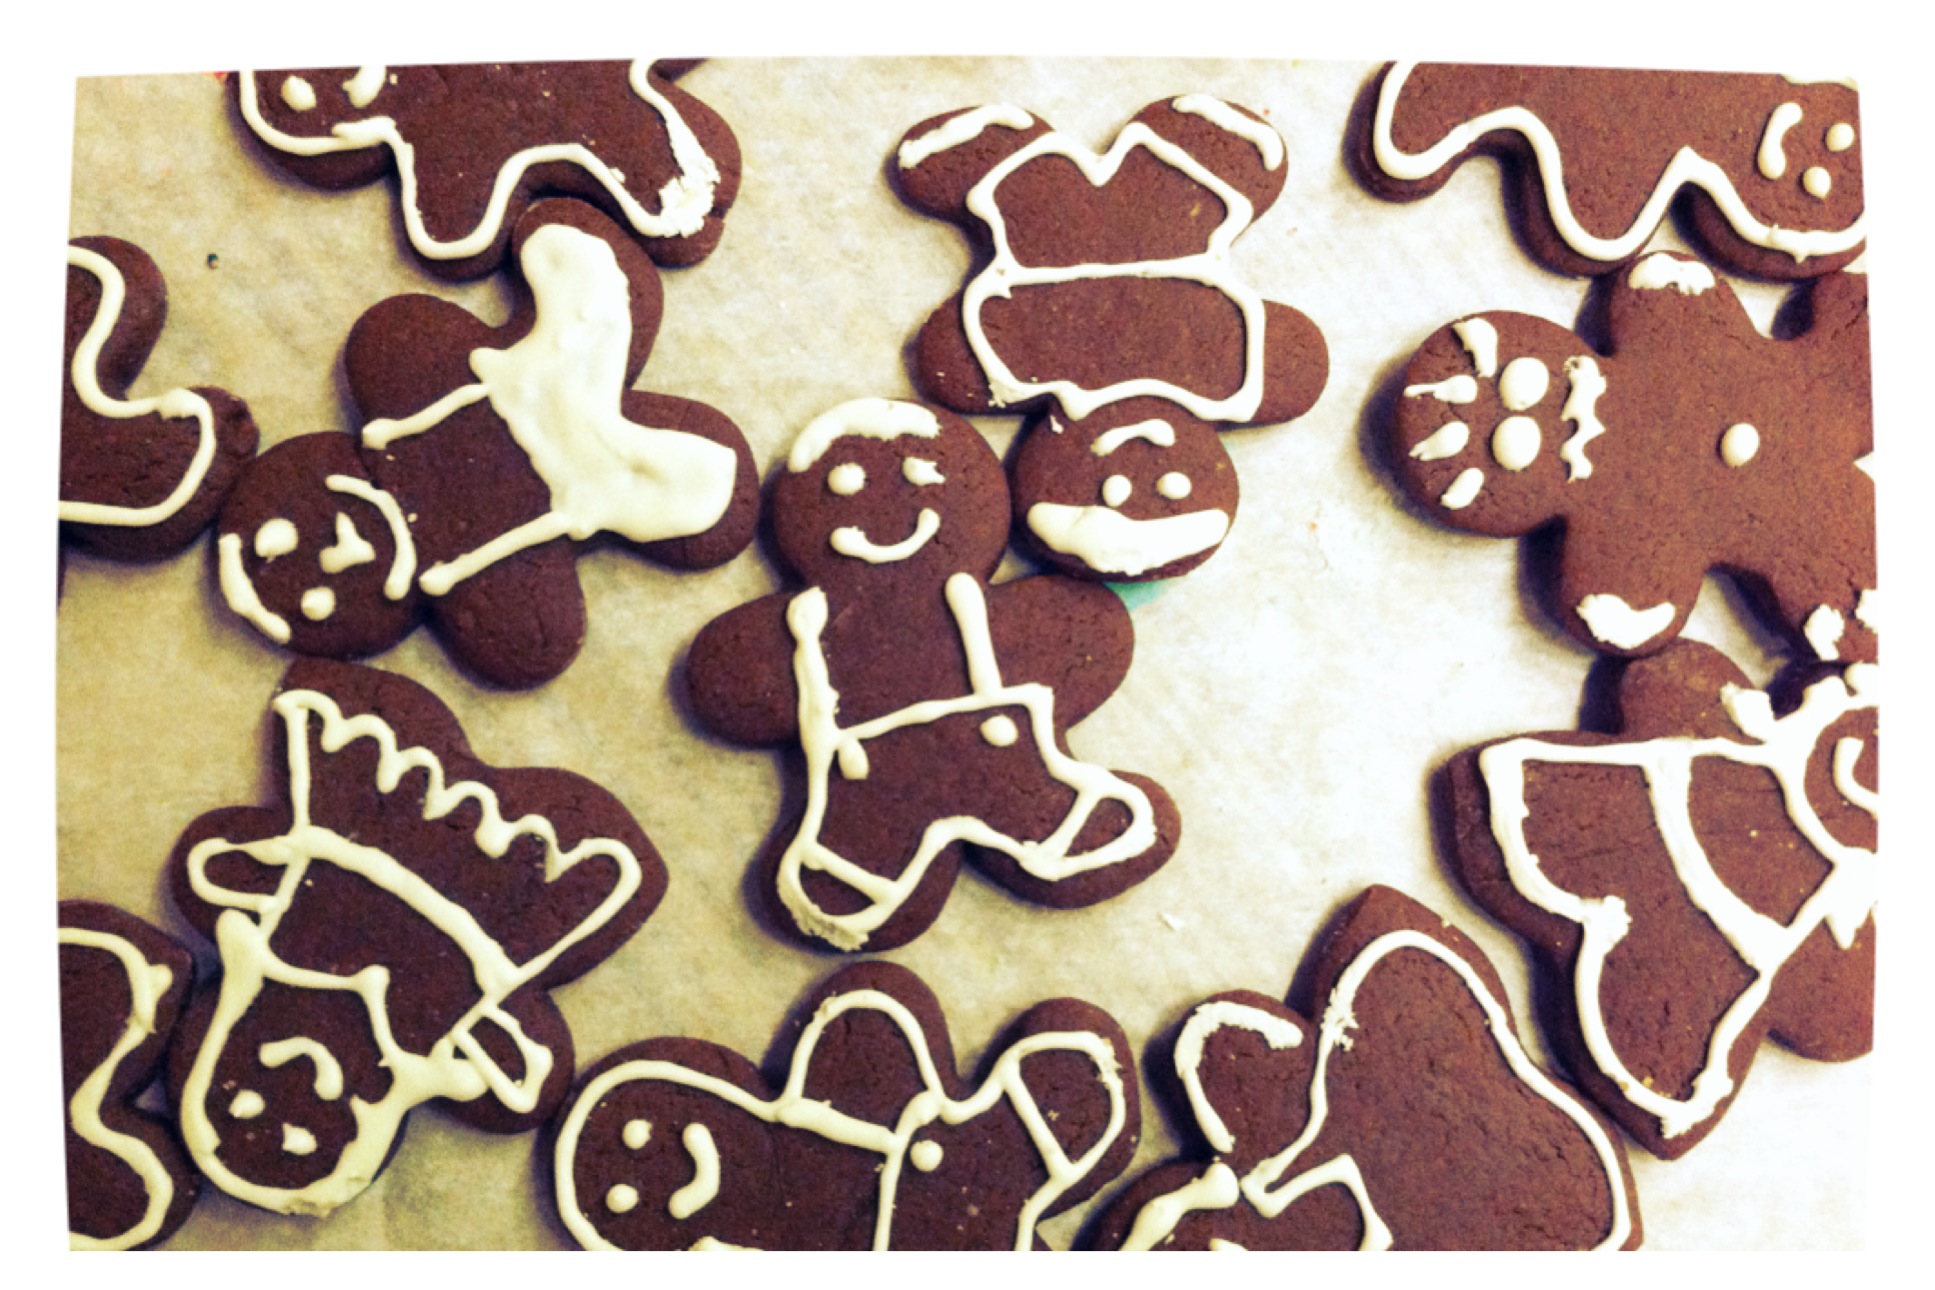
Are you ready to switch gears to Christmas? Already there? Well, today I’m diving into Christmas cookies! These Peanut Butter Kiss Cookies are probably my favorite Christmas cookies of all time! I’ve been making them with my aunt since I was little and always know it is the holidays when we make these cookies!

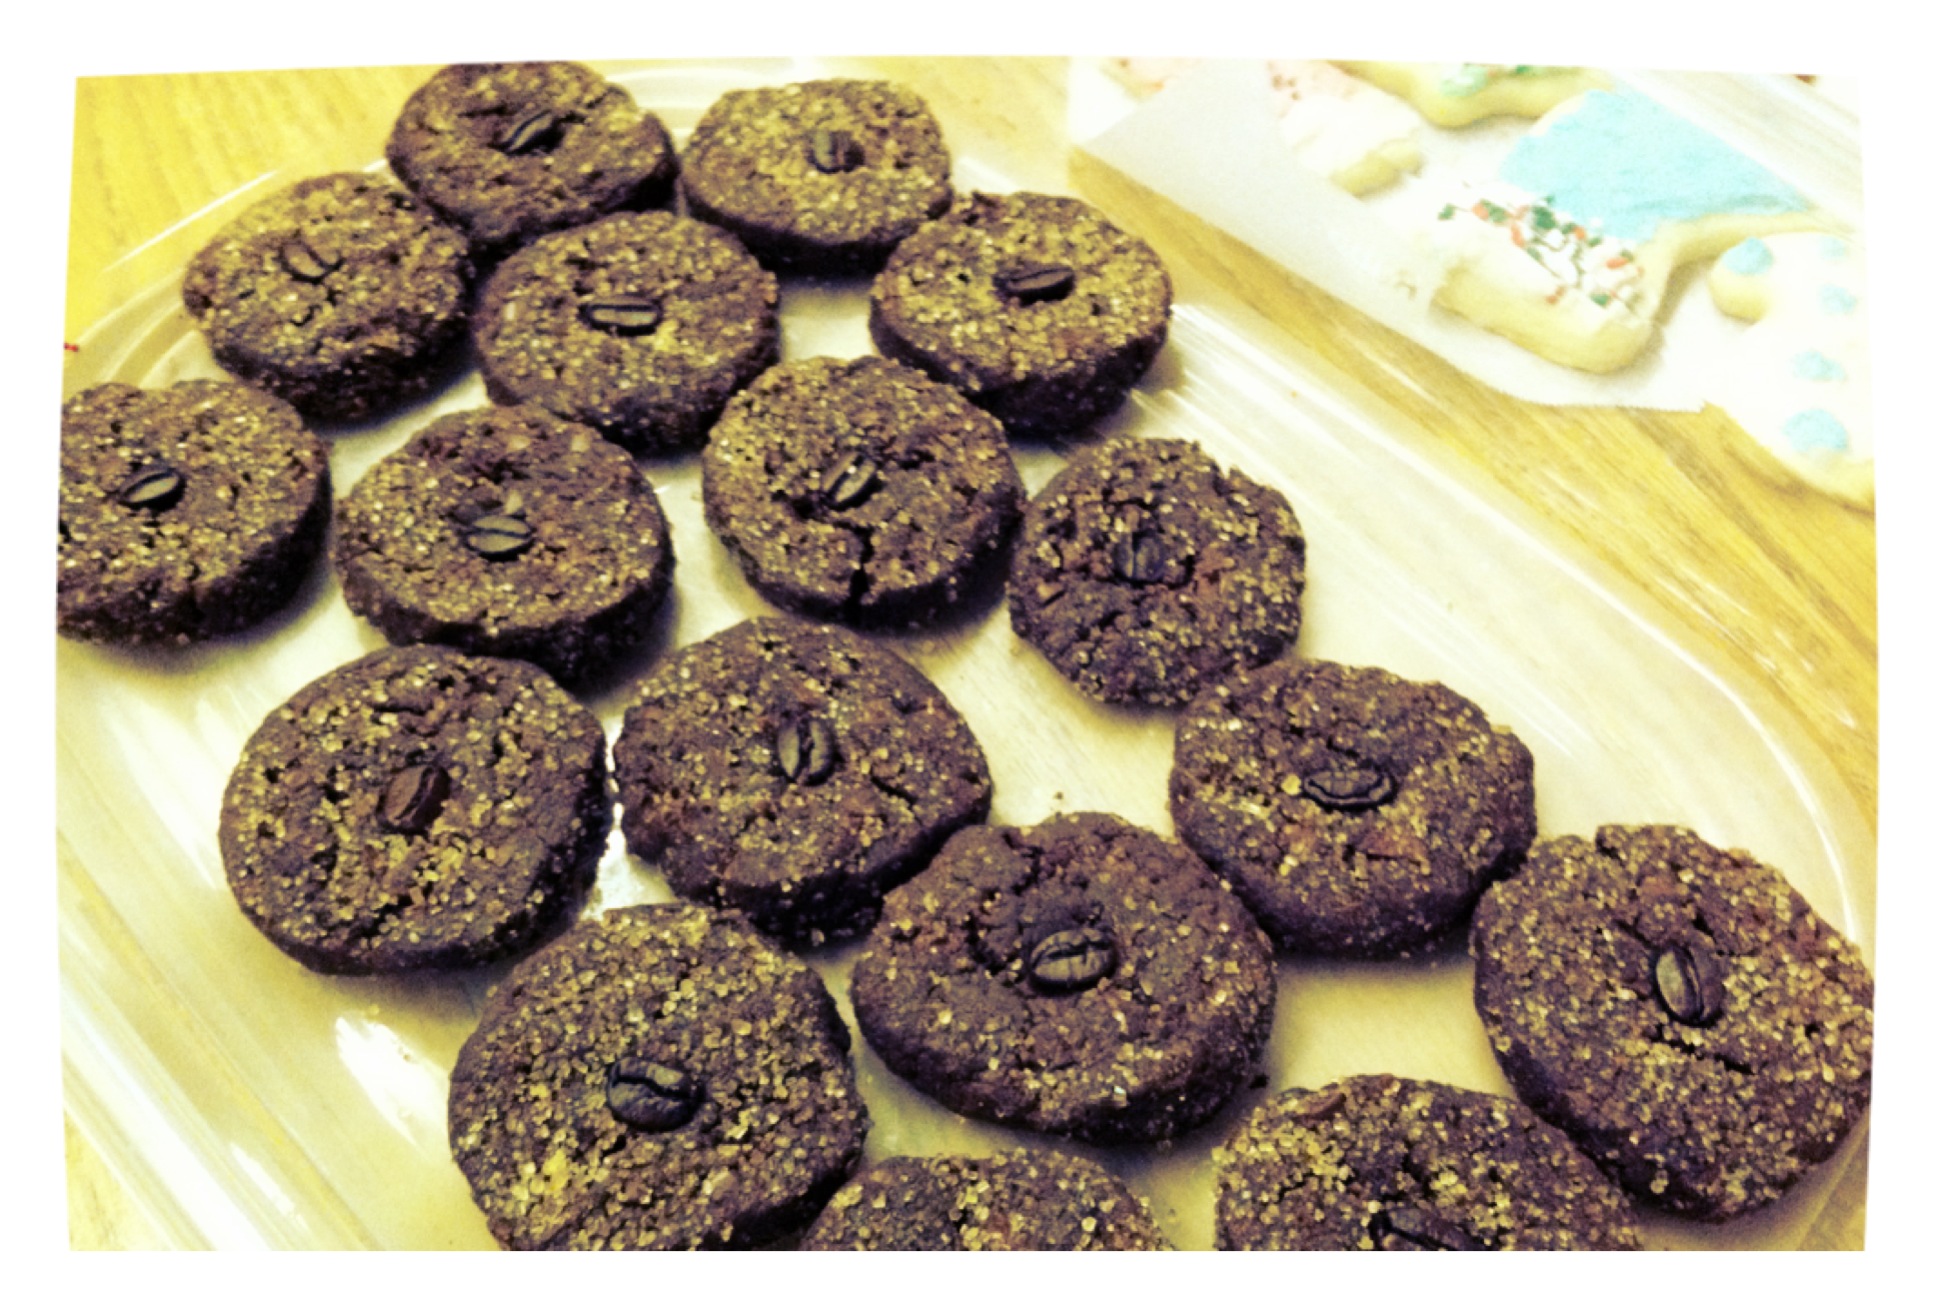
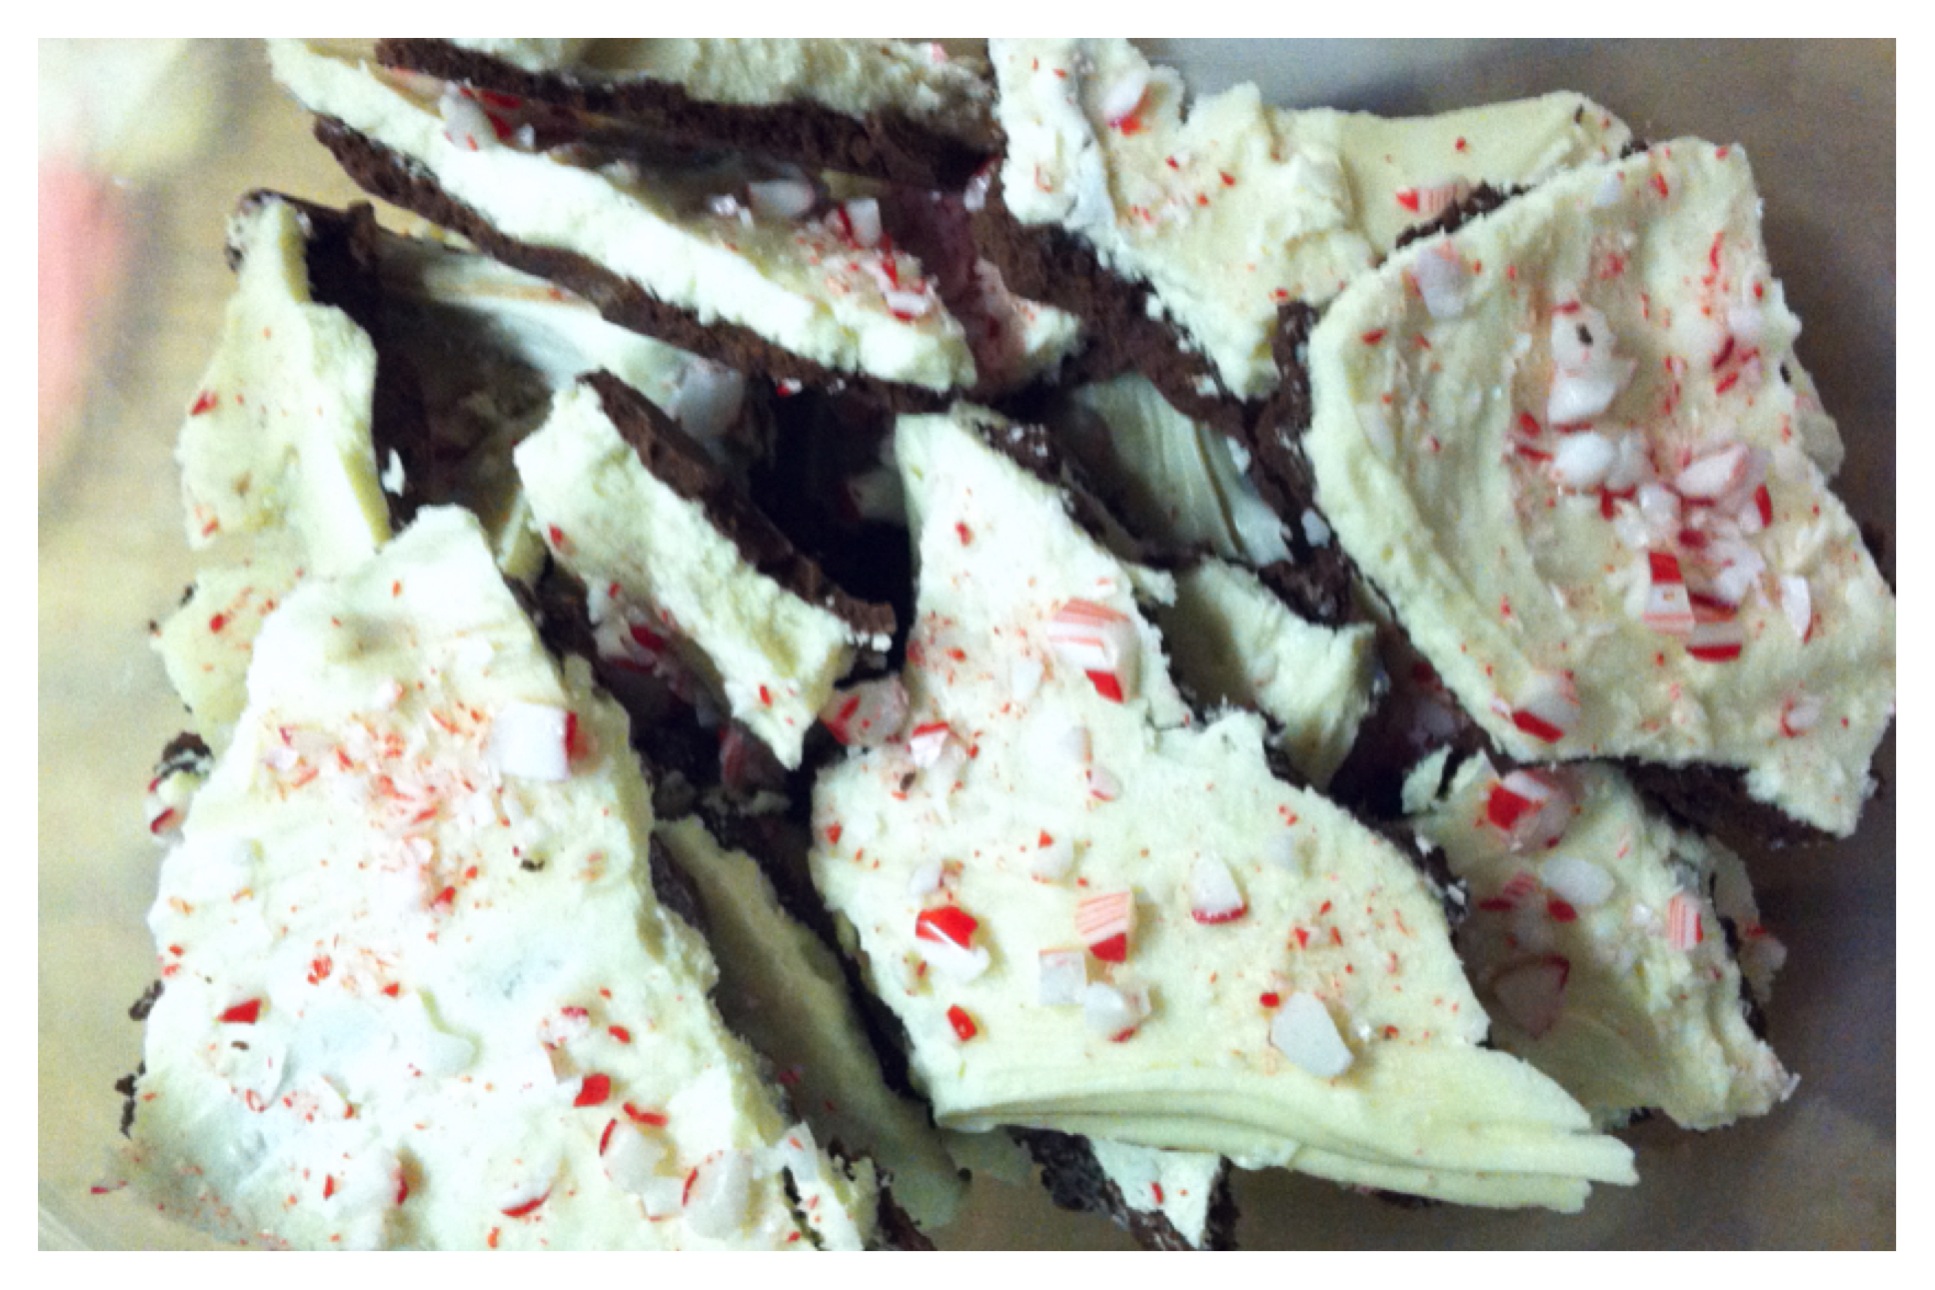
I’m participating in a Christmas cookies roundup with some fellow bloggers! Check out their posts after the recipe for some more holiday favorites!

Peanut Butter Kiss Cookies
Recipe Type: Cookies
Cuisine: Christmas cookies, dessert
Author: Mackenzie
Serves: 36 cookies
Ingredients
  • 1/2 cup unsalted butter, room temperature
  • 3/4 cup peanut butter
  • 1/3 cup white sugar
  • 1/3 cup light brown sugar
  • 1 large egg
  • 1 teaspoon vanilla
  • 2 tablespoons milk
  • 1 1/2 cups all-purpose flour
  • 1 teaspoon baking soda
  • 1/4 teaspoon salt
  • 1/3 cup turbinado sugar (or regular)
  • 36 chocolate kisses, unwrapped
Instructions
  1. In the bowl of a stand mixer (or in a large bowl with a hand mixer), beat the butter until creamy and smooth. Add the peanut butter, sugar, and brown sugar and beat until light and fluffy. Add the egg and vanilla and beat to combine. Beat in the milk. In a separate bowl, whisk together the flour, baking soda, and salt. Add to the peanut butter mixture and beat until incorporated. Cover and chill the batter for about an hour, or until firm enough to handle.
  2. Preheat the oven to 375 degrees. Line two baking sheets with parchment paper or silicone mats. Pour the turbinado sugar into a small bowl.
  3. Roll the batter into 1-inch round balls and roll each ball in the sugar until thoroughly coated in sugar. Place on the prepared baking sheet, spacing about 2 inches apart.
  4. Bake the cookies for 8-10 minutes, or until the cookies are lightly browned. Immediately upon removing the cookies from the oven, place an unwrapped Chocolate Kiss into the center of each cookie – pressing down gently until the cookie just starts to crack. Allow to cool completely on a wire wrack.
3.2.2885

An InLinkz Link-up


Filed Under: Christmas, Cookies, Desserts, Easy, Seasonal, Winter Tagged With: chocolate kiss, Christmas, Cookies, Desserts, holiday, peanut butter

Pear Bites with Pancetta, Goat Cheese and Honey

December 19, 2013 by Mackenzie

It’s finally Christmas break! I’m so happy to be home, to be able to spend time with my family and to craft some new recipes. Check back often because I’ve got a lot of good ones to share!

Today, I’m sharing an appetizer that I made for the first time last Thanksgiving and has been a hit at every family gathering since! It’s very simple to make, yet the flavors meld so uniquely and give each bite a complex, sweet and salty flavor. They would be perfect as an appetizer at a Christmas or New Year’s gathering – I promise you won’t disappoint yourself, or your guests if you make them!

DSC_0328

Pear Bites with Pancetta, Goat Cheese and Honey
Makes 12, but easily multiplied
Recipe from Eat.Drink.Smile.

Ingredients:
12 thin slices pancetta (about 1/3 lb)
1 large Bartlett pear
2 oz goat cheese, crumbled
Freshly cracked pepper
Honey

Directions:
1. Preheat oven to 450 degrees and line a baking sheet with aluminum foil. Carefully peel the pancetta slices apart and arrange on the baking sheet (keep in circular shapes). Bake for 8-10 minutes until golden. Lay a paper towel over a cooling rack and transfer the pancetta to it. Let sit for 10 minutes to cool and get crispy.

2. Core pear with a corer (just so the core comes out not an apple slicer! If you don’t have one, you can find them pretty cheap at a kitchen gadget store like Bed, Bath and Beyond). Cut pear crosswise into 12 thin rings (see photo for thickness). Arrange slices on serving platter then place one slice of crisped pancetta on each pear slice. Top each slice with goat cheese and drizzle with honey. Sprinkle with pepper. Serve right away (they don’t keep well for a second day so you better eat them all!)

DSC_0309

Filed Under: Appetizers Tagged With: Appetizer, Christmas, Feature, goat cheese, honey, pancetta, pear, Thanksgiving

My Top 7 Favorite Christmas Cookies

December 5, 2013 by Mackenzie

Well, it’s been a week since Thanksgiving, the weather has turned bitterly cold, (we’re expecting our first real snow this afternoon!) and my taste buds are asking for peppermint flavored things! I’d say it’s officially the Christmas season.

To kick things off for Christmas on Never Skip Dessert, I’m pulling out some of last year’s hit Christmas cookie recipes! These are some of my favorite recipes and I will be making many batches of them in the coming weeks! (Click the cookie name or photo to go straight to the recipe! I also apologize for the poor quality of most of these photos – I’ll take new ones when I make them again this year!)

First, the ever-classic – Sugar Cookies

IMG_2574

Next, we’ve got my personal favorite – Candy Cane Cookies

20121205-133249.jpgThird, always a crowd pleaser – Spritz Cookies!

IMG_2564Fourth, for the peanut butter-chocolate lovers out there – Peanut Butter Kiss Cookies

IMG_2563Next we’ve got another classic – Gingerbread Men and Women!

IMG_2572For the coffee lovers – mocha cookies 🙂

IMG_2568And last but not least, one of my favorite holiday treats – peppermint bark!

IMG_2569I hope you try some of these out and if you do – be sure to leave me a comment and tell me how they were!

Filed Under: Christmas, Cookies, Desserts Tagged With: Christmas, Cookies, Desserts, old recipes

Christmas Cookies #5: Peppermint Bark

December 15, 2012 by Mackenzie

This recipe is from Food Network Magazine and is a copycat recipe to William Sinoma’s peppermint bark! It was fantastic!!

IMG_2569

Peppermint Bark

Recipe from Food Network

Ingredients:

  • 12 ounces good-quality semisweet chocolate, chopped into 1/2-inch pieces
  • 1 1/2 teaspoons peppermint extract
  • 1 pound good-quality white chocolate, chopped into 1/2-inch pieces
  • 3 candy canes or 12 round hard peppermint candies, crushed

Directions:

Line a 9-by-13-inch baking dish with aluminum foil, shiny-side up; smooth out any wrinkles. Heat 1 inch of water in a saucepan over low heat until steaming.

Put all but 3/4 cup of the semisweet chocolate in a heatproof bowl. Set the bowl over the saucepan of steaming water (do not let the bowl touch the water) and stir until one-third of the chocolate is melted. Remove the bowl from the saucepan; keep the steaming water over low heat. Gradually stir the reserved 3/4 cup semisweet chocolate into the bowl, a few pieces at a time, until all of the chocolate is melted. Return the bowl to the saucepan, 5 to 10 seconds at a time, to help melt the chocolate, if needed. Do not rush this step: It may take up to 10 minutes to melt the chocolate.

Wipe off any moisture from the bottom of the bowl. Stir 3/4 teaspoon peppermint extract into the chocolate, then quickly pour into the prepared baking dish and spread in an even layer. Firmly tap the dish against the counter to remove any air bubbles. Set aside at room temperature until almost set, about 10 minutes.

Meanwhile, put all but 1 cup of the white chocolate in a large heatproof bowl and repeat the melting process over the steaming water; dry off the bottom of the bowl. Stir in the remaining 3/4 teaspoon peppermint extract; pour over the semisweet chocolate and spread in an even layer. Sprinkle immediately with the crushed candy canes, gently pressing them into the white chocolate. Set aside at room temperature until firm, about 1 hour. Lift the bark out of the pan using the foil and break it into pieces. Store in an airtight container at room temperature for up to 2 weeks.

Filed Under: Bars, Christmas, Desserts Tagged With: Bark, Christmas, Desserts, Peppermint

Christmas Cookies #4: Peanut Butter Kiss Cookies

December 13, 2012 by Mackenzie

Image

I love these cookies! Peanut butter and chocolate… who wouldn’t love this combination?

Peanut Blossom Cookies
Recipe from joyofbaking.com

Ingredients:

1/2 cup unsalted butter, room temperature
3/4 cup peanut butter
1/3 cup light brown sugar
1/3 cup white sugar
1 large egg
1 teaspoon vanilla
2 tablespoon milk
1 1/2 cups all-purpose flour
1 teaspoon baking soda
1/4 teaspoon salt
1/3 cup turbinado sugar
48 chocolate kisses, unwrapped

Directions:

Line three baking sheets with parchment paper.

In the bowl of your electric mixer (or with a hand mixer), beat the butter until creamy and smooth. Add the peanut butter and sugars and beat until light and fluffy (about 2 – 3 minutes). Add the egg and vanilla extract and beat to combine. Beat in the milk. In a separate bowl whisk together the flour, baking soda, and salt. Add to the peanut butter mixture and beat until incorporated. Cover and chill the batter for about an hour, or until firm enough to roll into balls.

Preheat oven to 375 degrees F and place rack in the center of the oven.

Roll the batter into 1 inch round balls. Place the turbinado sugar in a shallow bowl and roll each ball in the sugar. Place on the prepared baking sheet, spacing about 2 inches apart.

Bake the cookies for about 8 – 10 minutes, or until the cookies are lightly browned. Immediately upon removing the cookies from the oven, place a unwrapped Chocolate Kiss into the center of each cookie, pressing down gently until the cookie just starts to crack. Cool completely on a wire rack.

Makes about 4 dozen cookies.

Image

Filed Under: Christmas, Cookies, Desserts Tagged With: Christmas, christmas cookie recipe, Cookies, Desserts, hershey kiss, peanut butter

Christmas Cookies #2: Gingerbread Men (and women!)

December 9, 2012 by Mackenzie

IMG_2571

In our Christmas Cookie Baking Extravaganza… we made 6 different kinds of cookies! Here is recipe number 2! These gingerbread men were chewy, had the perfect amount of spice and are so fun to decorate!

IMG_2572

Gingerbread Men (and Women!)

Recipe from Food Network.com

Ingredients

  • 3 cups all purpose flour
  • 1 teaspoon baking soda
  • 3/4 teaspoon ground cinnamon
  • 3/4 teaspoon ground ginger
  • 1/2 teaspoon ground allspice
  • 1/2 teaspoon ground cloves
  • 1/2 teaspoon salt
  • 1/4 teaspoon freshly milled black pepper
  • 8 tablespoons (1 stick) unsalted butter, at room temperature
  • 1/4 cup vegetable shortening, at room temperature
  • 1/2 cup packed light brown sugar
  • 2/3 cup unsulfured molasses
  • 1 large egg
  • Royal Icing (recipe follows)

Directions

Position the racks in the top and bottom thirds of the oven and preheat to 350 degrees F.

Sift the flour, baking soda, cinnamon, ginger, allspice, cloves, salt and pepper through a wire sieve into a medium bowl. Set aside.

In a large bowl, using a hand-held electric mixer at high speed, beat the butter and vegetable shortening until well-combined, about 1 minute. Add the brown sugar and beat until the mixture is light in texture and color, about 2 minutes. Beat in the molasses and egg. Using a wooden spoon, gradually mix in the flour mixture to make a stiff dough. Divide the dough into two thick disks and wrap each disk in plastic wrap. Refrigerate until chilled, about 3 hours. (The dough can be prepared up to 2 days ahead.)

To roll out the cookies, work with one disk at a time, keeping the other disk refrigerated. Remove the dough from the refrigerator and let stand at room temperature until just warm enough to roll out without cracking, about 10 minutes. (If the dough has been chilled for longer than 3 hours, it may need a few more minutes.) Place the dough on a lightly floured work surface and sprinkle the top of the dough with flour. Roll out the dough 1/8 inch thick, being sure that the dough isn’t sticking to the work surface (run a long meal spatula or knife under the dough occasionally just to be sure, and dust the surface with more flour, if needed). For softer cookies, roll out slightly thicker. Using cookie cutters, cut out the cookies and transfer to nonstick cookie sheets, placing the cookies 1 inch apart. Gently knead the scraps together and form into another disk. Wrap and chill for 5 minutes before rolling out again to cut out more cookies.

Bake, switching the positions of the cookies from top to bottom and back to front halfway through baking, until the edges of the cookies are set and crisp, 10 to 12 minutes. Cool on the sheets for 2 minutes, then transfer to wire racks to cool completely. Decorate with Royal Icing. (The cookies can be prepared up to 1 week ahead, stored in airtight containers at room temperature.)

  • ROYAL ICING
  • 1 pound (4 1/2 cups) confectioners’ sugar
  • 3 large egg whites

Make ahead: The icing can prepared up to 2 days ahead, stored in an airtight container with a moist paper towel pressed directly on the icing surface, and refrigerated.

This icing hardens into shiny white lines, and is used for piping decorations on gingerbread people or other cookies.

In a medium bowl, using a hand-held electric mixer at low speed, beat the confectioners’ sugar, egg-white powder and water until combined. Increase the speed to high and beat, scraping down the sides of the bowl often, until very stiff, shiny and thick enough to pipe; 3 to 5 minutes. (The icing can be prepared up to 2 days ahead, stored in an airtight container with a moist paper towel pressed directly on the icing surface, and refrigerated.)

To pipe line decorations, use a pastry bag fitted with a tube with a small writing tip about 1/8-inch wide or with a ziploc with a bit of the corner cut off. If necessary, thin the icing with a little warm water. To fill the pastry bag, fit it with the tube. Fold the top of the bag back to form a cuff and hold it in one hand. Using a rubber spatula, scoop the icing into the bag. Unfold the cuff and twist the top of the bag closed. Squeeze the icing down to fill the tube. Always practice first on a sheet of wax paper or aluminum foil to check the flow and consistency of the icing.

Filed Under: Christmas, Cookies, Desserts, Seasonal Tagged With: Christmas, Cookies, gingerbread, parties

« Previous Page
Next Page »

Meet Mackenzie

Hi! I'm Mackenzie! I'm currently a Fulbright English Teaching Assistant in Indonesia! I'm writing all about my year on this blog and hope you'll follow along on this journey! Read More…

Disclaimer:

Students and Indonesian Friends: Please don't take anything I say here as critical of my experience or you and your culture. Rather, through this blog I want to share my experience in your country with my friends and family in America! I may write and laugh about a lot of things that are different but none of it is bad, it's just different!

This blog is not an official Department of State website, and the views and information presented here are my own and do not represent the Fulbright Program or the Department of State.

My Latest Posts on Instagram

[instagram-feed]

My Latest Reads

My Latest Reads

Between the World and Me
5 of 5 stars
Between the World and Me
by Ta-Nehisi Coates
If You Follow Me: A Novel
3 of 5 stars
If You Follow Me: A Novel
by Malena Watrous
The Goldfinch
4 of 5 stars
The Goldfinch
by Donna Tartt
Missoula: Rape and the Justice System in a College Town
4 of 5 stars
Missoula: Rape and the Justice System in a College Town
by Jon Krakauer
Station Eleven
4 of 5 stars
Station Eleven
by Emily St. John Mandel
Fight Back and Win
2 of 5 stars
Fight Back and Win
by Gloria Allred

goodreads.com

Archives

  • August 2017 (1)
  • June 2017 (2)
  • March 2017 (1)
  • February 2017 (1)
  • January 2017 (1)
  • December 2016 (1)
  • November 2016 (3)
  • October 2016 (3)
  • September 2016 (2)
  • August 2016 (2)
  • June 2016 (1)
  • May 2016 (3)
  • April 2016 (1)
  • March 2016 (4)
  • February 2016 (2)
  • January 2016 (1)
  • December 2015 (3)
  • November 2015 (2)
  • October 2015 (4)
  • September 2015 (5)
  • August 2015 (6)
  • June 2015 (2)
  • March 2015 (1)
  • December 2014 (4)
  • November 2014 (3)
  • October 2014 (3)
  • September 2014 (4)
  • August 2014 (5)
  • July 2014 (4)
  • June 2014 (2)
  • April 2014 (1)
  • March 2014 (4)
  • February 2014 (1)
  • January 2014 (3)
  • December 2013 (5)
  • November 2013 (3)
  • October 2013 (1)
  • September 2013 (4)
  • August 2013 (3)
  • July 2013 (2)
  • June 2013 (6)
  • May 2013 (6)
  • April 2013 (6)
  • March 2013 (3)
  • February 2013 (7)
  • December 2012 (10)
  • November 2012 (4)
  • October 2012 (1)
  • September 2012 (3)
  • July 2012 (3)
  • June 2012 (5)
  • May 2012 (18)

Mackenzie

Hi! I'm Mackenzie! I'm currently a Fulbright English Teaching Assistant in Indonesia! I'm writing all about my year on this blog and hope you'll follow along on this journey! Read More…

A Look Back

Spaghetti Squash with Thai Peanut Sauce
This blog is not an official U.S. Department of State website and the views and opinions expressed here are entirely my own, and do not represent the U.S. Department of State or the Fulbright Program.

Copyright © 2025 · Foodie Child Theme by Shay Bocks · Built on the Genesis Framework · Powered by WordPress