The Year of Living Audaciously

Former food blog, now travel blog - following my year as a Fulbright ETA in Indonesia

  • Home
  • About Me
    • Travels and Life Updates
    • Privacy Policy
  • Fellow Fulbrighters
  • Never Skip Dessert
    • Recipes By Category
    • Recipe Index
    • The Best of the Best
    • The Social Kitchen Project
  • Recommended

Honey Lavender Ice Cream

August 24, 2014 by Mackenzie

Honey Lavender Ice CreamOne day… ONE DAY until I start my senior year of college! How in the world did that happen? I remember sitting in my dorm room in the spring of my freshman year deciding to start a blog and writing that first post thinking… what would I say? Well, after many iterations I am so proud of what this blog has become! A full-fledged food blog with followers, giveaways, life updates and more! For my family who has followed this blog since the beginning – thank you! And to my new readers, welcome and thanks for reading! I live a crazy, wild, exciting life and I’m thrilled to share it (and what I’m cooking) with you!

I got back to St. Louis on Wednesday and it was been a busy few days of unpacking, organizing, finding odd furniture and lugging it up three flights of stairs, struggling to drill screws into a wall to hang a shelf (how can it be so difficult?!) and now… it’s time to take a break and catch up on email, the blog and get ready for my classes tomorrow!

Honey Lavender Ice Cream

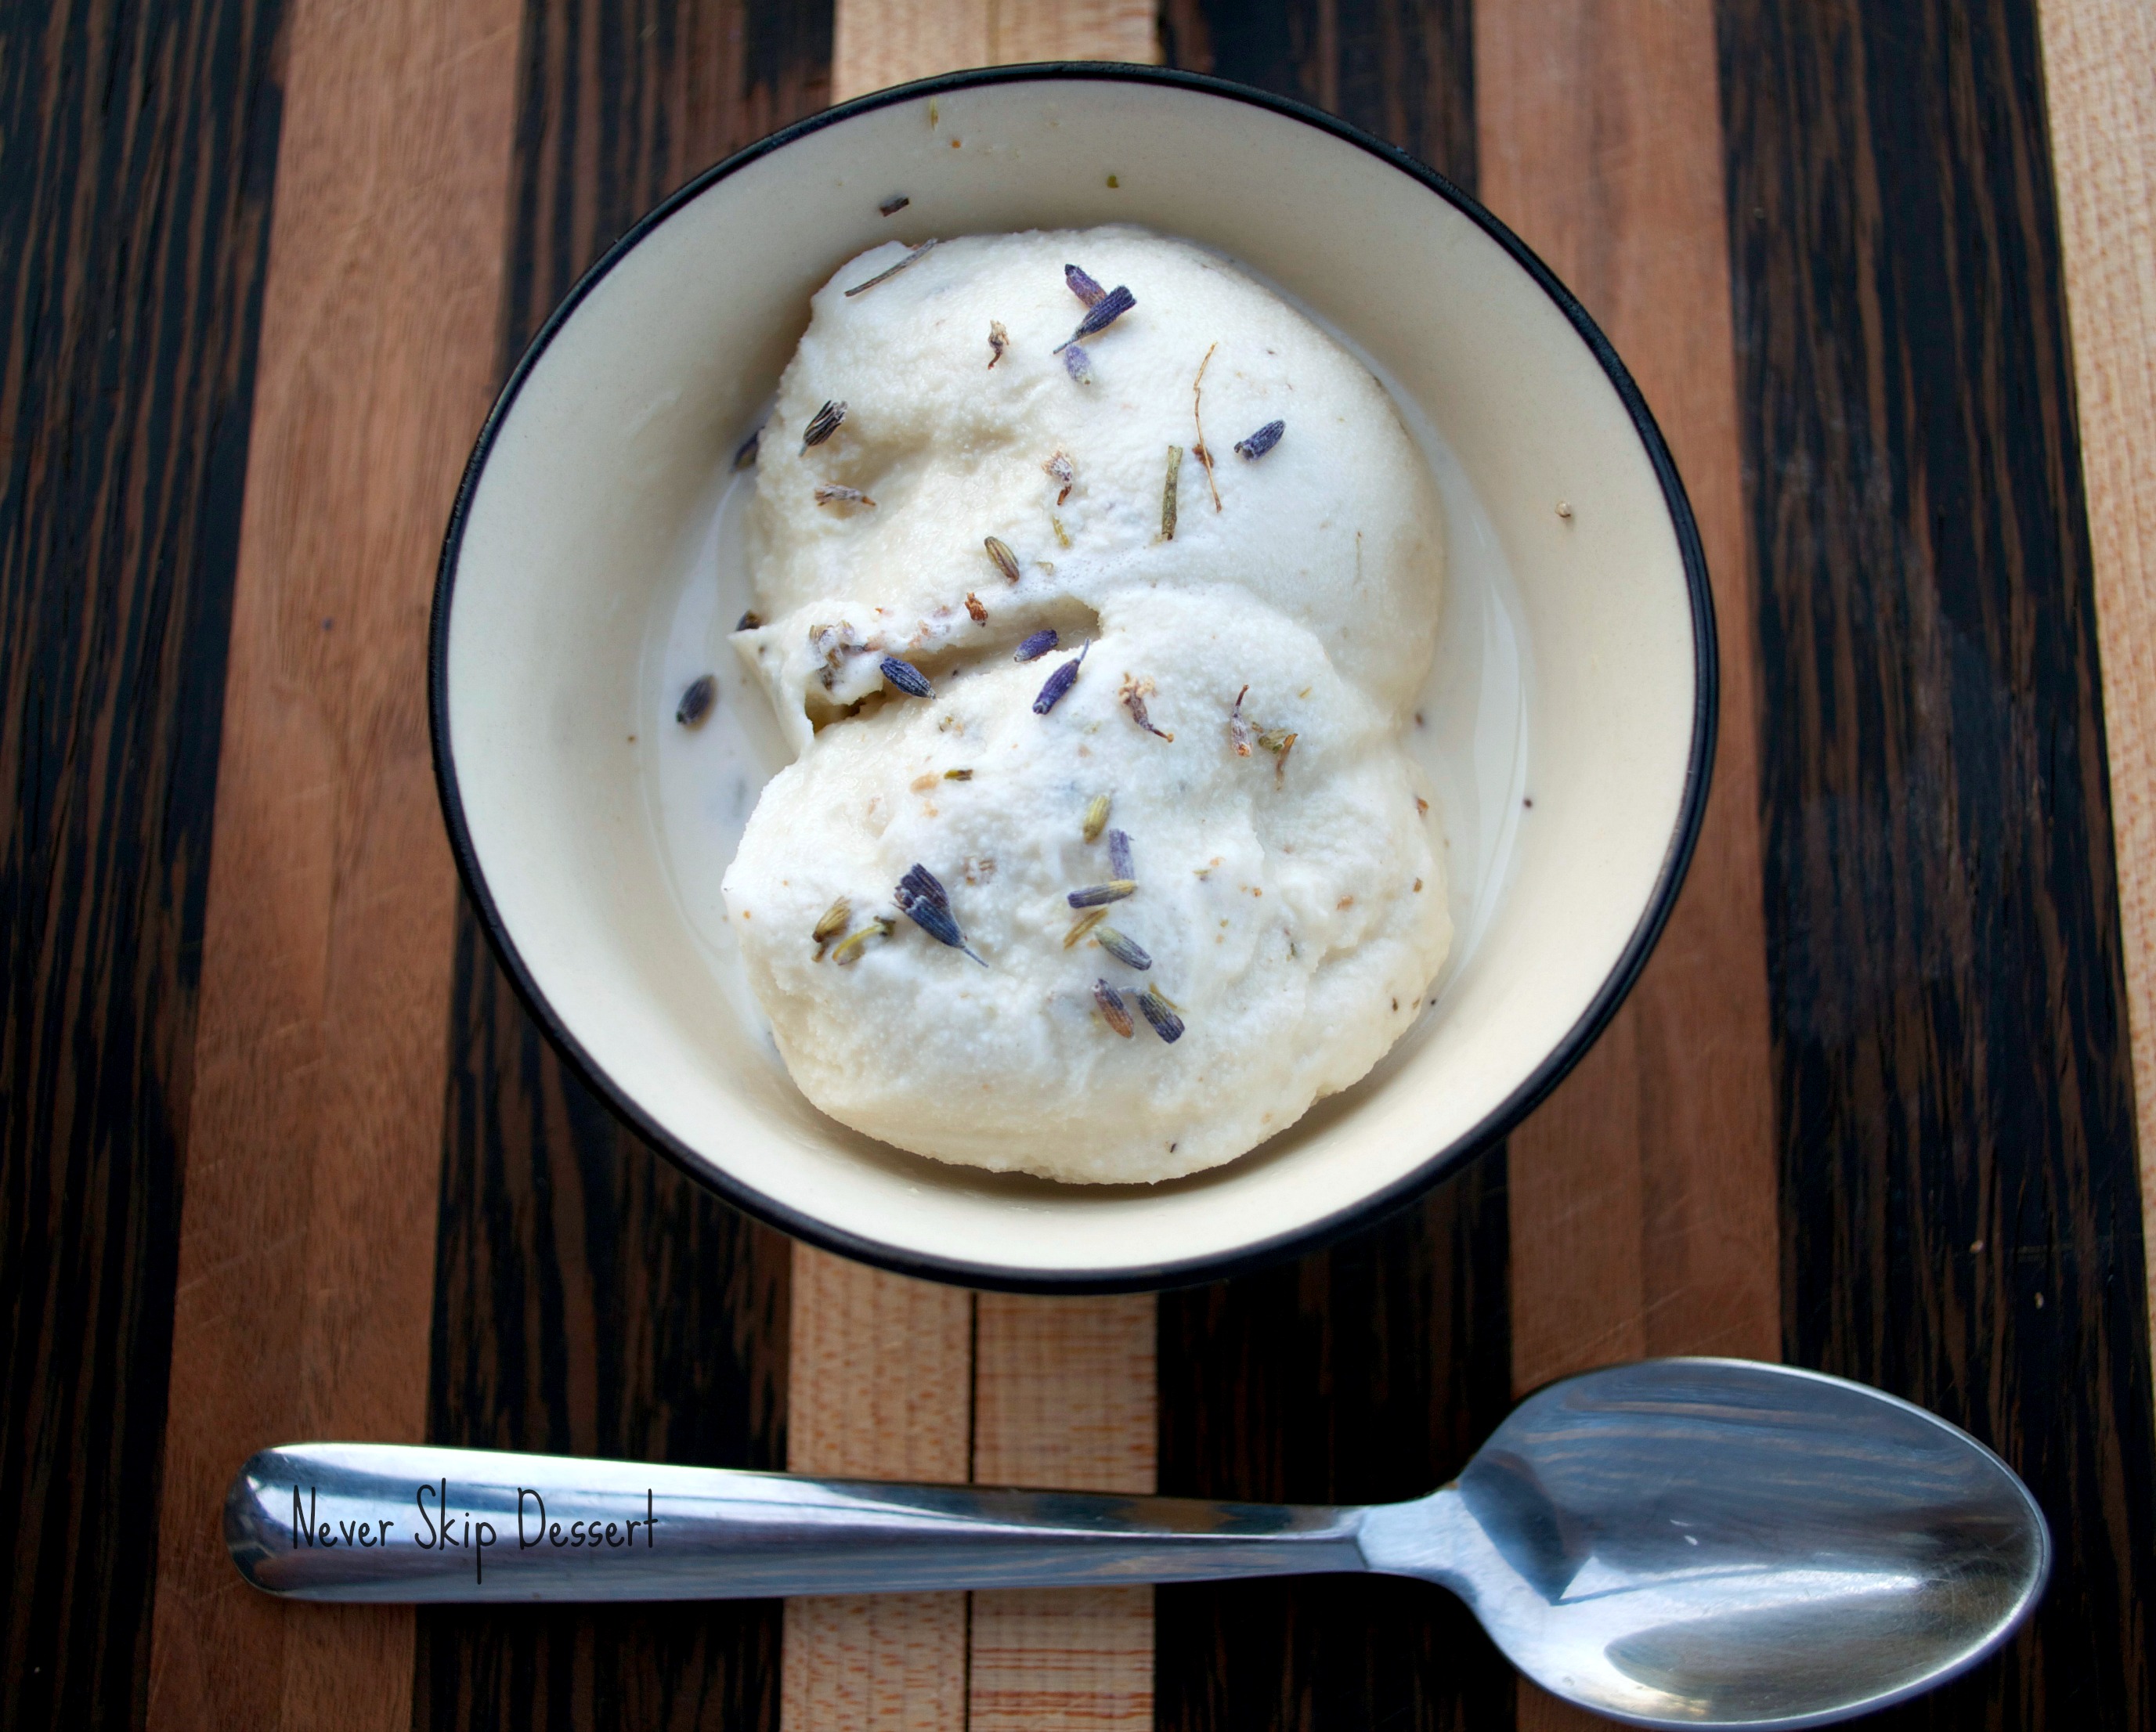
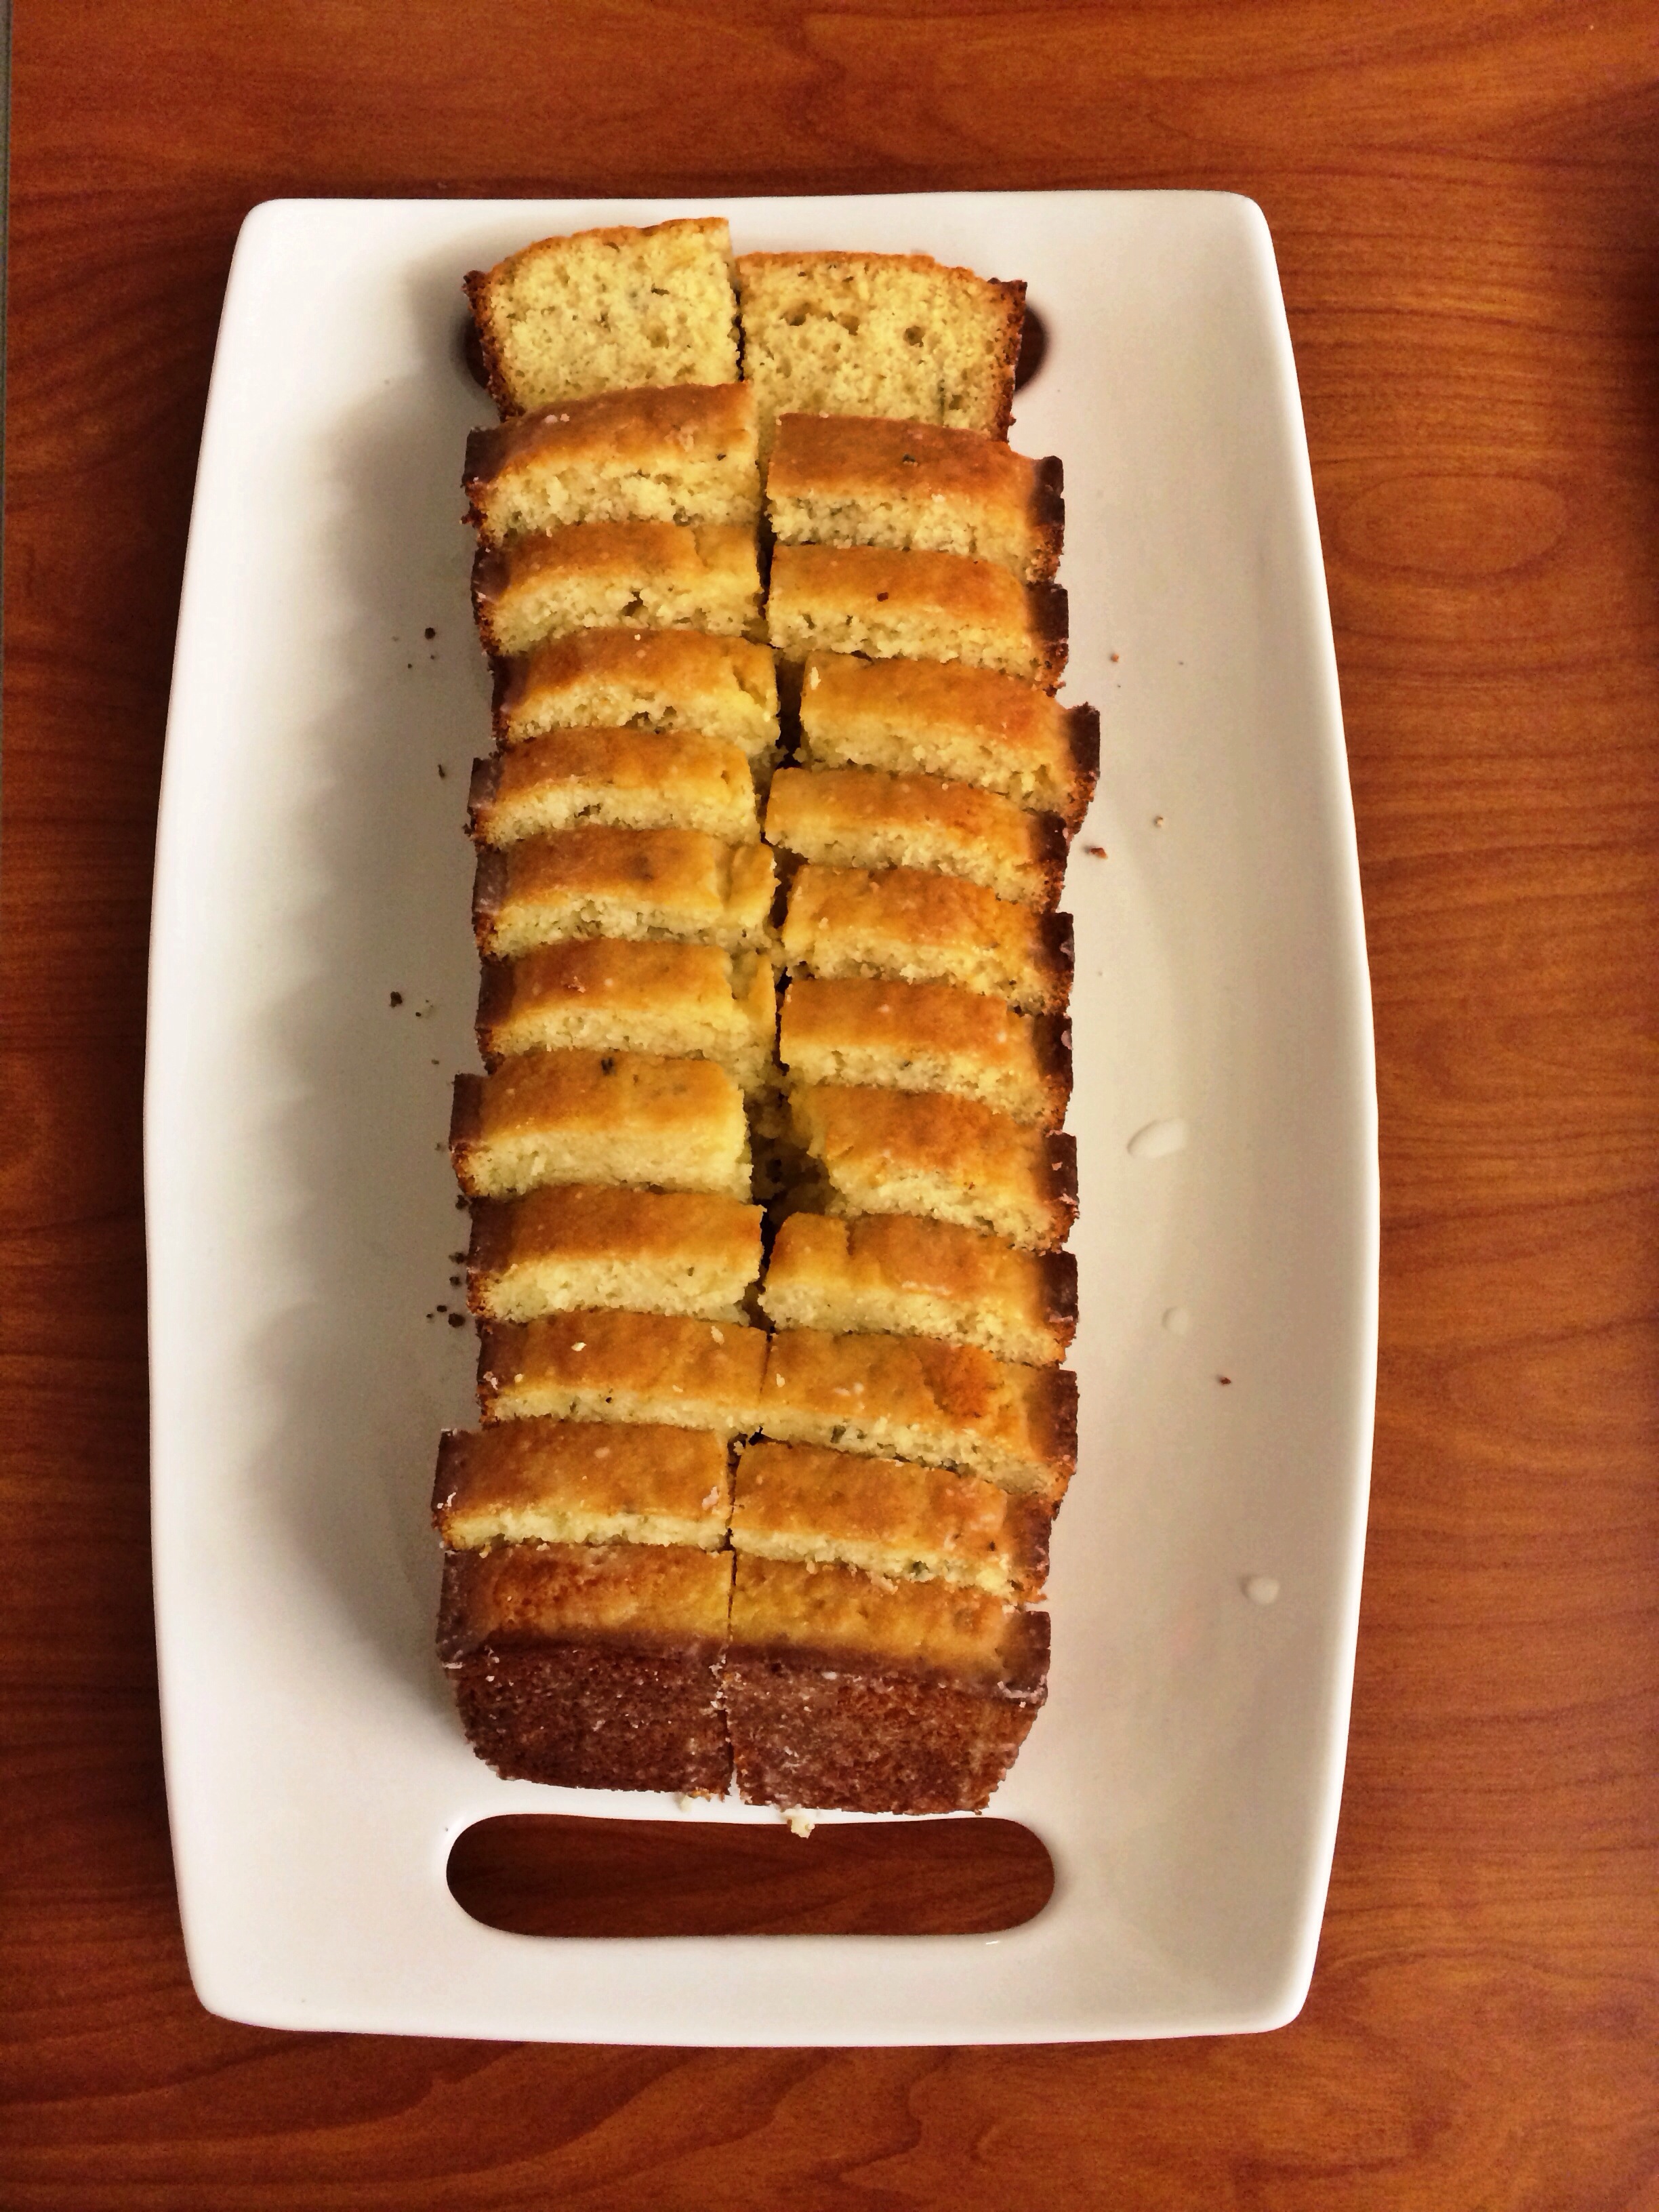
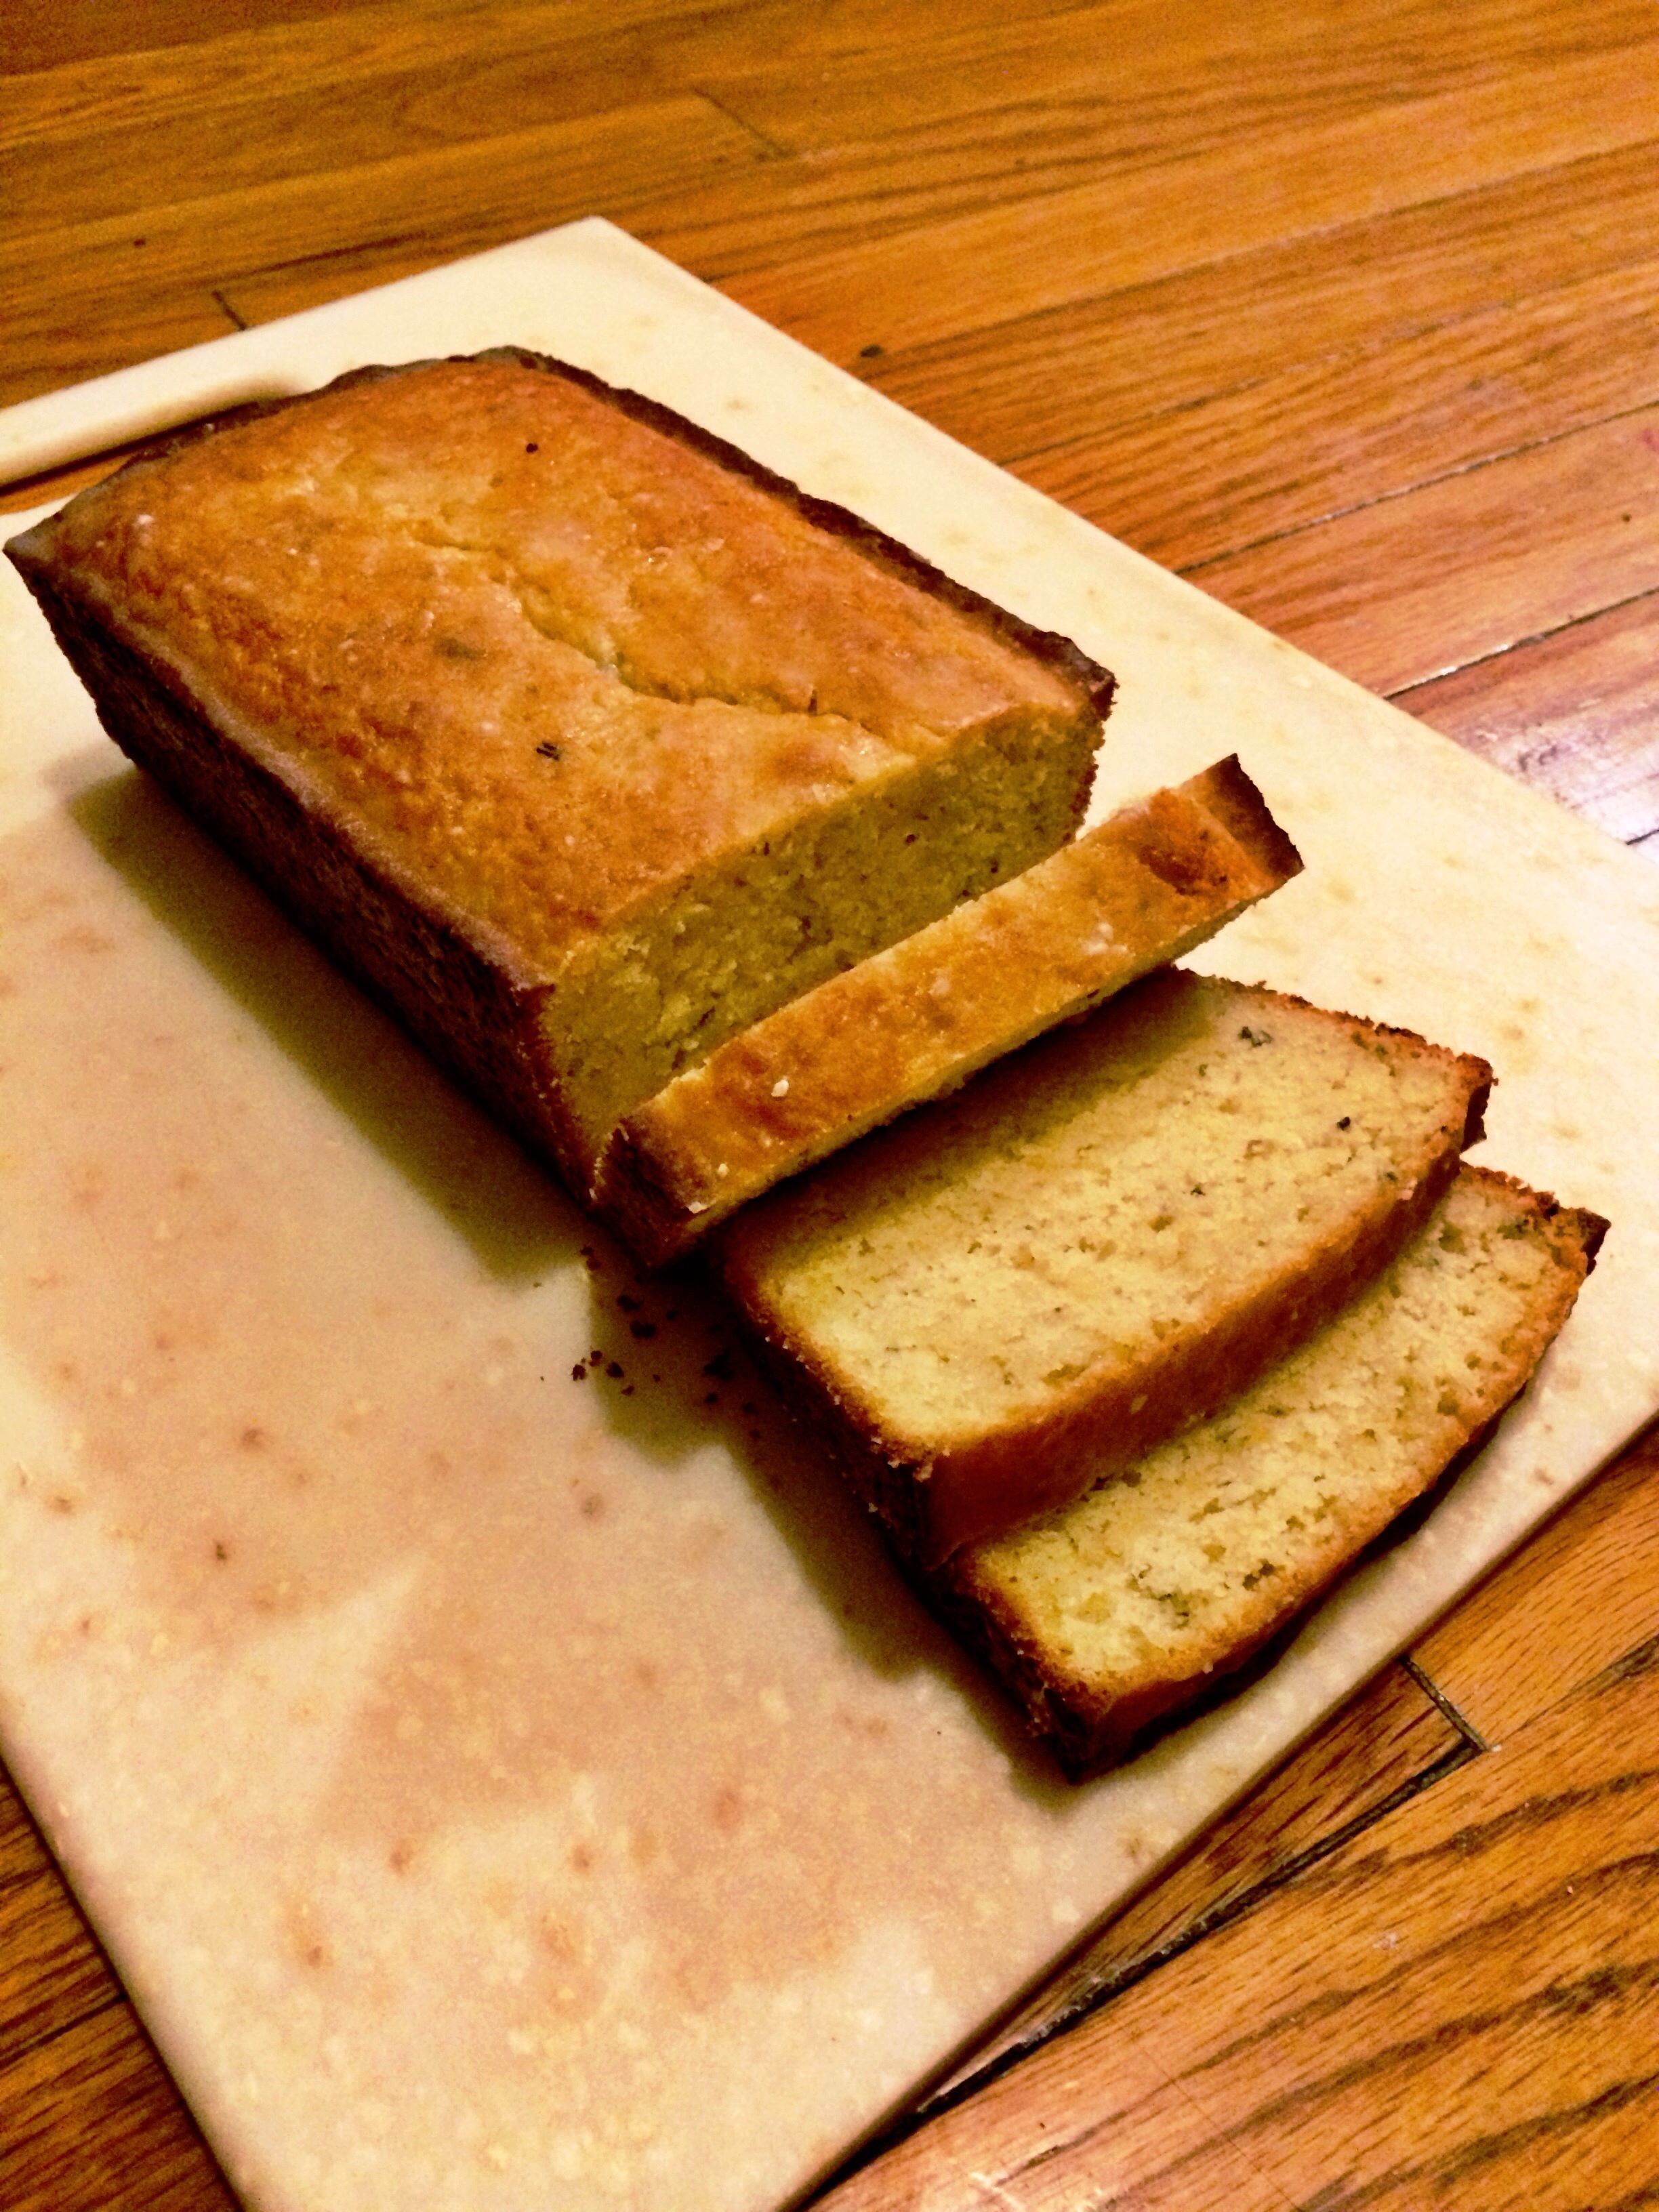
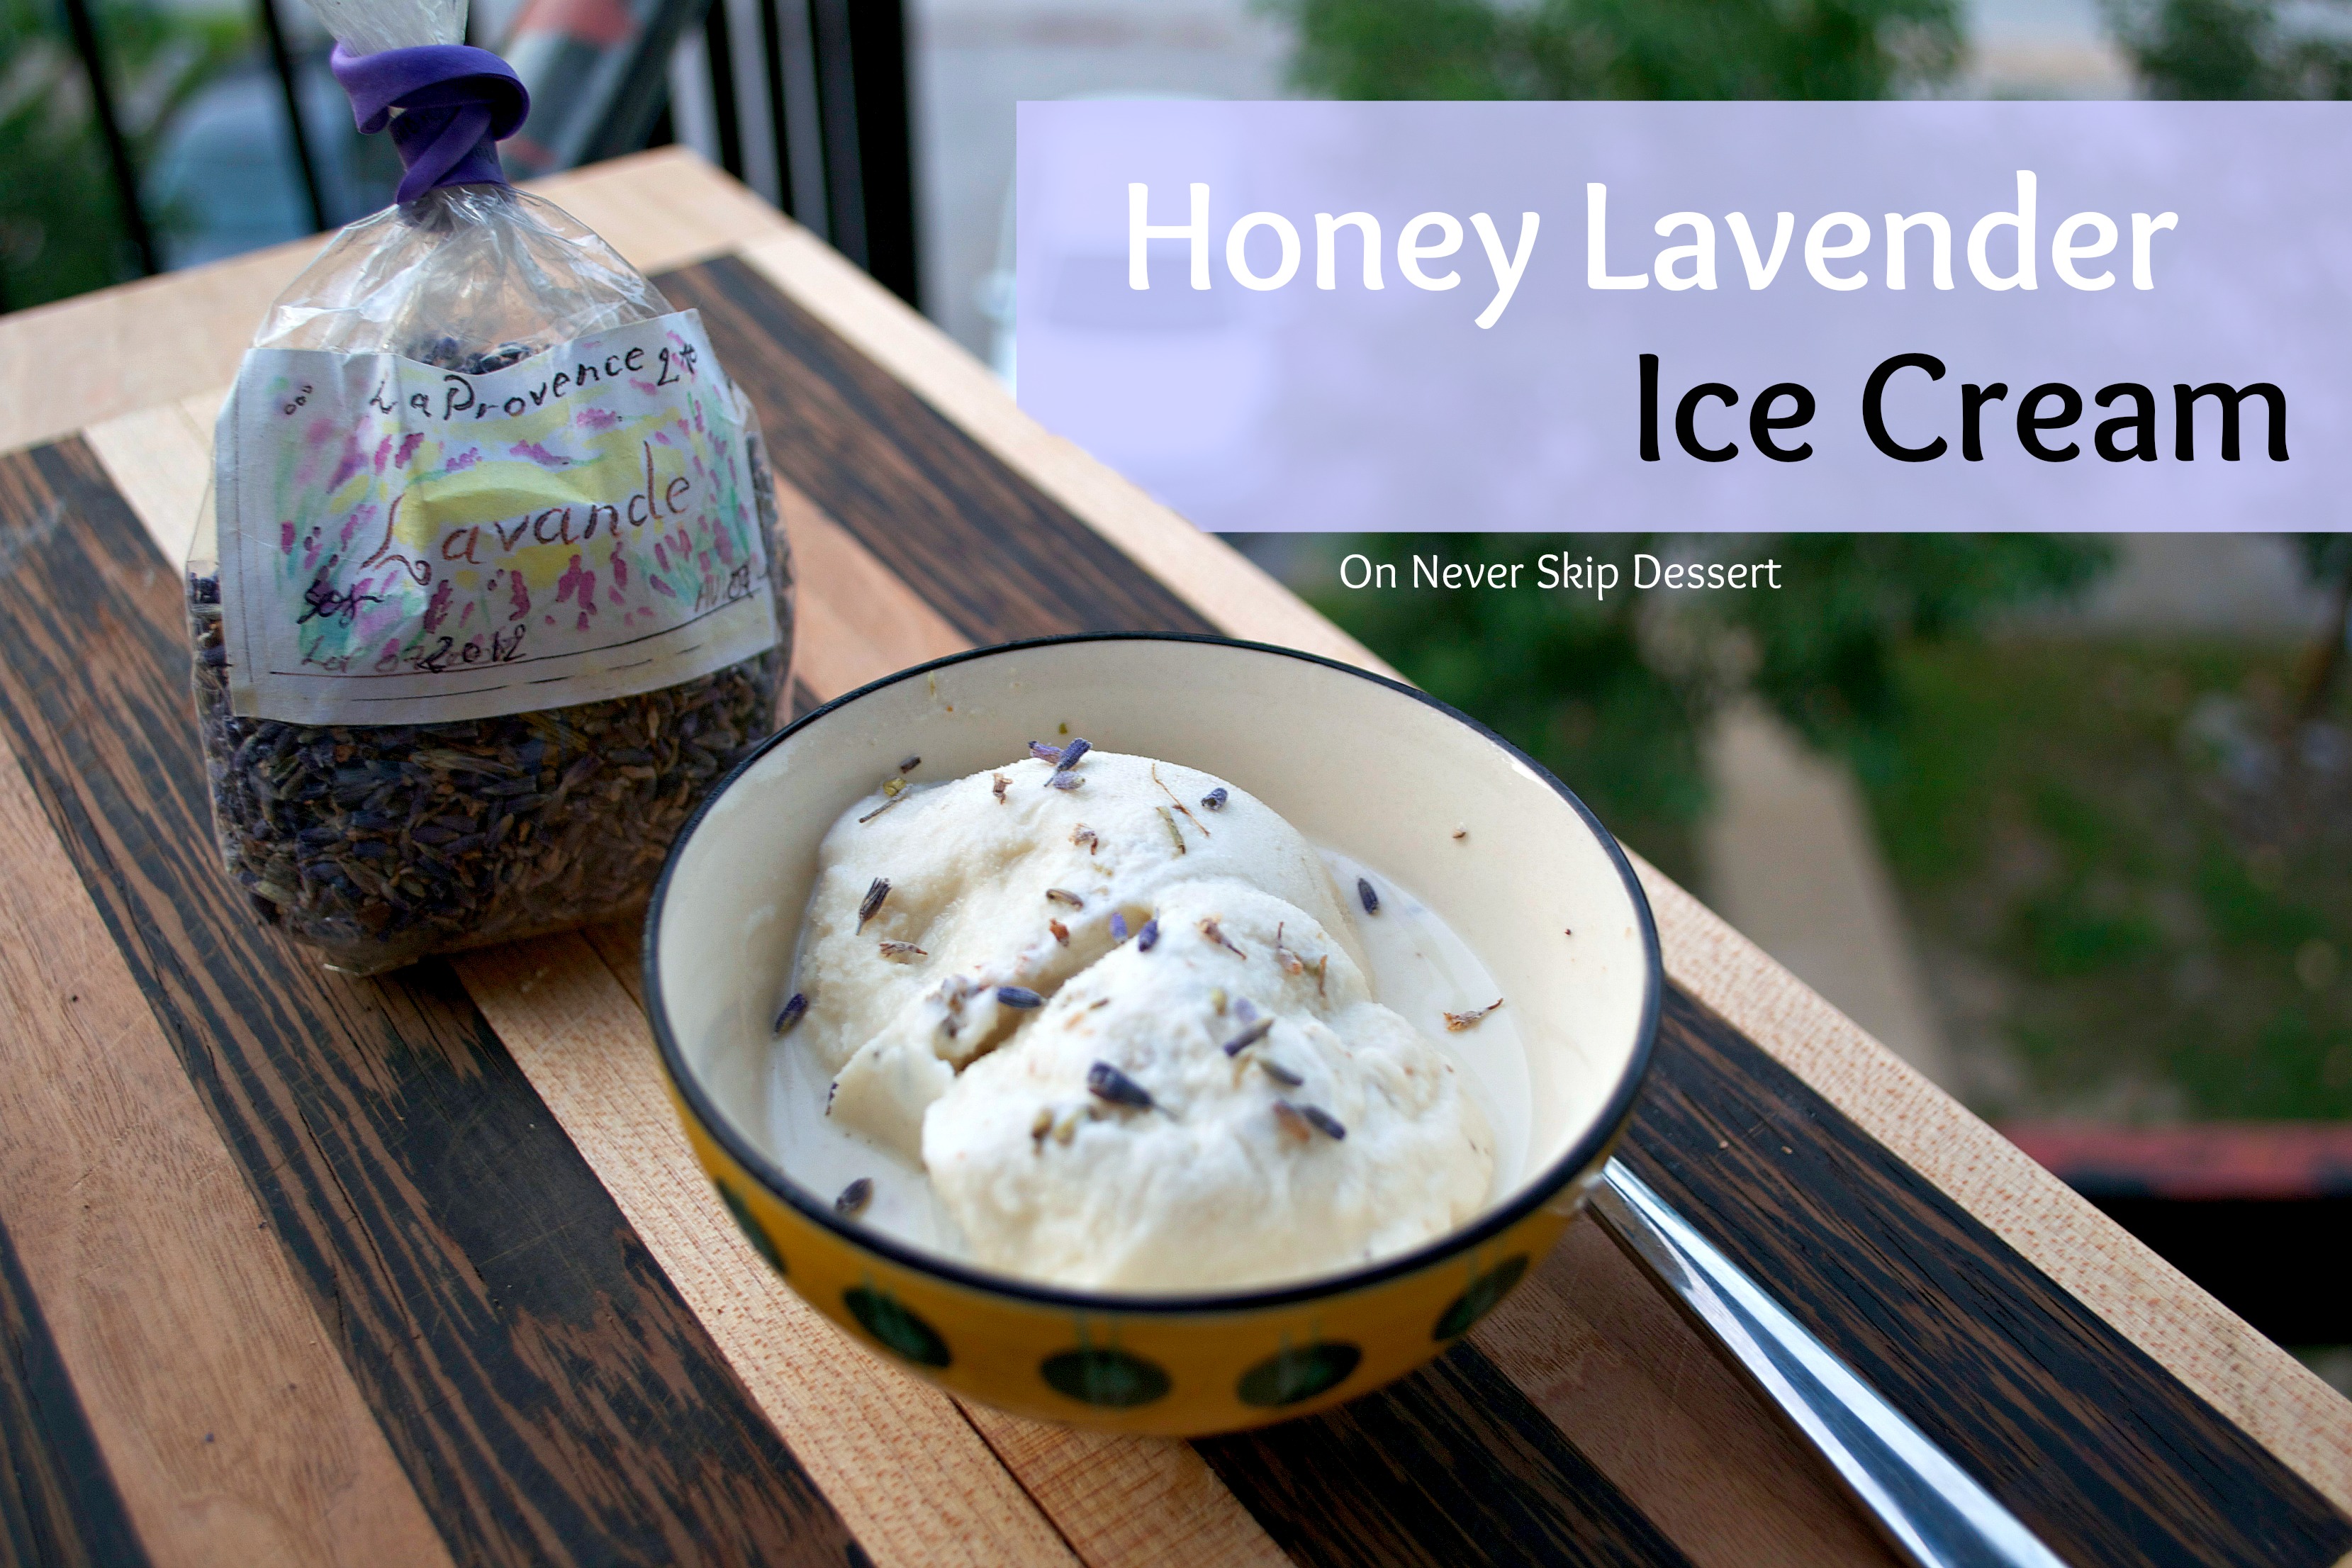
One of the things I was most excited to return to in St. Louis was my ice cream maker! So it is only fitting that my first post be an ice cream. While my roommate and I were reorganizing our kitchen we found dried lavender and I remembered one of my favorite flavors of ice cream – Honey Lavender. Naturally, I decided to make it and here we go! It is a perfect treat for this horribly hot weather – it has been 100+ degrees the last few days, with high humidity too!

Honey Lavender Ice Cream

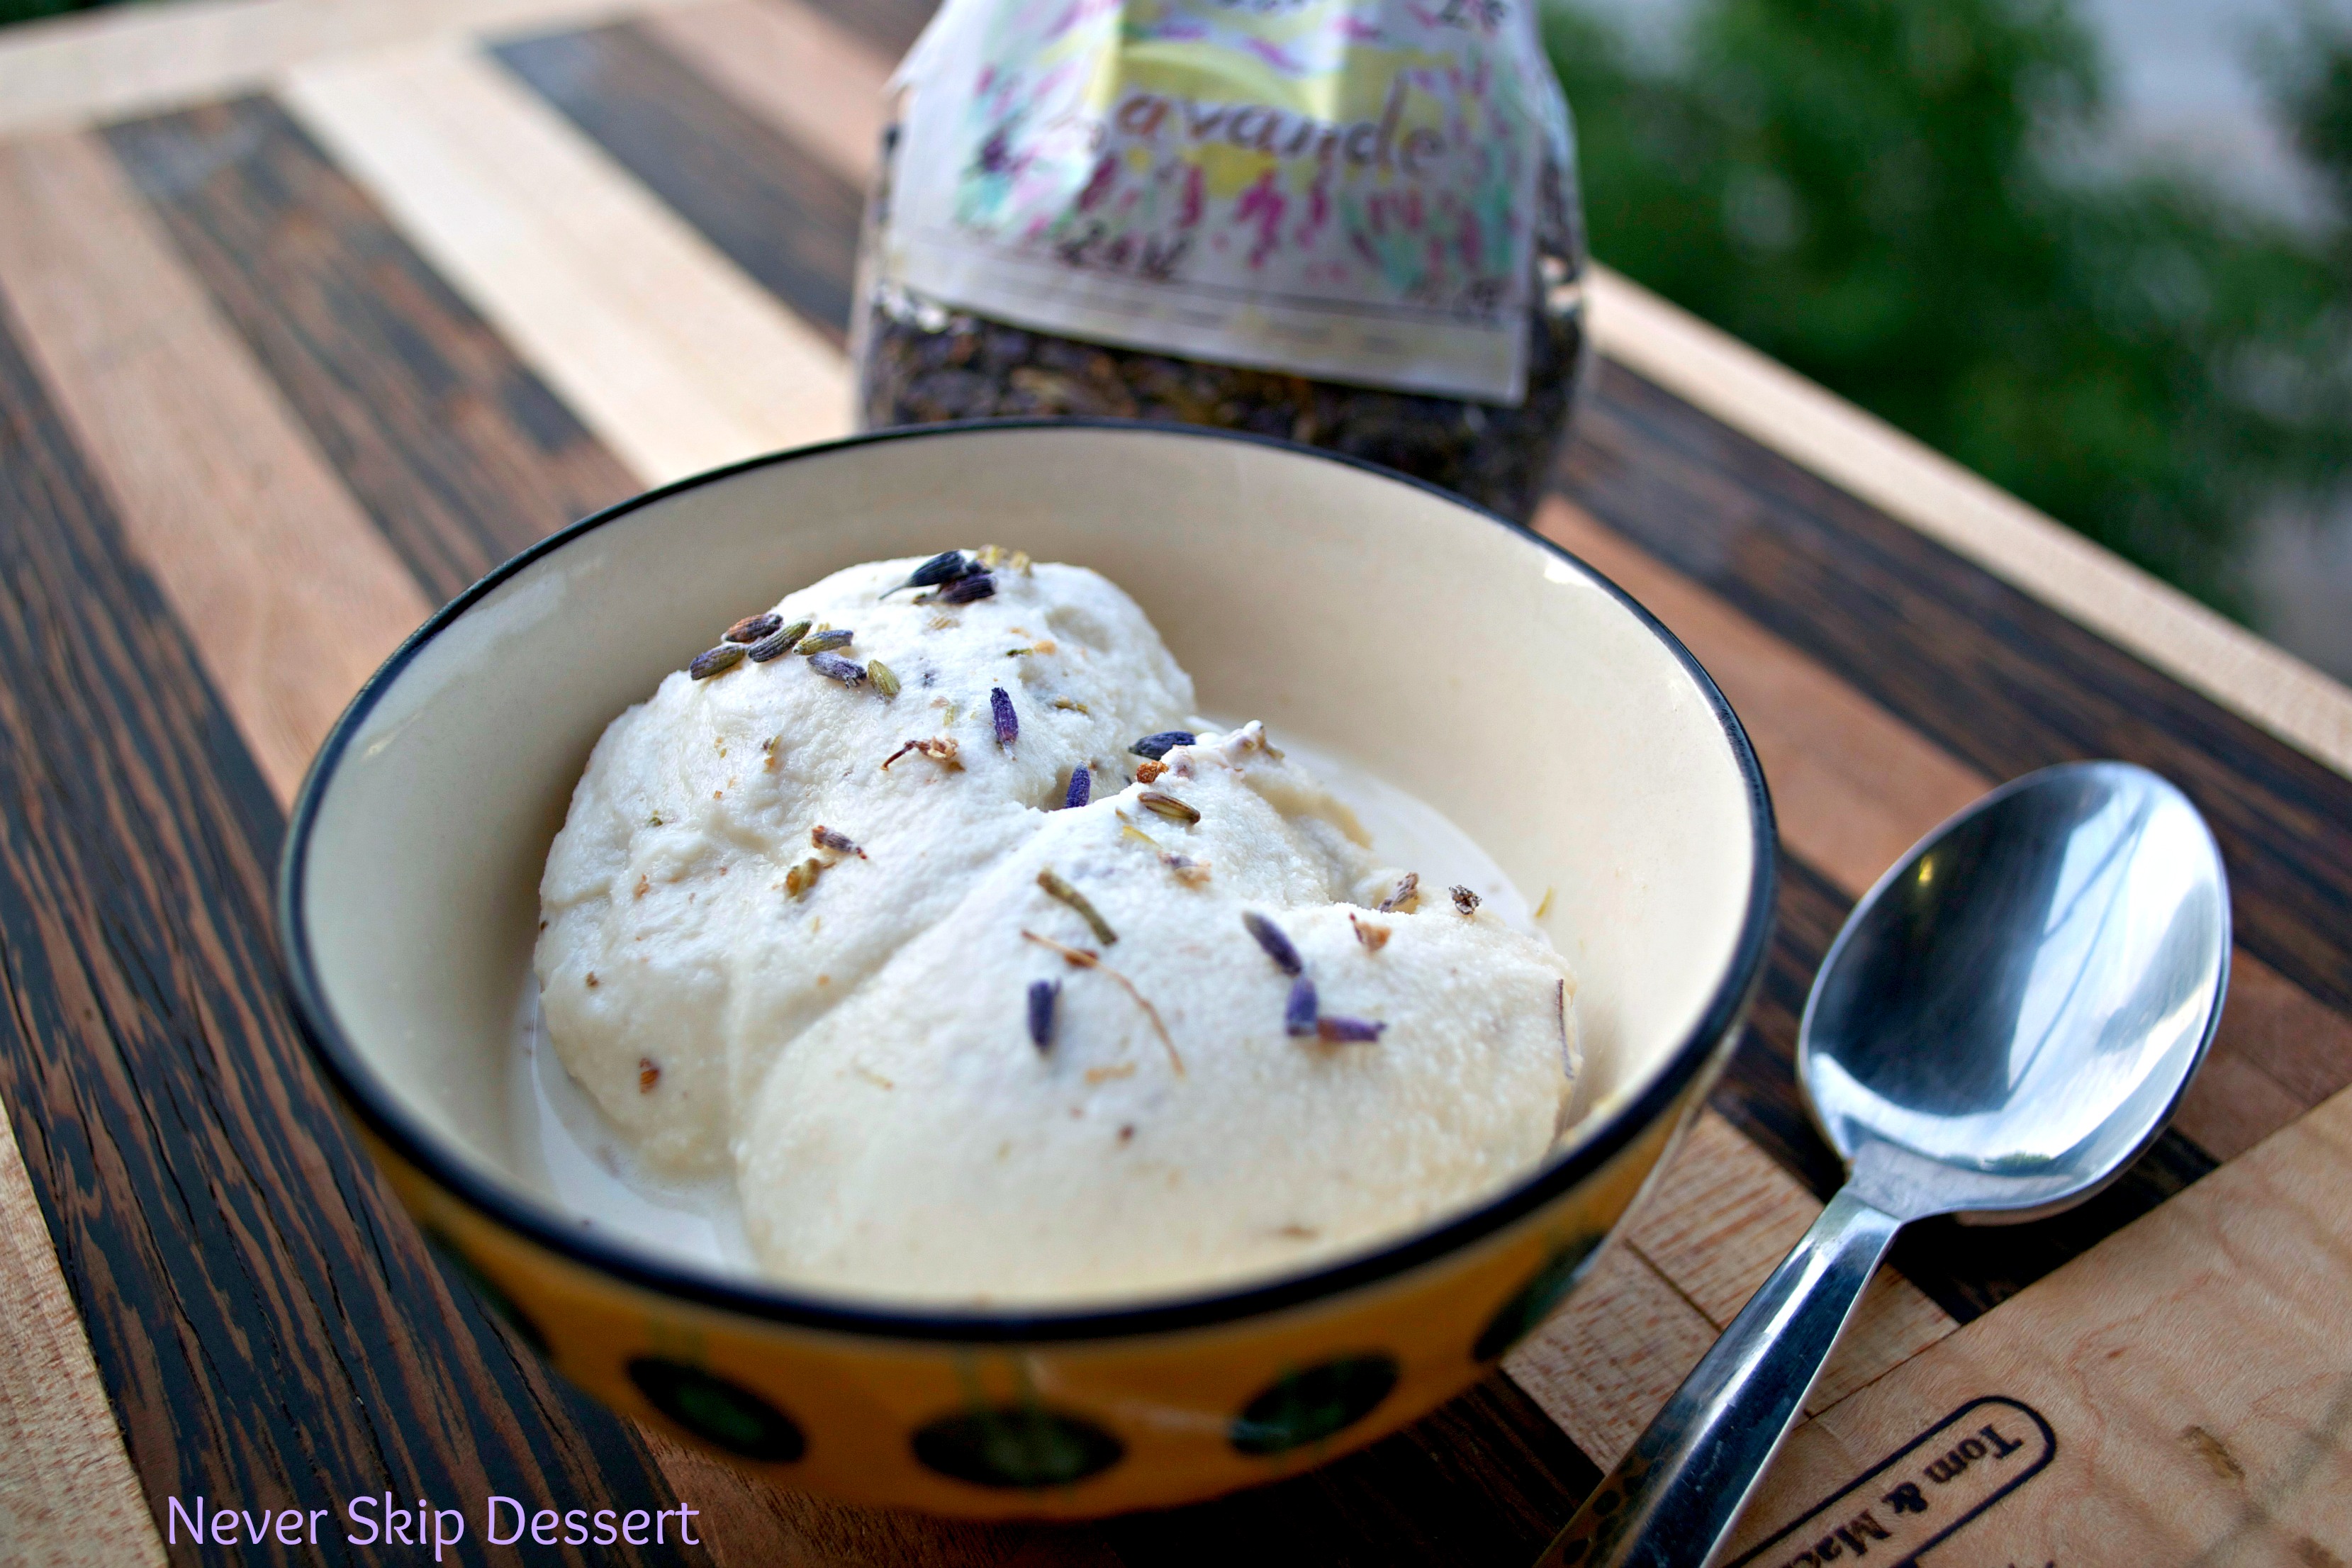
It was a race against the heat as I was trying to take these pictures outside! The ice cream was melting SO FAST in the 100 degree heat!

Honey Lavender Ice Cream
From Molly Moon’s Homemade Ice Cream Cookbook
Ingredients
  • 2 cups heavy whipping cream
  • 1 cup whole milk
  • 1/4 cup sugar
  • 3/4 cup honey
  • 1 tablespoon finely ground dried lavender
  • Pinch of kosher salt
Instructions
  1. Combine all the ingredients in a medium saucepan. Heat over medium heat, stirring occasionally with a whisk, until the sugar and honey dissolve. Just before the mixture comes to a boil, remove from heat, cover and let steep for 30 minutes.
  2. Transfer mixture to a shallow pan or a 4 cup measuring cup (my preference because it makes pouring into the ice cream maker much easier). Refrigerate for 1-2 hours, until thoroughly chilled.
  3. When the mixture is very cold (important!!), pour into an ice cream maker and process according to manufacturer’s instructions (note: it may take longer than usual – I’m not sure why but each time I have made it, it takes a long time to reach the right thickness). Transfer to a plastic container and freeze for at least 4 hours.
Notes
It is really important that it is very, very, very cold before you churn it. Be patient and let it sit an extra hour in the fridge before churning it if need be! It will be worth it!
3.2.1311

I’ve also joined a giveaway hosted by Juggling Act Mama! Head on over to her page and enter – who wouldn’t want $125 to start the school year!

b2scashgiveaway


Filed Under: Desserts, Ice cream, Summer Tagged With: Desserts, Feature, honey, ice cream, lavender, Summer, whipping cream, whole milk

Blackberry Brownies (+New Website!!)

August 6, 2014 by Mackenzie

Blackberry Brownies

What do you think?! How does the new website look?

I am SO excited about the new site. It has been a work in progress over the last month as I decided that I really wanted to grow my blog, my followers, and transform Never Skip Dessert into it’s very own self-hosted website! In the last few weeks I bought the domain (www.neverskipdessertblog.com) and migrated my old site over to this new self-hosted site on Bluehost. I want to thank Katie Clark over at www.clarkscondensed.com for helping me with the migration – she was very helpful and I didn’t have to worry about a thing!

So now that the big process of migrating and setting up the new site is done – I’m ready to begin posting recipes again! If you want to stay up-to-date on what I’m cooking and where I am in the world (lots of changes in the near future!) I’d love for you to subscribe to my site so that you’ll receive an email with each new post. You can also follow Never Skip Dessert on facebook, instagram or twitter! All the links are on the right hand side of the page.

But back to the kitchen… luckily, I have been able to cook a lot lately! It’s fun to have a whole office ready to eat whatever treat I bring in – and last week, it was these blackberry brownies!

It is HOT and HUMID in DC. Ugh. It’s quite miserable during the day but thanks to the underground tunnels connecting all of the Senate office buildings and the Capitol, I am rarely outside in the middle of the day. But one hot, sticky walk back from work I was craving chocolate and thought about how I could incorporate something summary and refreshing into a classic chocolate treat. For whatever reason, I immediately thought of adding blackberries to brownies and thought – wow, now this is an idea I have to try!

I used a recipe I already had on my blog for Salted Caramel Brownies and omitted the salted caramel and instead added fresh blackberries to the batter just before baking – crushing a few to get blackberry juice swirled into the batter. They turned out fantastic – a sweet surprise in every few bites!

My coworkers loved them and actually asked me to bring them again – so I did! I brought them in two days in a row and they were quite the crowd-pleaser!

Try them out and let me know what you think! Also, I would love a comment if you have one on the look of the new site! (Or any glitches if you can find one!)

Blackberry Brownies
Recipe Type: Dessert
Author: Mackenzie (Recipe adapted from Smitten Kitchen)
Serves: 18
Ingredients
  • 3 oz. unsweetened chocolate, roughly chopped
  • 1 stick unsalted butter
  • 1 cup sugar
  • 2 large eggs
  • 1 teaspoon vanilla extract
  • Heaped 1/4 teaspoon flaky sea salt
  • 2/3 cup all-purpose flour
  • 1 6oz (small) package of fresh blackberries, washed
Instructions
  1. Heat oven to 350 degrees. Spray a 9×13 pan with cooking spray.
  2. Melt chocolate and butter together in a heatproof bowl over gently simmering water (double boiler) or melt in the microwave in 30 second bursts, stirring in between. Stir until smooth. Beat in the sugar, then the eggs one at a time, then the vanilla and salt. Add flour and mix until combined. Finally, stir in the blackberries (don’t be afraid to crush a few and infuse the batter with blackberry juice)
  3. Pour batter into prepared pan and spread evenly. Bake for 30 minutes or until a toothpick inserted into the middle comes out clean. Let cool and then cut into squares and serve!
Notes
PS – if you’re short on time/ingredients, you can also use a store-bought brownie mix and just add blackberries to the batter! But shhh – don’t tell anyone 😀
3.2.1311

Filed Under: Desserts, Easy, Summer Tagged With: blackberries, brownies, chocolate, Summer

Peanut Butter Cheerio Treats

July 23, 2014 by Mackenzie

Peanut Butter Cheerio Treats

Rice Krispy Treats… always a childhood favorite! For whatever reason, I wasn’t a fan of rice krispy treats when I was growing up. It was always the post-game snack after soccer games or the summer camp go-to. But I just refused to like them. I honestly think it was because my mom loved them. Don’t you remember as a kid when your parent loved something and you just decided that you don’t like it, really just to spite them? Yeah, I’m pretty sure that was why I never liked rice krispy treats – because my mom LOVED them. Well, when I got to college and discovered our campus bakery’s rice krispy treats, all of my rice krispy treat resolutions went flying out the window. The cafes sell individually packaged, just-made rice krispy bars and they are so good. Gooey, sticky, marshmallow-y… So much better than the store-bought kind! They quickly became my go-to library study treat and at the end of the school year, when I had to finish out my meal points, I bought ten of them to bring home for my mom and I! Oh, how things change 🙂 Well, I found this recipe on Pinterest awhile back and have been dying to try it. I’m not sure what took me so long – it is the simplest recipe! It took me a whopping ten minutes to make. And seeing as I did NOT need to eat them all, and I would have if they stayed in my kitchen, I brought them in to work to share with my coworkers. They were a hit! I watched several of the staffers casually wander by for seconds and even thirds! Ha 😀 It’s a fun twist to a classic treat!


Peanut Butter Cheerio Treats

Peanut Butter Cheerio Treats
Recipe Type: Dessert
Author: Mackenzie
Serves: 28
Recipe slightly adapted from JustJennRecipes
Ingredients
  • 2 tablespoons butter
  • 3/4 cup peanut butter
  • 1 (10 oz) bag marshmallows
  • 6 cups cheerios (peanut butter cheerios, multigrain cheerios, honey nut…whatever your favorite is!)
  • 1 cup chocolate chips
Instructions
  1. Butter a 9×13 glass baking dish. In a large saucepan over medium heat, melt the butter and peanut butter. Add the marshmallows and melt them down. Just as the marshmallows dissolve into the peanut butter, pour in the cheerios and stir it all together, making sure all the cheerios are coated in the peanut butter mixture.
  2. Transfer the cheerios to the prepared baking dish and spread evenly. Sprinkle the chocolate chips over the top. Let sit for 10 minutes to set and cool and then serve!
3.2.2802

Peanut Butter Cheerio Treats

Filed Under: Bars, Desserts, Easy, Summer Tagged With: cheerios, chocolate, Desserts, Easy, fast, marshmallows, peanut butter, Rice Krispies, treats

Vegan Peach Pretzel Ice Cream

July 9, 2014 by Mackenzie

IMG_6336

Sweet and salty. Can anyone tell me a better combination?

It’s my first summer on the East Coast and I am thrilled to say I have now experienced fresh, ripe, juicy Georgia peaches. I can’t seem to get enough of them!

I was inspired by all the peaches around here to make a peach ice cream because there’s just nothing better than a bowl of ice cream after a hot, sticky walk home from work. Two years ago I received an ice cream maker for my birthday and became an ice cream making addict! I love picking (sometimes crazy) flavor combinations, churning it up and eating my very own homemade ice cream! Here’s one of my favorites: Blueberry Chocolate Chip Frozen Yogurt!

I am totally bummed not to have my ice cream maker with me here in DC – but I really wanted to try to make some anyways. I ended up completely cheating and basically just froze the base overnight then let it melt a bit when i was ready to eat it. It certainly wasn’t the prettiest ice cream I’ve ever made but it sure did taste delicious!!

But I also love some kind of crunchy something in my ice cream. Plain vanilla or chocolate is just boring! It’s got to be moosetracks with those chocolate caramels in it, or frozen yogurt with chocolate chips. Well, this sweet delicious peach ice cream needed a salty balance and some crunchy goodness, so I added crushed pretzels and boy, what a perfect combination!

I also decided to try a vegan twist on this. I love a rich, creamy, milk-based ice cream – but thought I would see what I could do with coconut milk instead!

Vegan Peach Pretzel Ice Cream
Recipe slightly adapted from Gluten Free Goddess
Makes 1 quart of ice cream

Ingredients:

4 cups peaches, washed, peeled, and cut into 1/2 inch pieces
1 14oz can coconut milk
2 teaspoons coconut oil
1/2 cup brown sugar
1 teaspoon vanilla
2-3 cups whole pretzels, lightly crushed

Directions:

1. In a medium saucepan over medium heat combine half the peaches, the coconut milk, the coconut oil and the brown sugar. Heat for about five minutes over medium heat allowing the peaches to soften and the sugar to melt. Remove from heat and cool.

2. Pour the mixture into a blender and blend until smooth. Add the remaining peaches and the vanilla to the mixture, stir and pour into a 9×13 glass dish. Refridgerate for two hours or until very cold.

3. Churn the mixture in your ice cream maker per manufacturer’s instructions. During the last 2-3 minutes of churning, add the crushed pretzels. Alternatively, transfer the cold mixture to a large tupperware and freeze overnight – this method won’t make the softest, creamiest ice cream but it works if you don’t have an ice cream maker. But it does make it more difficult to stir in the pretzels – you may just have to sprinkle them over each serving.

4. Eat right away or transfer to a container to freeze for later use!

Filed Under: Desserts, Ice cream Tagged With: coconut milk, Desserts, ice cream, ice cream maker, peaches, pretzels, vegan

Walnut Breton Cake

March 11, 2014 by Mackenzie

Well hello! It’s been a LONG time. Over a month actually… I can’t believe how fast time flies and how busy life can get! As I tend to keep having to do, I’m apologizing again for my long absence! This semester has been my busiest one yet, but I think my favorite one as well. I’ve taken on new leadership positions, organized a huge campus-wide event, and am continuing to work part-time, take a full load of classes and play varsity golf.

Thankfully, it’s spring break and I’m spending my week here in St. Louis – catching up on sleep, schoolwork and finally getting a chance to cook something besides Trader Joe’s freezer meals and canned soup. Seriously… I hadn’t cooked anything more involved than grilled cheese since my last post about the Lemon Rosemary Bread. But here we are! I’ve got several great recipes to share and so for at least the next few weeks – I’ll have some things to post! Who knows what will happen as this school year starts to wrap up (and how is that possible?!!!!) but for now, I’ve got yummy things to share!

IMG_4260

First up, I had to celebrate the beginning of spring break (and my long-awaited return to my kitchen) with a cake! I honestly had no idea what to expect of this recipe when I made it. The recipe came from a cookbook with no pictures and the short description said it would taste like shortbread. I had in my mind a moist cake that somehow had shortbread characteristics and in my head it just didn’t add up.

But let me tell you – this cake is amazing. It’s not a moist, tall cake like what you envision when you think of a cake – it’s more like shortbread or spritz cookies baked in a cake pan. The top of the cake is hard like shortbread but the middle of the cake is soft like spritz cookies. Wow. And it’s so simple! Just a few ingredients that you probably already have on hand (if you don’t have cake flour, look up how you can turn all-purpose flour into cake flour).

Walnut Breton Cake
Recipe from Baking for All Occasions
Makes one 8-inch round cake, 12-14 servings

Ingredients:
1 1/2 cups plus 3 tablespoons cake flour
1/2 teaspoon salt
1 cup (2 sticks) unsalted butter, at room temperature
1 cup sugar
4 large egg yolks
1/2 cup finely chopped walnuts

Directions:

1. Preheat oven to 350 degrees. Lightly butter an 8-inch round cake pan, then flour it, tapping out the excess flour. Cut out a circle of parchment paper (trace it) to line the bottom. Have all the ingredients at room temperature.

2. Stir together the flour and salt in a medium bowl; set aside. In the bowl of a stand mixer, fitted with the paddle attachment beat the butter on medium speed until it is lighter in color and has a satiny appearance, about 45 seconds. Maintaining the same speed, add the sugar in a steady stream. Stop the mixer and scrap down the sides of the bowl, then continue to beat at medium speed until the mixture is light in color and fluffy, about 3 minutes.

3. With the mixer on medium speed, add the egg yolks, one at a time. Continue to beat until well combined, sopping to scrap down the sides of the bowl at least once.

4. Using a rubber spatula, stir in the flour mixture and mix by hand until it is well combined. Stir in the walnuts. Spoon the thick batter into the prepared ban, spreading it evenly with a spatula. Use a fork to create a lattice design on the surface.

5. Bake the cake until it is golden brown on top, feels firm to the touch and is beginning to contract from the sides of the pan, 45 to 50 minutes. Transfer to a wire rack and let cool in the pan for 5-10 minutes. Carefully invert it onto a wire rack, peel off the parchment liner and turn it right-side-up. Let cool completely. To serve, cut the cake into small wedges with a sharp knife and enjoy!

Store at room temperature for 2-3 days. For longer storage, wrap in plastic wrap and aluminum foil and freeze.

Filed Under: Desserts, Easy Tagged With: cake, Desserts, Easy, shortbread, spritz, walnuts

Lemon Rosemary Bread with Lemon Glaze

February 3, 2014 by Mackenzie

I’ve been “mass-baking” a lot lately for different events and this was one of my favorites. I baked half of it in a loaf pan and the rest in a 9×13 because apparently we only have one loaf pan (oops – should have checked that beforehand). Regardless, both turned out great and were a hit with everyone I shared them with. I loved the strong lemon flavor, especially in the dead of winter when everything seems to be a bit more bland than other times of the year. And the rosemary makes it oh so unique and a little bit fancy 😀

20140204-141016.jpg

Also, I made my Salted Rice Krispy Bars yesterday for another event and they disappeared SO FAST! Another easy crowd-pleaser!

Lemon Rosemary Bread with Lemon Glaze
Recipe from bakedbree
Makes 1 loaf

Ingredients:
3/4 cup butter
1 cup sugar
2 tablespoons lemon juice
Zest of one lemon
2 teaspoons vanilla
1/2 cup vanilla yogurt
3 eggs
1 1/2 cups flour
2 teaspoons baking powder
1/2 teaspoon salt
1 tablespoon fresh rosemary, chopped

Glaze:
1 cup powdered sugar
4 tablespoons lemon juice

Directions:
1. Preheat oven to 350 degrees. Butter a loaf pan.

2. In a medium bowl, cream the butter and sugar until light and fluffy. Add the lemon juice, lemon zest and vanilla and mix. Add the yogurt and then the eggs, one at a time – mixing between each addition. Add the dry ingredients, the flour, baking powder, salt and rosemary, and mix until combined.

3. Pour batter into prepared loaf pan and bake for 45 to 50 minutes, or until a toothpick inserted into the middle comes out clean. Cool in the pan for 10 minutes than remove it from the pan and allow to cool completely on a rack.

4. When loaf is completely cool, make the glaze by mixing the powdered sugar and lemon juice in a small bowl. Place foil under the rack with the loaf to catch the drippings and then drizzle the glaze over the top. Let stand until glaze is set.

20140204-141005.jpg


Filed Under: Bread, Breakfast, Desserts, Easy Tagged With: Bread, cake, crowd, Desserts, lemon, rosemary

« Previous Page
Next Page »

Meet Mackenzie

Hi! I'm Mackenzie! I'm currently a Fulbright English Teaching Assistant in Indonesia! I'm writing all about my year on this blog and hope you'll follow along on this journey! Read More…

Disclaimer:

Students and Indonesian Friends: Please don't take anything I say here as critical of my experience or you and your culture. Rather, through this blog I want to share my experience in your country with my friends and family in America! I may write and laugh about a lot of things that are different but none of it is bad, it's just different!

This blog is not an official Department of State website, and the views and information presented here are my own and do not represent the Fulbright Program or the Department of State.

My Latest Posts on Instagram

[instagram-feed]

My Latest Reads

My Latest Reads

Between the World and Me
5 of 5 stars
Between the World and Me
by Ta-Nehisi Coates
If You Follow Me: A Novel
3 of 5 stars
If You Follow Me: A Novel
by Malena Watrous
The Goldfinch
4 of 5 stars
The Goldfinch
by Donna Tartt
Missoula: Rape and the Justice System in a College Town
4 of 5 stars
Missoula: Rape and the Justice System in a College Town
by Jon Krakauer
Station Eleven
4 of 5 stars
Station Eleven
by Emily St. John Mandel
Fight Back and Win
2 of 5 stars
Fight Back and Win
by Gloria Allred

goodreads.com

Archives

  • August 2017 (1)
  • June 2017 (2)
  • March 2017 (1)
  • February 2017 (1)
  • January 2017 (1)
  • December 2016 (1)
  • November 2016 (3)
  • October 2016 (3)
  • September 2016 (2)
  • August 2016 (2)
  • June 2016 (1)
  • May 2016 (3)
  • April 2016 (1)
  • March 2016 (4)
  • February 2016 (2)
  • January 2016 (1)
  • December 2015 (3)
  • November 2015 (2)
  • October 2015 (4)
  • September 2015 (5)
  • August 2015 (6)
  • June 2015 (2)
  • March 2015 (1)
  • December 2014 (4)
  • November 2014 (3)
  • October 2014 (3)
  • September 2014 (4)
  • August 2014 (5)
  • July 2014 (4)
  • June 2014 (2)
  • April 2014 (1)
  • March 2014 (4)
  • February 2014 (1)
  • January 2014 (3)
  • December 2013 (5)
  • November 2013 (3)
  • October 2013 (1)
  • September 2013 (4)
  • August 2013 (3)
  • July 2013 (2)
  • June 2013 (6)
  • May 2013 (6)
  • April 2013 (6)
  • March 2013 (3)
  • February 2013 (7)
  • December 2012 (10)
  • November 2012 (4)
  • October 2012 (1)
  • September 2012 (3)
  • July 2012 (3)
  • June 2012 (5)
  • May 2012 (18)

Mackenzie

Hi! I'm Mackenzie! I'm currently a Fulbright English Teaching Assistant in Indonesia! I'm writing all about my year on this blog and hope you'll follow along on this journey! Read More…

A Look Back

A big, beautiful pie that will be a perfect ending to your Thanksgiving feast!
This blog is not an official U.S. Department of State website and the views and opinions expressed here are entirely my own, and do not represent the U.S. Department of State or the Fulbright Program.

Copyright © 2025 · Foodie Child Theme by Shay Bocks · Built on the Genesis Framework · Powered by WordPress