The Year of Living Audaciously

Former food blog, now travel blog - following my year as a Fulbright ETA in Indonesia

  • Home
  • About Me
    • Travels and Life Updates
    • Privacy Policy
  • Fellow Fulbrighters
  • Never Skip Dessert
    • Recipes By Category
    • Recipe Index
    • The Best of the Best
    • The Social Kitchen Project
  • Recommended

Peppermint Bark Popcorn

December 18, 2014 by Mackenzie

Peppermint Bark Popcorn

I’m excited to be writing this post from Seattle! Woohoo! After a long day of traveling, with 2 flights, 3 mean flight attendants, 2 nice flight attendants, 1 allergic seat mate and finally 2 nice guys who put up with a sleepy, smelly puppy… we made it! She’s happy to have a yard, I’m happy to have someone else to pass the responsibilities off to and we’re both happy to be home with our momma, Tom and Spence!

Home with the fam

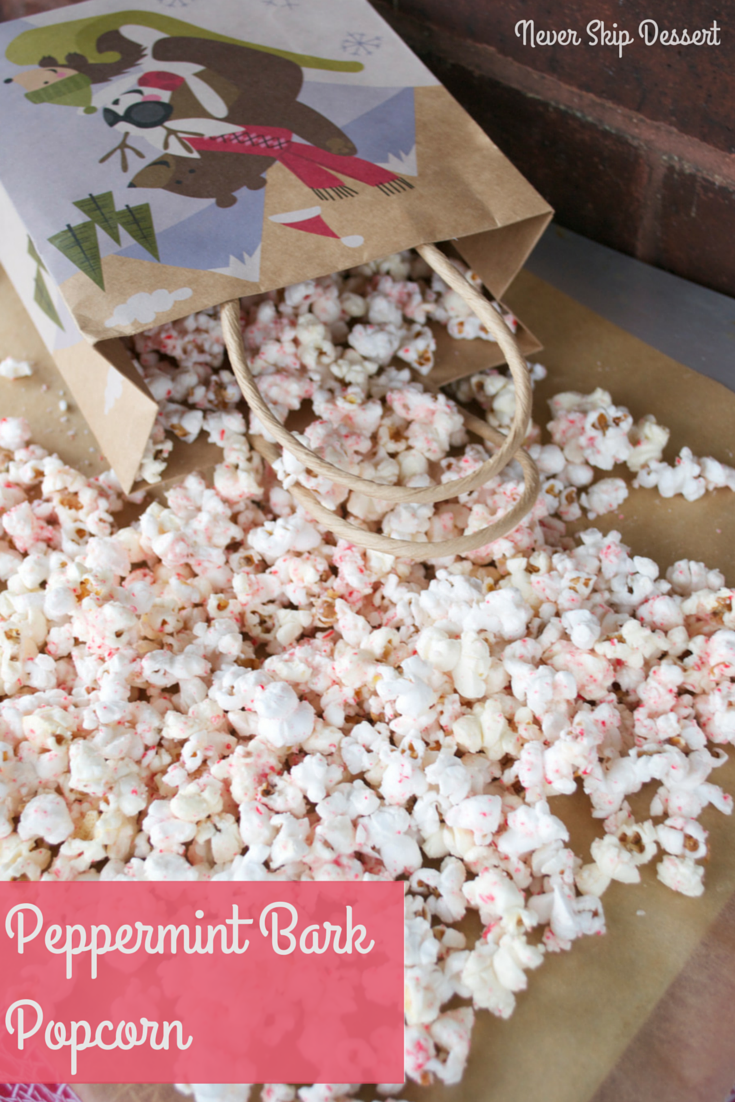
Before I left, I had to proctor and grade exams for the class I’m a TA for. I knew we had a long night of grading ahead of us so I decided to bring this Peppermint Bark Popcorn as a treat to munch on all night.

Peppermint Bark Popcorn

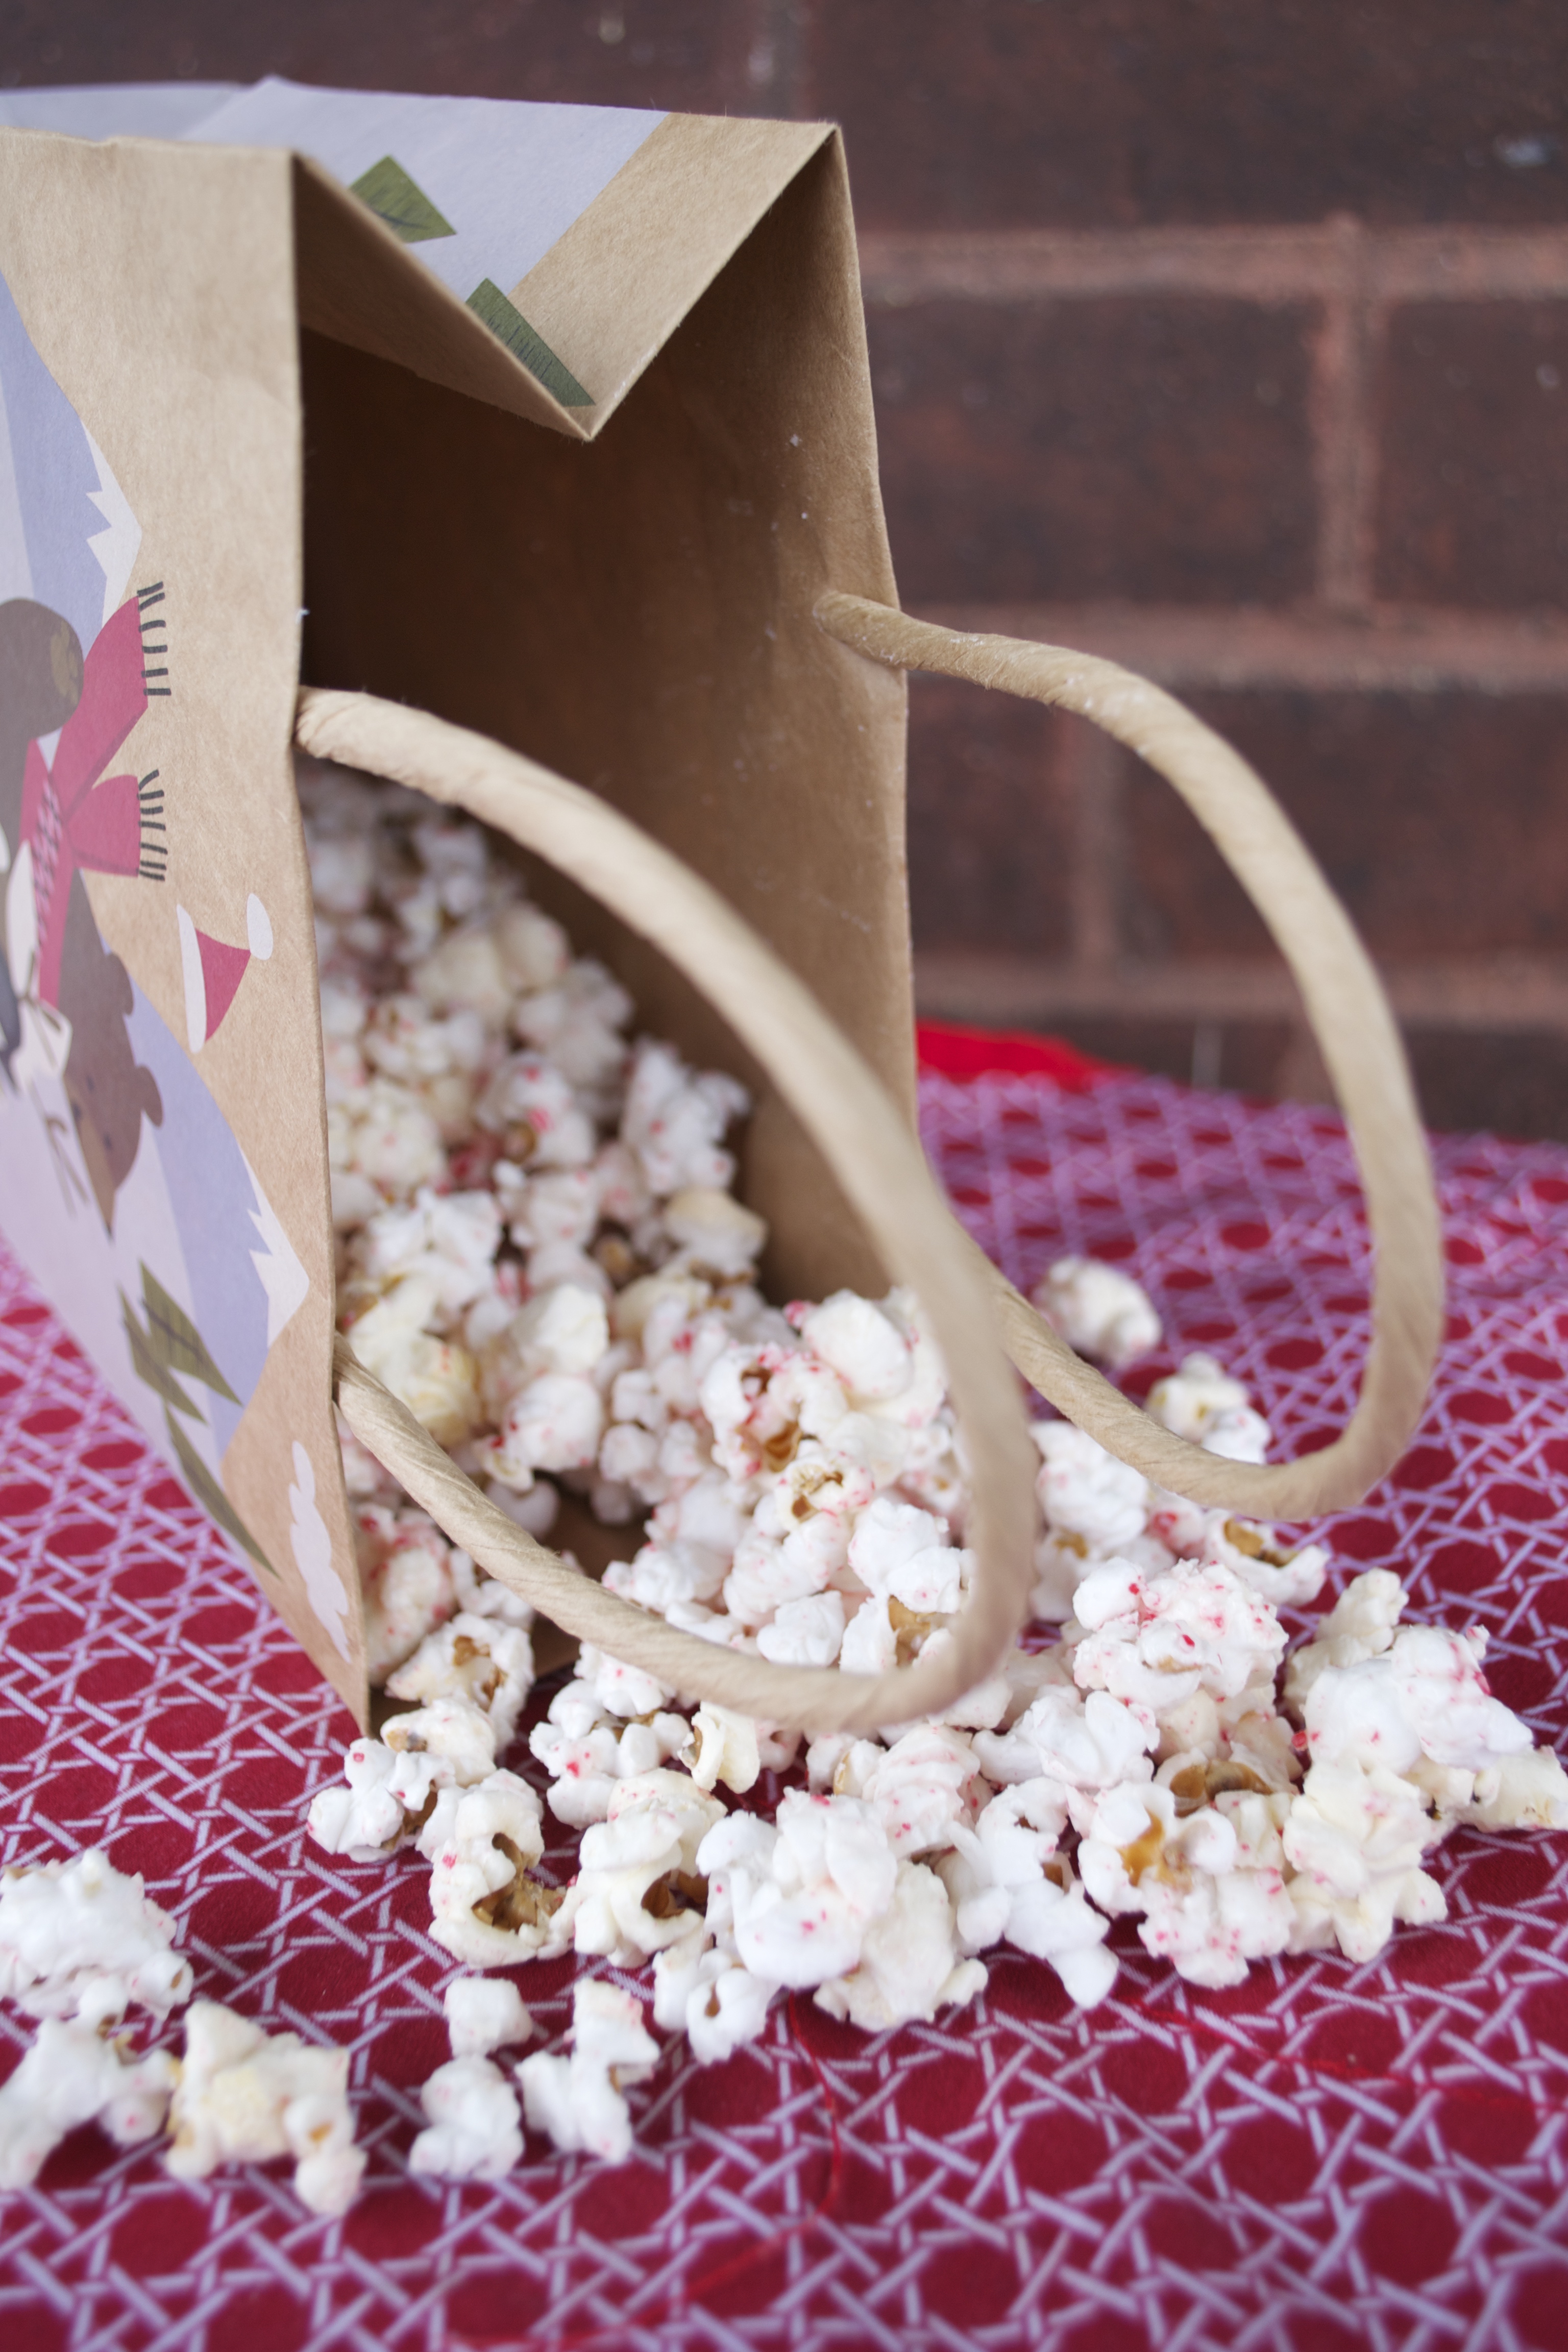
I was inspired by this post from Plain Chicken and knew I had to give it a shot. I had tried making it a few times in the last week and each time was a failure! Either I didn’t let the oil get hot enough and burned the kernels before they popped or the white chocolate didn’t melt and I had clumps of chocolate in my popcorn (not complaining). But I finally figured out the trick of it and am ready to share the recipe with you! It’s really quite easy to make and is perfect for a family movie night or to wrap up as gifts for friends! Let me know what you think!

Peppermint Bark Popcorn

Peppermint Bark Popcorn with Homemade Popcorn
Recipe Type: Snack
Cuisine: Christmas
Author: Mackenzie
Prep time: 20 mins
Total time: 20 mins
An easy Christmas treat! I make my popcorn over the stove so I know exactly what is in it – no creepy chemicals please! Once you get the hang of it, it’s easy!
Ingredients
  • 2 tablespoons olive oil
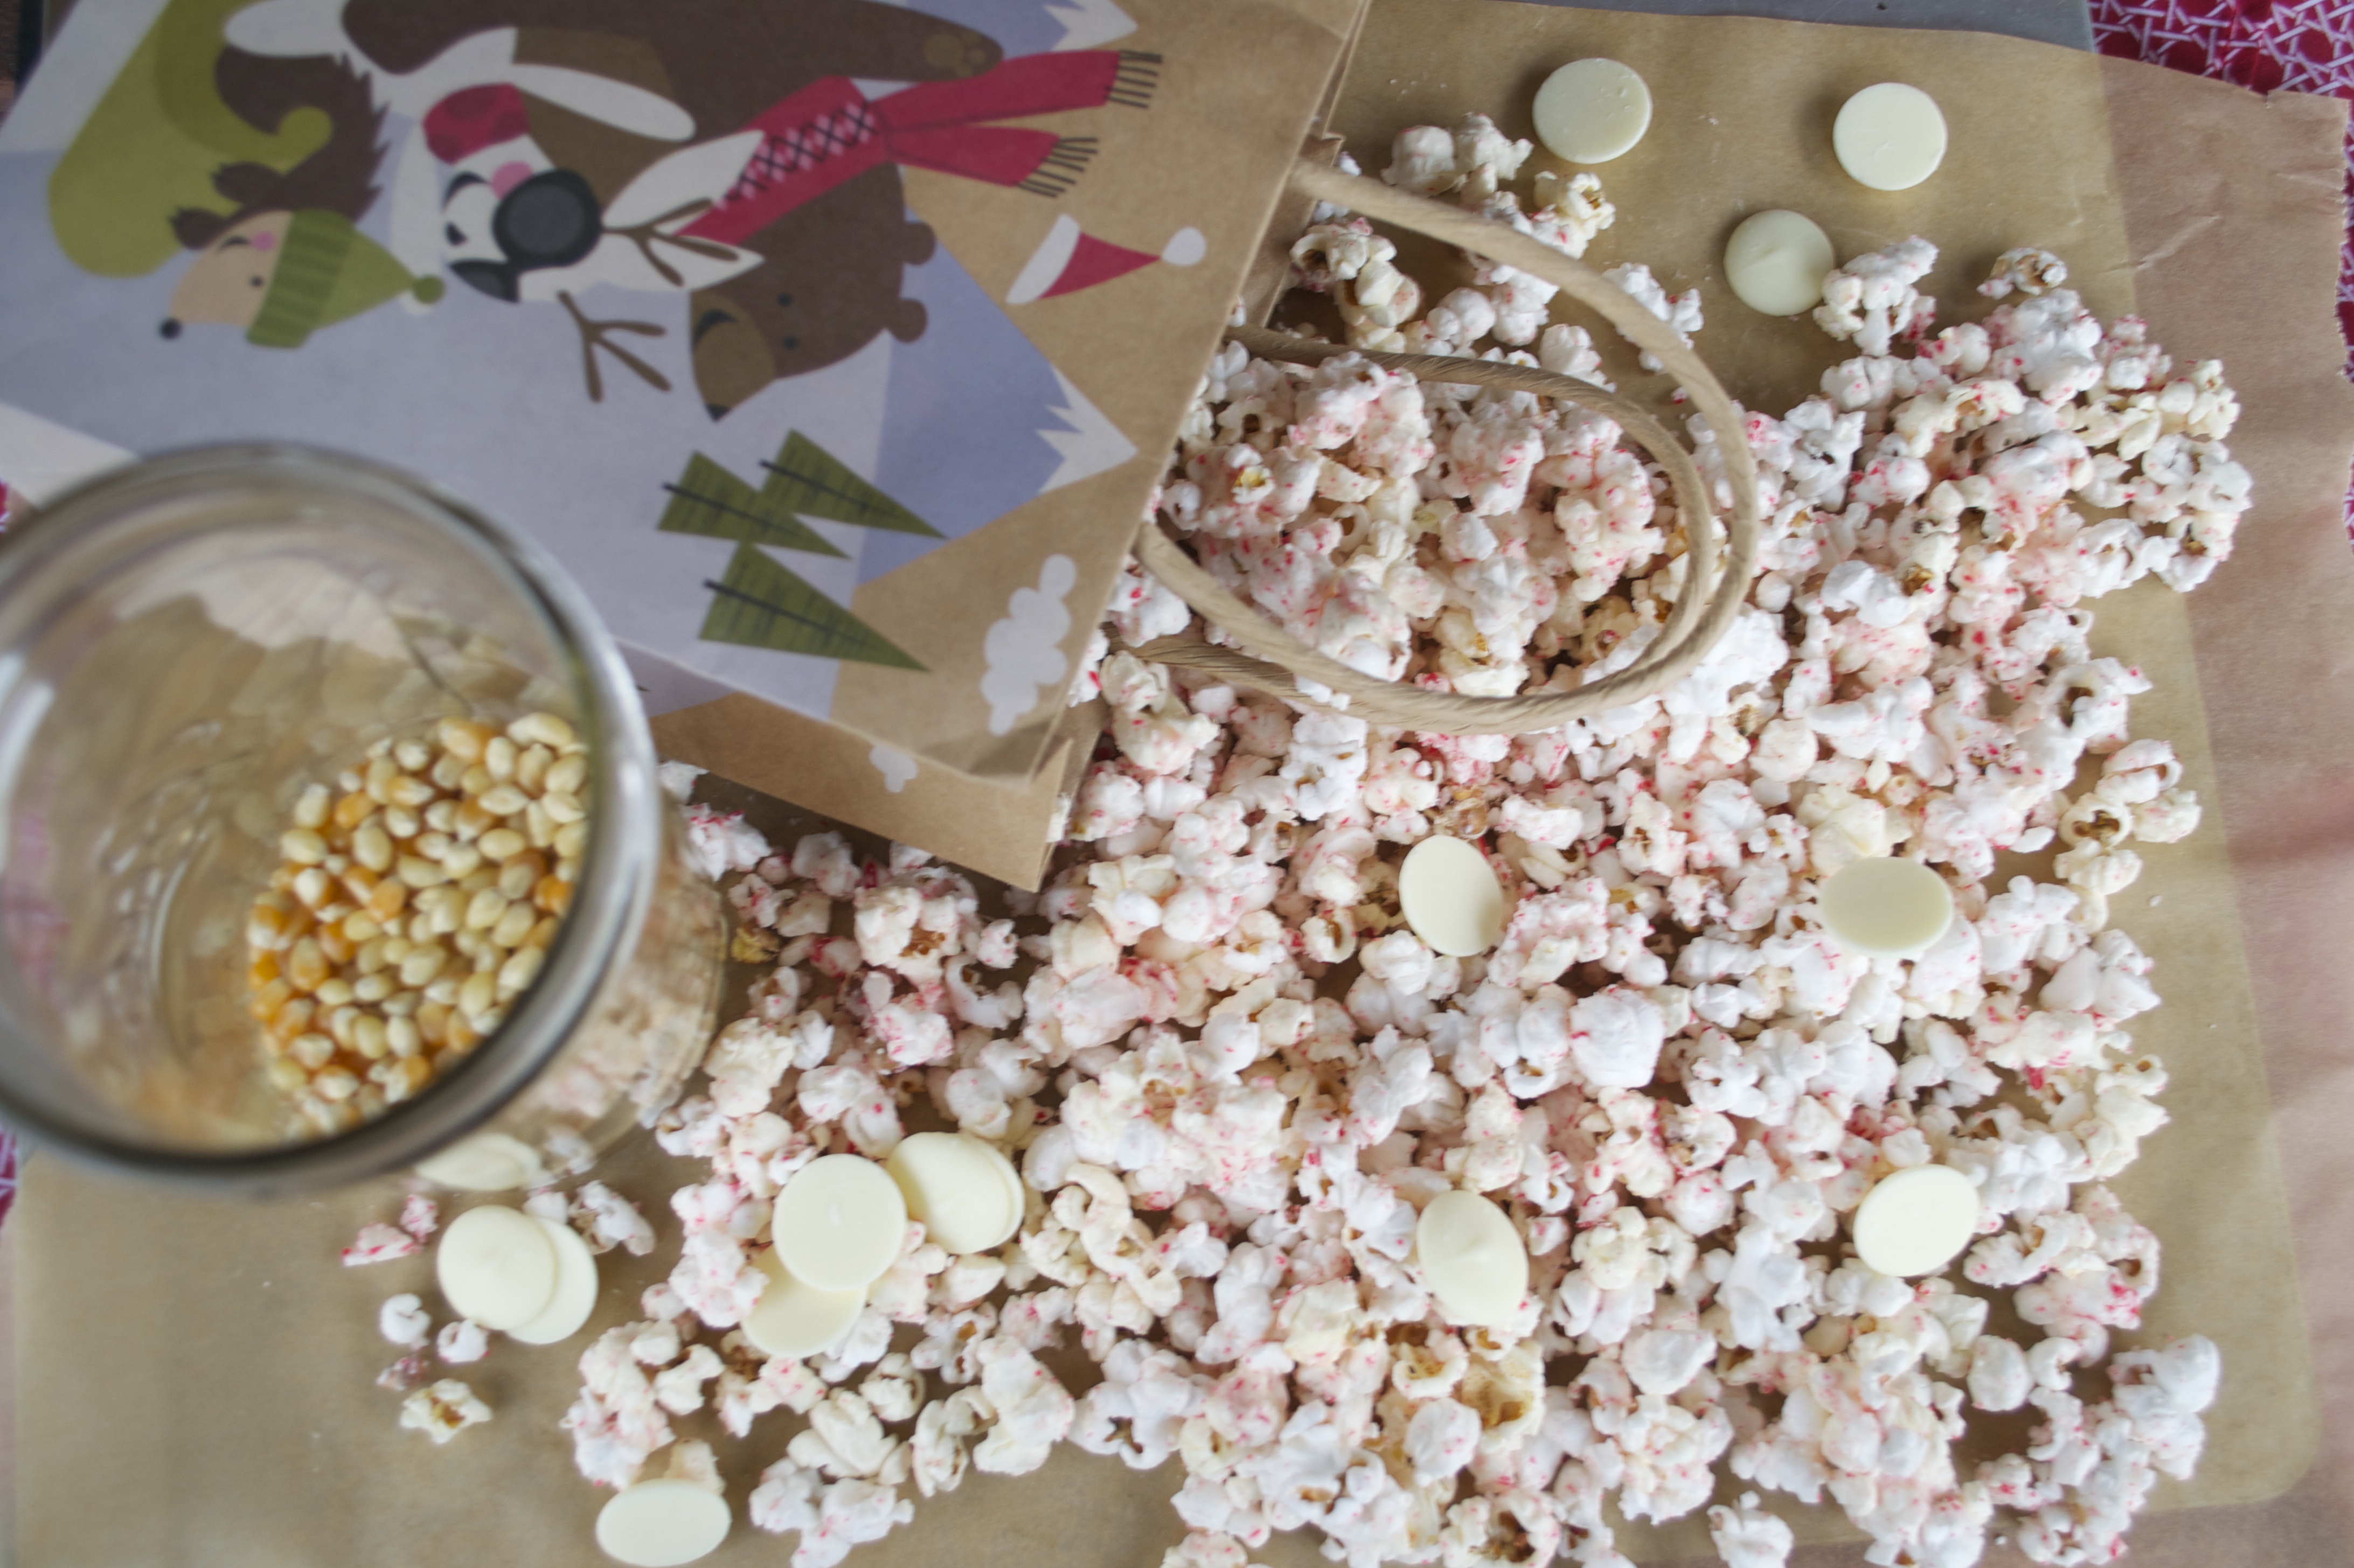
  • 1/3 cup popcorn kernels
  • 2 teaspoons peppermint extract, divided
  • 3 oz candy canes, crushed
  • 1 cup melting white chocolate chips, (don’t use chocolate chips – they don’t always melt well. Buy the melting chocolate – it’s so worth it)
Instructions
  1. In a large pot with a lid, heat the oil over medium-high heat. Important: wait until it is HOT. Drop a kernel or two into the oil, swish it around so it’s coated, put the lid on and wait for it to pop. Don’t add the rest of the kernels until this one has popped and the oil is hot enough. Otherwise, you’ll just burn your kernels and they will never pop (trust me on this).
  2. When the first kernel has popped, add the rest of the kernels, swish them all around so they are coated in oil, put the lid on with a crack of air and watch them pop! When they have slowed down, turn the heat off and shake the pot to get the last ones to pop. Pour 1 teaspoon of peppermint extract over the popcorn and stir it in with a big wooden spoon.
  3. While the popcorn is popping, remove the wrappers from the candy canes. Crush them by hand or in a food processor (so much easier). Pour half of the crushed candy canes over the popcorn and stir to mix.
  4. Melt the chocolate according to package directions. Pour the remaining half of the candy canes into the white chocolate and stir. Pour the melted chocolate over the popcorn and mix well.
  5. Cover a baking sheet with parchment paper and spread the popcorn over it to allow the chocolate to harden.
3.2.2885


Filed Under: Appetizers, Christmas, Desserts, Easy, Seasonal, Snacks, Winter Tagged With: candy canes, Christmas, Desserts, gift, holiday, Peppermint, popcorn, snack

Falafel Hummus

September 6, 2014 by Mackenzie

Okay, why have I never attempted to make my own hummus before?! I am a big veggies/hummus/pita eater… its a healthy, easy go-to meal or snack but I ALWAYS go through my hummus so fast! And have you realized how expensive it is to buy? It’s crazy!

Falafel Hummus3

It’s really crazy because of how EASY it is to make your own! I know a lot of people who make their own hummus, I had just never tried it. Well, I saw this recipe for Falafel hummus on pinterest and decided to give it a whirl! I had a can of chickpeas in my pantry and I had all the spices on hand – so it was incredibly easy and inexpensive to make!


Falafel Hummus4Plus, it is so satisfying! It is easy to tweak the flavors and adjust to your liking too! I can’t wait to try more soon!

Falafel Hummus

Falafel Hummus
Recipe Type: side, dip
Cuisine: vegetarian, gluten-free, vegan
Author: Mackenzie
Prep time: 5 mins
Total time: 5 mins
Recipe adapted from VeggieandtheBeastFeast.com
Ingredients
  • 1 (15 oz) can chickpeas, rinsed and drained
  • 2 cloves garlic, minced
  • 1/2 tablespoon dried oregano
  • 1/2 tablespoon ground cumin
  • 1/2 tablespoon ground coriander
  • 1/2 teaspoon chili powder
  • 1/8 teaspoon crushed red pepper
  • 1/2 teaspoon sea salt
  • 2 tablespoons tahini
  • 6 tablespoons water
  • 3 tablespoons olive oil, plus more to drizzle on top
Instructions
  1. Place chickpeas, garlic, oregano, cumin, coriander, chili powder, crushed red pepper, sea salt, tahini and water in a food processor and blend until smooth. Scrap down sides as needed. Pour olive oil in while blending and process until smooth. Add more water if you want a smoother texture.
  2. To serve, transfer to a serving dish, drizzle with olive oil and sprinkle with paprika. Serve with vegetables like cucumbers or carrots or pita and falafel.
3.2.2802


Filed Under: Appetizers, Dinner, Easy, Healthy, Lunch, Sides Tagged With: Appetizer, carrots, chickpeas, cucumber, Dinner, Easy, falafel, Feature, healthy, hummus, Lunch, pita, snack, tahini

G-team Banana Bread

September 6, 2013 by Mackenzie

Last weekend, we (the WU golf team) traveled to Michigan for our first tournament of the year! We played really well and won the tournament! Yeah Bears! Now, I knew that we needed a little something extra to get us through an 8-hour bus ride so I brought along some banana bread. As a team well-known for our bottom-less stomachs and endless appetite for dessert – I knew the bread wouldn’t last long. And it certainly didn’t – they loved it! Since we won the tournament, maybe this bread needs to become a tournament tradition 😉

P1010017

G-team Banana Bread
Makes 1 loaf
Recipe from my Grandma Mary

Ingredients:
1/2 cup butter
1 cup sugar
2 eggs
1/2 teaspoon salt
1 teaspoon vanilla
1 teaspoon baking powder
2 cups flour
3 ripe bananas, mashed

Directions:
1. Preheat oven to 300 degrees. Grease and flour a loaf pan.

2. In the bowl of a stand mixer, cream the butter and sugar. Add the eggs, salt and vanilla and mix well. Mix in the baking powder and flour, then add the mashed bananas. Mix until just combined. Pour into prepared loaf pan and bake for 1 hour!

P1010020

Filed Under: Bread, Breakfast Tagged With: bananas, Bread, Breakfast, snack

“Once-a-week” Sweet Potato Bread

April 10, 2013 by Mackenzie

So you probably know I have an obsession with sweet potatoes. Every time I go to the store I buy 3-4 and would gladly eat them for my next three meals! I made this bread for the first time about six weeks ago and LOVED it – and now my suite requests it every week! I’ve been tinkering with the recipe to bring down the amount of butter and finally found the right balance! The best part about this bread is how moist it it – oh my gosh I want a slice right now.

P1000289

Sweet Potato Bread
Makes 1-2 loaves (it depends on the size of your sweet potato. The first couple times I made it, it all fits in one loaf pan – the last time it made two loaves. You can always freeze the second loaf!)
Recipe adapted from Three Clever Sisters

Ingredients:
1 cup all-purpose flour
1/2 cup whole wheat pastry flour (do not use regular whole wheat flour – it totally changes the taste. If you don’t have whole wheat pastry flour, all AP flour is fine)
1 teaspoon salt
1 teaspoon baking soda
1/2 teaspoon baking powder
1/2 teaspoon ground cinnamon
1/2 teaspoon ground nutmeg
Flesh from 1 med-large sweet potato
2/3 cup granulated sugar
1/3 cup packed light brown sugar
6 tablespoons unsalted butter, melted
2 tablespoons unsweetened applesauce
2 large eggs, at room temperature
1 teaspoon vanilla extract
1/2 cup skim milk

Directions:

1. Roast the sweet potato. Preheat oven to 425F, wash sweet potato, pierce it several times with a fork and place on a foil covered baking sheet in the oven for forty five minutes to one hour, or until a knife runs through it easily. Allow to cool. (You should do this step a couple hours in advance)
2. Preheat oven to 350F. Spray a loaf pan with non-stick spray and dust with flour to prevent the bread from sticking.
3. In a medium bowl, stir together the flours, salt, baking soda, baking powder, cinnamon and nutmeg.
4. In a separate bowl, beat the sweet potato flesh, sugar, and brown sugar with a mixer until well combined. Mix in butter and applesauce then add the eggs one at a time, mixing between each one. Beat in the vanilla.
5. On low speed, add half the flour mixture, beat it then add half the milk and beat again. Repeat with remaining flour and milk. Do not overbeat.
6. Pour batter into prepared pan and bake until a toothpick inserted into the middle of the bread comes out clean, about an hour. Let bread cool in pan for 20 minutes then allow to cool on a rack.

P1000283

Filed Under: Bread, Breakfast, Easy, Snacks Tagged With: Bread, Breakfast, snack, sweet potatoes

Anything and Everything, Chewy Oatmeal Bars

March 5, 2013 by Mackenzie

Anything and Everything, Chewy Oatmeal Bars

Now that the golf season has officially started, my days are a bit more jam-packed than they used to be. I fly from my last class to my dorm, change and am up to the Clocktower in just 15 minutes (usually that would take least 25 minutes). And of course, it’s 4 o’clock, which means I’m starting to get hungry…

I made these bars this weekend as a grab-and-go snack for when I’m running out the door to practice. I knew I wanted something that wasn’t crunchy and would make a mess in the car when I bit into it, that would reenergize me for golf and that would be a tasty snack to look forward to!

These bars are great because you can use whatever you have on hand – hence the name, “anything and everything.” I used what I had on hand – dried figs, raisins, walnuts, coconut and sunflower seeds – and they turned out great! I also cut down on the butter from the original recipe and substituted it with applesauce to make these healthier – and you couldn’t tell a difference!

Anything and Everything, Chewy Oatmeal Bars

Anything and Everything, Chewy Oatmeal Bars

Makes 1 8×8 pan – 9 large bars
Recipe adapted from Smitten Kitchen

Ingredients:
1 2/3 cups quick oats
1/2 cup sugar
1/3 cup oat flour (if you don’t have oat flour, measure out 1/3 cup of oats and process in a food processor until very fine)
1/2 teaspoon salt
1/4 teaspoon cinnamon
2 to 3 cups of dried fruits or nuts (my combination was 1/2 cup diced dried figs, 1/2 cup raisins, 1/2 cup of roughly chopped walnuts, 1/3 cup ofshredded coconut, and 1/3 cup raw, unroasted sunflower seeds – other options would be dried cranberries, pecans, almonds, dates, apricots, pepitas, chocolate chips…)
1/3 cup peanut butter or almond butter
1 teaspoon almond extract
3 tablespoons melted butter
3 tablespoons unsweetened applesauce
1/4 cup honey or maple syrup
2 tablespoons lightcorn syrup
1 tablespoon water

Directions:
1. Preheat oven to 350 degrees. Line an 8×8 baking pan with parchment paper, making sure it comes up the sides so you can easily remove the bars from the pan. Lightly spray the parchment paper with non-stick spray as an extra precaution.

2. In a large bowl, stir together all the dry ingredients – oats, sugar, oat flour, salt, cinnamon and all the dried fruit and nuts.

3. In a small bowl, whisk together all of the wet ingredients (all the remaining ingredients). Add wet mixture to the dry mixture and mix it all together – I found using my hands was easiest.

4. Spread mixture into prepared pan and pat it all down nice and firm. Bake for 30 to 40 minutes until the edges have begun to brown. When you pull them out, they may seem a little soft but they will harden as they cool, plus you want them soft and chewy. Allow to cool completely and then slice bars. I found that storing them in an airtight container in the refrigerator helped to solidify them if they seem a little crumbly. Enjoy!

Filed Under: Bars, Snacks Tagged With: healthy, snack

Meet Mackenzie

Hi! I'm Mackenzie! I'm currently a Fulbright English Teaching Assistant in Indonesia! I'm writing all about my year on this blog and hope you'll follow along on this journey! Read More…

Disclaimer:

Students and Indonesian Friends: Please don't take anything I say here as critical of my experience or you and your culture. Rather, through this blog I want to share my experience in your country with my friends and family in America! I may write and laugh about a lot of things that are different but none of it is bad, it's just different!

This blog is not an official Department of State website, and the views and information presented here are my own and do not represent the Fulbright Program or the Department of State.

My Latest Posts on Instagram

[instagram-feed]

My Latest Reads

My Latest Reads

Between the World and Me
5 of 5 stars
Between the World and Me
by Ta-Nehisi Coates
If You Follow Me: A Novel
3 of 5 stars
If You Follow Me: A Novel
by Malena Watrous
The Goldfinch
4 of 5 stars
The Goldfinch
by Donna Tartt
Missoula: Rape and the Justice System in a College Town
4 of 5 stars
Missoula: Rape and the Justice System in a College Town
by Jon Krakauer
Station Eleven
4 of 5 stars
Station Eleven
by Emily St. John Mandel
Fight Back and Win
2 of 5 stars
Fight Back and Win
by Gloria Allred

goodreads.com

Archives

  • August 2017 (1)
  • June 2017 (2)
  • March 2017 (1)
  • February 2017 (1)
  • January 2017 (1)
  • December 2016 (1)
  • November 2016 (3)
  • October 2016 (3)
  • September 2016 (2)
  • August 2016 (2)
  • June 2016 (1)
  • May 2016 (3)
  • April 2016 (1)
  • March 2016 (4)
  • February 2016 (2)
  • January 2016 (1)
  • December 2015 (3)
  • November 2015 (2)
  • October 2015 (4)
  • September 2015 (5)
  • August 2015 (6)
  • June 2015 (2)
  • March 2015 (1)
  • December 2014 (4)
  • November 2014 (3)
  • October 2014 (3)
  • September 2014 (4)
  • August 2014 (5)
  • July 2014 (4)
  • June 2014 (2)
  • April 2014 (1)
  • March 2014 (4)
  • February 2014 (1)
  • January 2014 (3)
  • December 2013 (5)
  • November 2013 (3)
  • October 2013 (1)
  • September 2013 (4)
  • August 2013 (3)
  • July 2013 (2)
  • June 2013 (6)
  • May 2013 (6)
  • April 2013 (6)
  • March 2013 (3)
  • February 2013 (7)
  • December 2012 (10)
  • November 2012 (4)
  • October 2012 (1)
  • September 2012 (3)
  • July 2012 (3)
  • June 2012 (5)
  • May 2012 (18)

Mackenzie

Hi! I'm Mackenzie! I'm currently a Fulbright English Teaching Assistant in Indonesia! I'm writing all about my year on this blog and hope you'll follow along on this journey! Read More…

A Look Back

President Bill Clinton
Pear Butter
This blog is not an official U.S. Department of State website and the views and opinions expressed here are entirely my own, and do not represent the U.S. Department of State or the Fulbright Program.

Copyright © 2025 · Foodie Child Theme by Shay Bocks · Built on the Genesis Framework · Powered by WordPress