Halloween may be over, but cooking with pumpkin is most definitely not! I couldn’t possibly wait a whole year to post these because they are mouth-wateringly delicious!
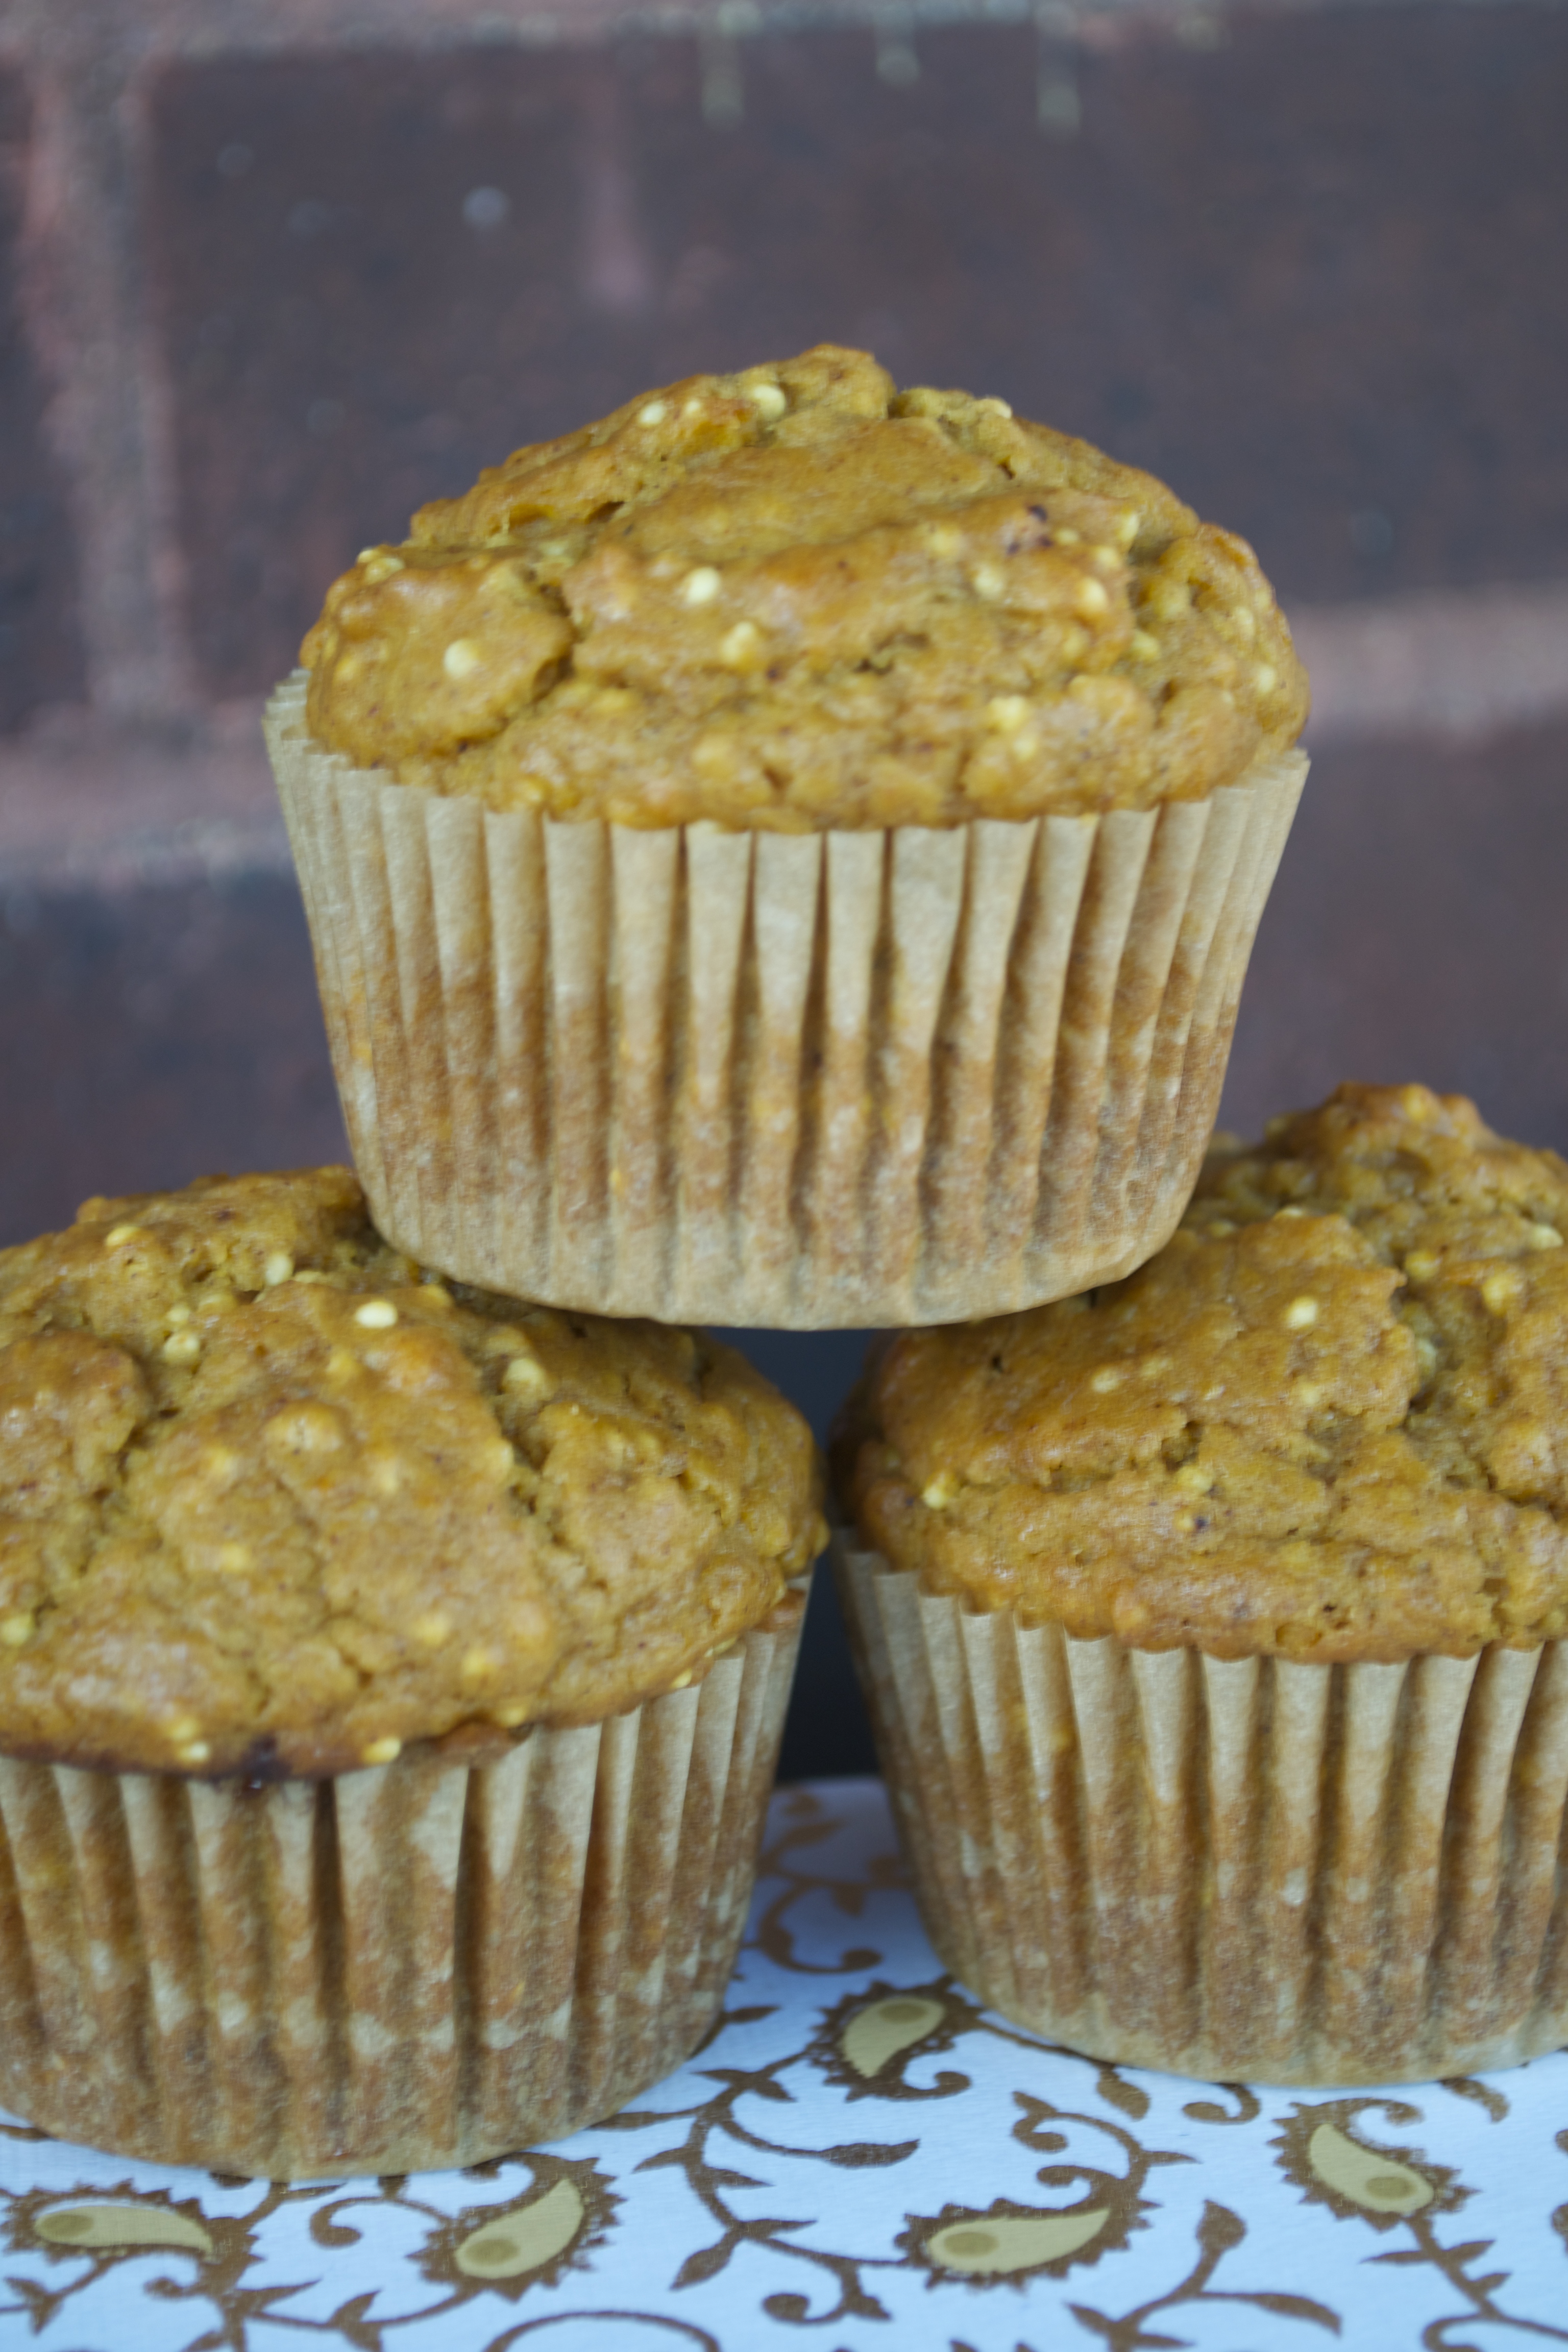
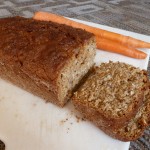
I love these muffins for two reasons. 1) they are exceptionally moist, which is a characteristic I value highly in my muffins! And 2) the addition of the millet gives these muffins a unique texture that I love. In case you’ve never had millet, it is a grain that has a slight crunch to it, even when fully cooked. I’ve never had it in baked goods so was very curious to try it here and I loved the complexity it added! I’ll definitely be trying out millet in some of my other baked goods recipes.
And no, these do not ascribe to my clean eating/real foods lifestyle that I try to live by. But I am completely okay with an occasional treat 🙂 And luckily, I live in a building full of college students who love to eat the fruits of my baking endeavors!
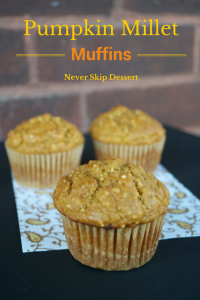
Pumpkin Millet Muffins
Recipe from Whole Foods Market
Makes 14 muffins
Ingredients:
1/2 cup millet
1 egg
1/2 cup sour cream
1/2 cup whole milk
4 tablespoons unsalted butter, melted
1 cup canned pumpkin puree
1/3 cup sugar
1/3 cup packed brown sugar
1 cup all-purpose flour
1 cup whole wheat flour
1 teaspoon baking powder
1/2 teaspoon baking soda
1/2 teaspoon sea salt
1/2 teaspoon cinnamon
1/4 teaspoon nutmeg
1/4 teaspoon ground cloves
Directions:
1. Preheat oven to 400 degrees F. Place paper liners in a muffin pan.
2. Heat a large skillet over medium high heat. Add millet and toast until golden brown, stirring occasionally. You’ll hear the millet begin to pop after 3-4 minutes and that’s when it’s toasted. Remove from heat and set aside.
3. In a large bowl, whisk together egg, sour cream, milk, melted butter, pumpkin, sugar and brown sugar. In a separate bowl, add all the dry ingredients, (flours, baking powder, baking soda, sea salt, spices and cooled millet) and stir to combine. Add the dry ingredients to the wet ingredients, mixing until just combined.
4. Spoon batter into muffin tins, filling cups almost to the top. Bake for 25 minutes or until a toothpick inserted into middle of a muffin comes out clean. Let cool for 5 minutes, then transfer to a cooling rack. They are delicious warm!!!


