The Year of Living Audaciously

Former food blog, now travel blog - following my year as a Fulbright ETA in Indonesia

  • Home
  • About Me
    • Travels and Life Updates
    • Privacy Policy
  • Fellow Fulbrighters
  • Never Skip Dessert
    • Recipes By Category
    • Recipe Index
    • The Best of the Best
    • The Social Kitchen Project
  • Recommended

Walnut Breton Cake

March 11, 2014 by Mackenzie

Well hello! It’s been a LONG time. Over a month actually… I can’t believe how fast time flies and how busy life can get! As I tend to keep having to do, I’m apologizing again for my long absence! This semester has been my busiest one yet, but I think my favorite one as well. I’ve taken on new leadership positions, organized a huge campus-wide event, and am continuing to work part-time, take a full load of classes and play varsity golf.

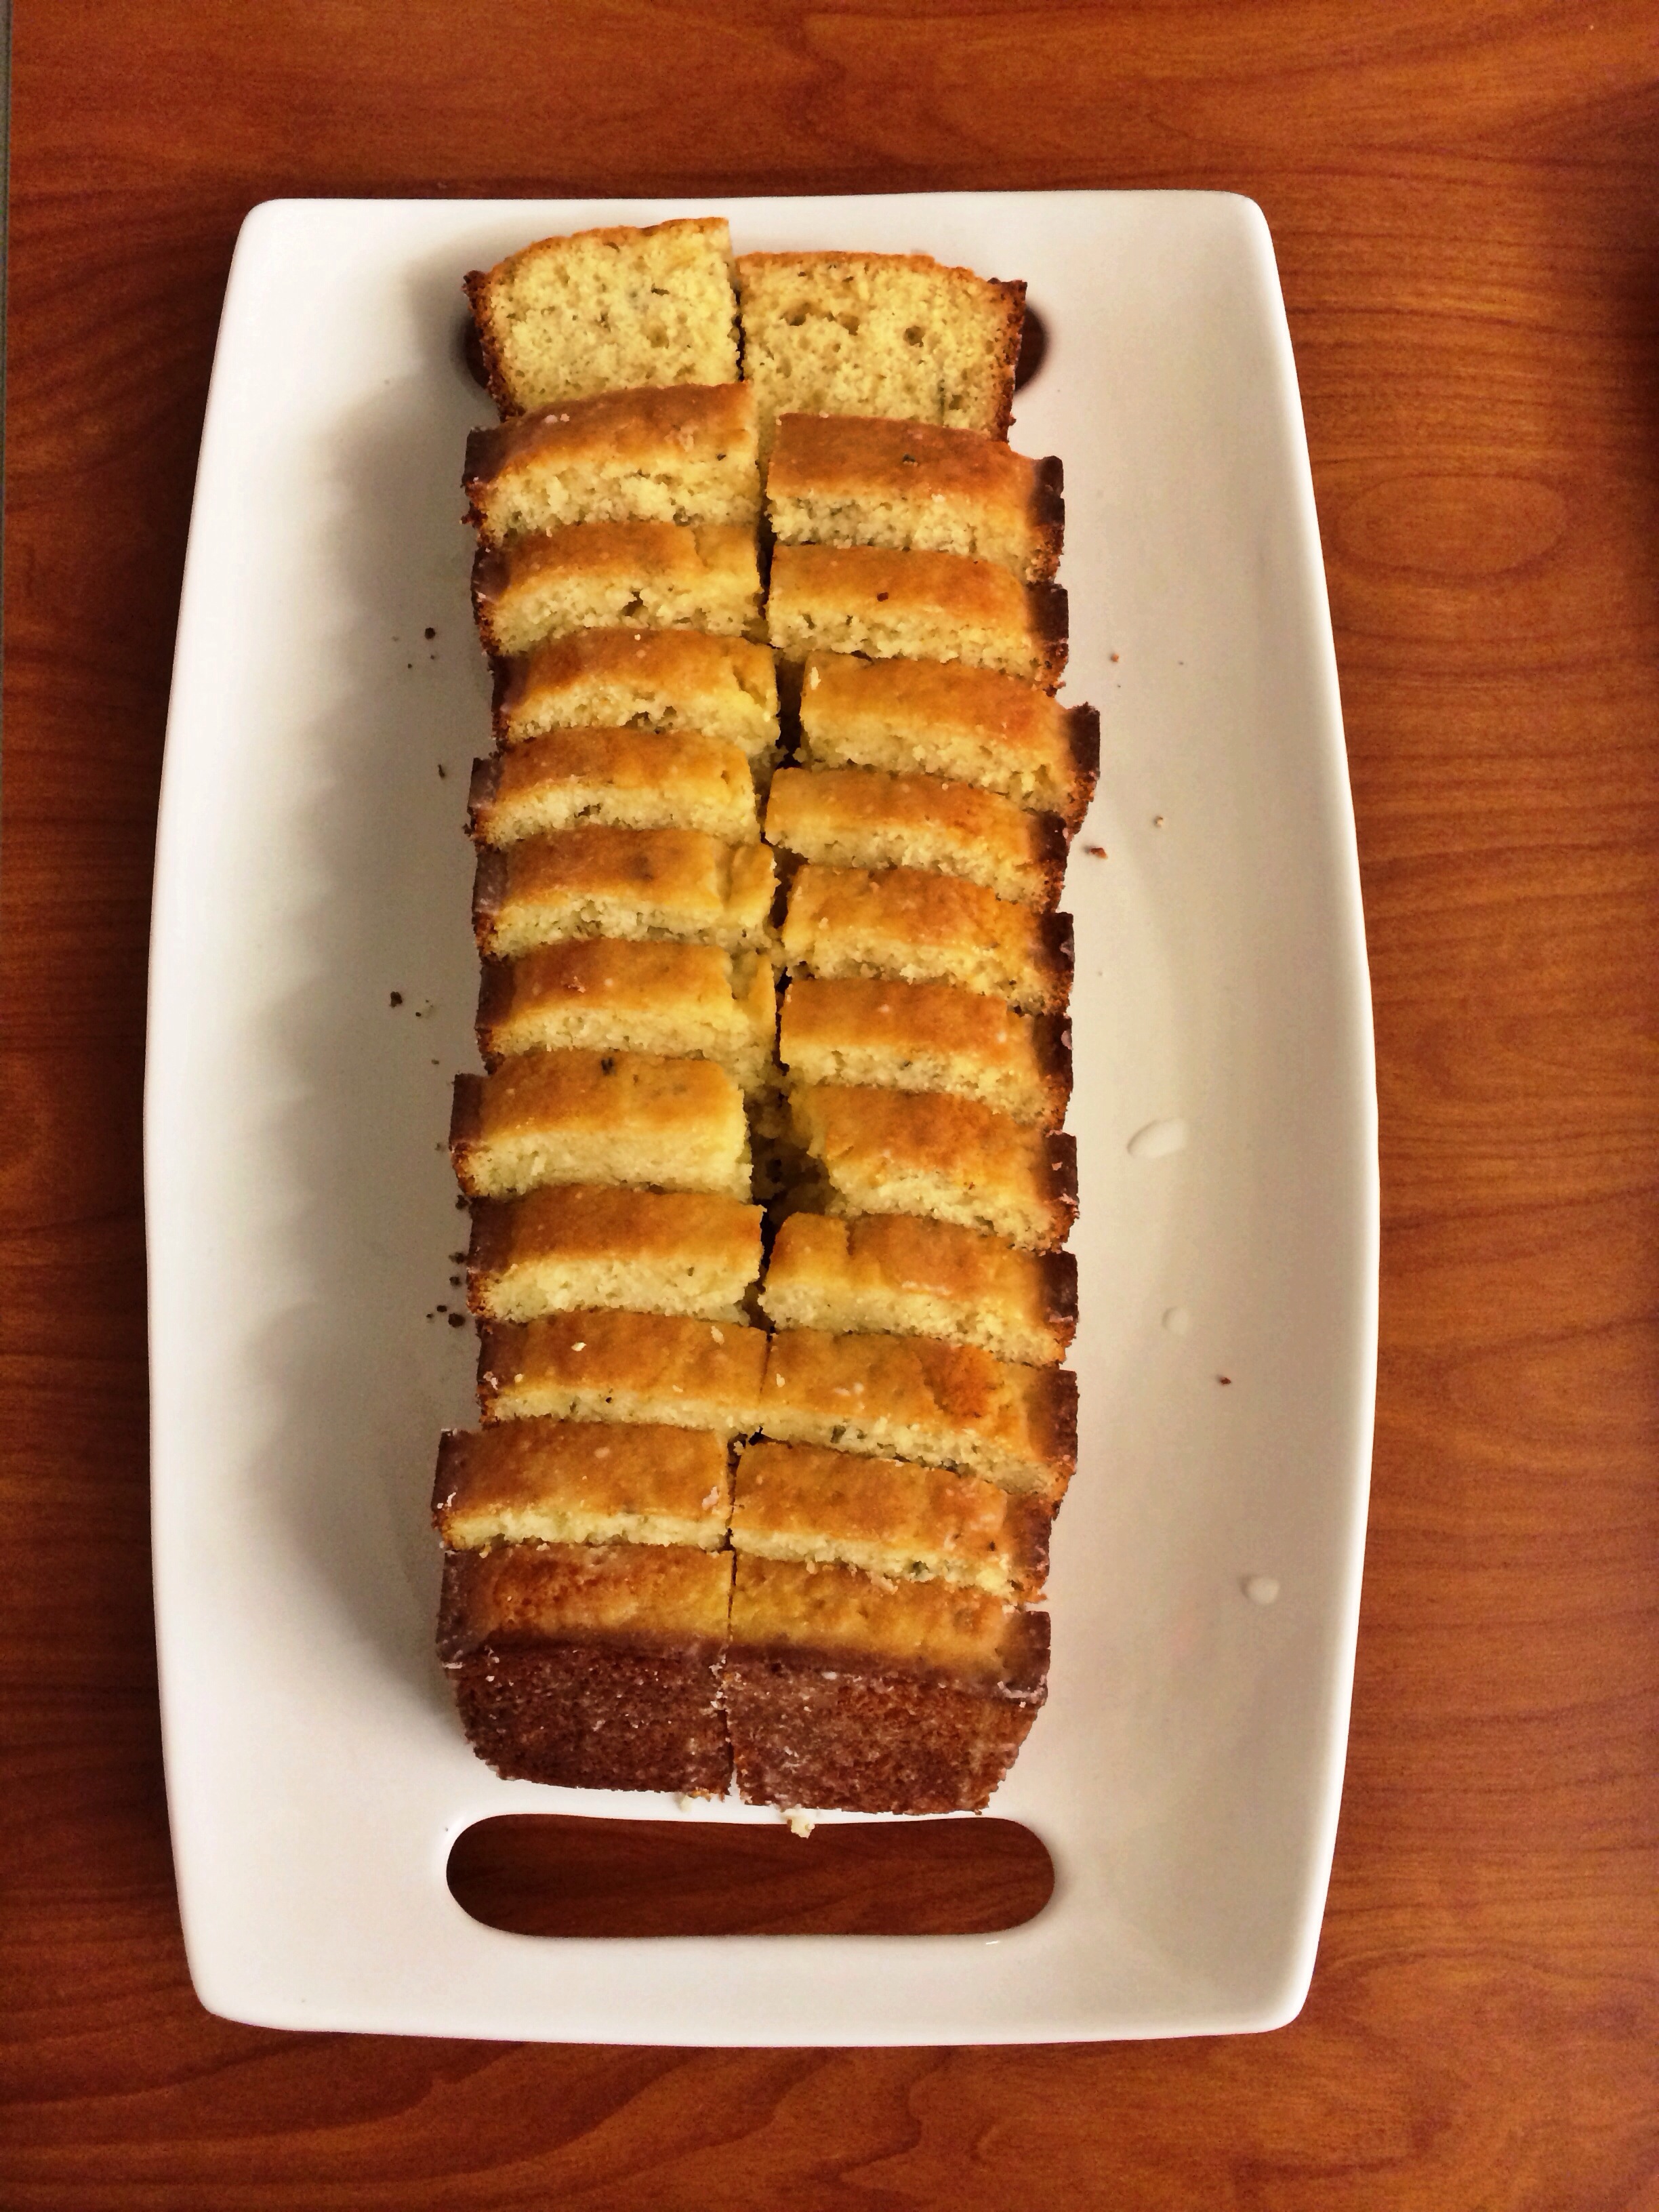
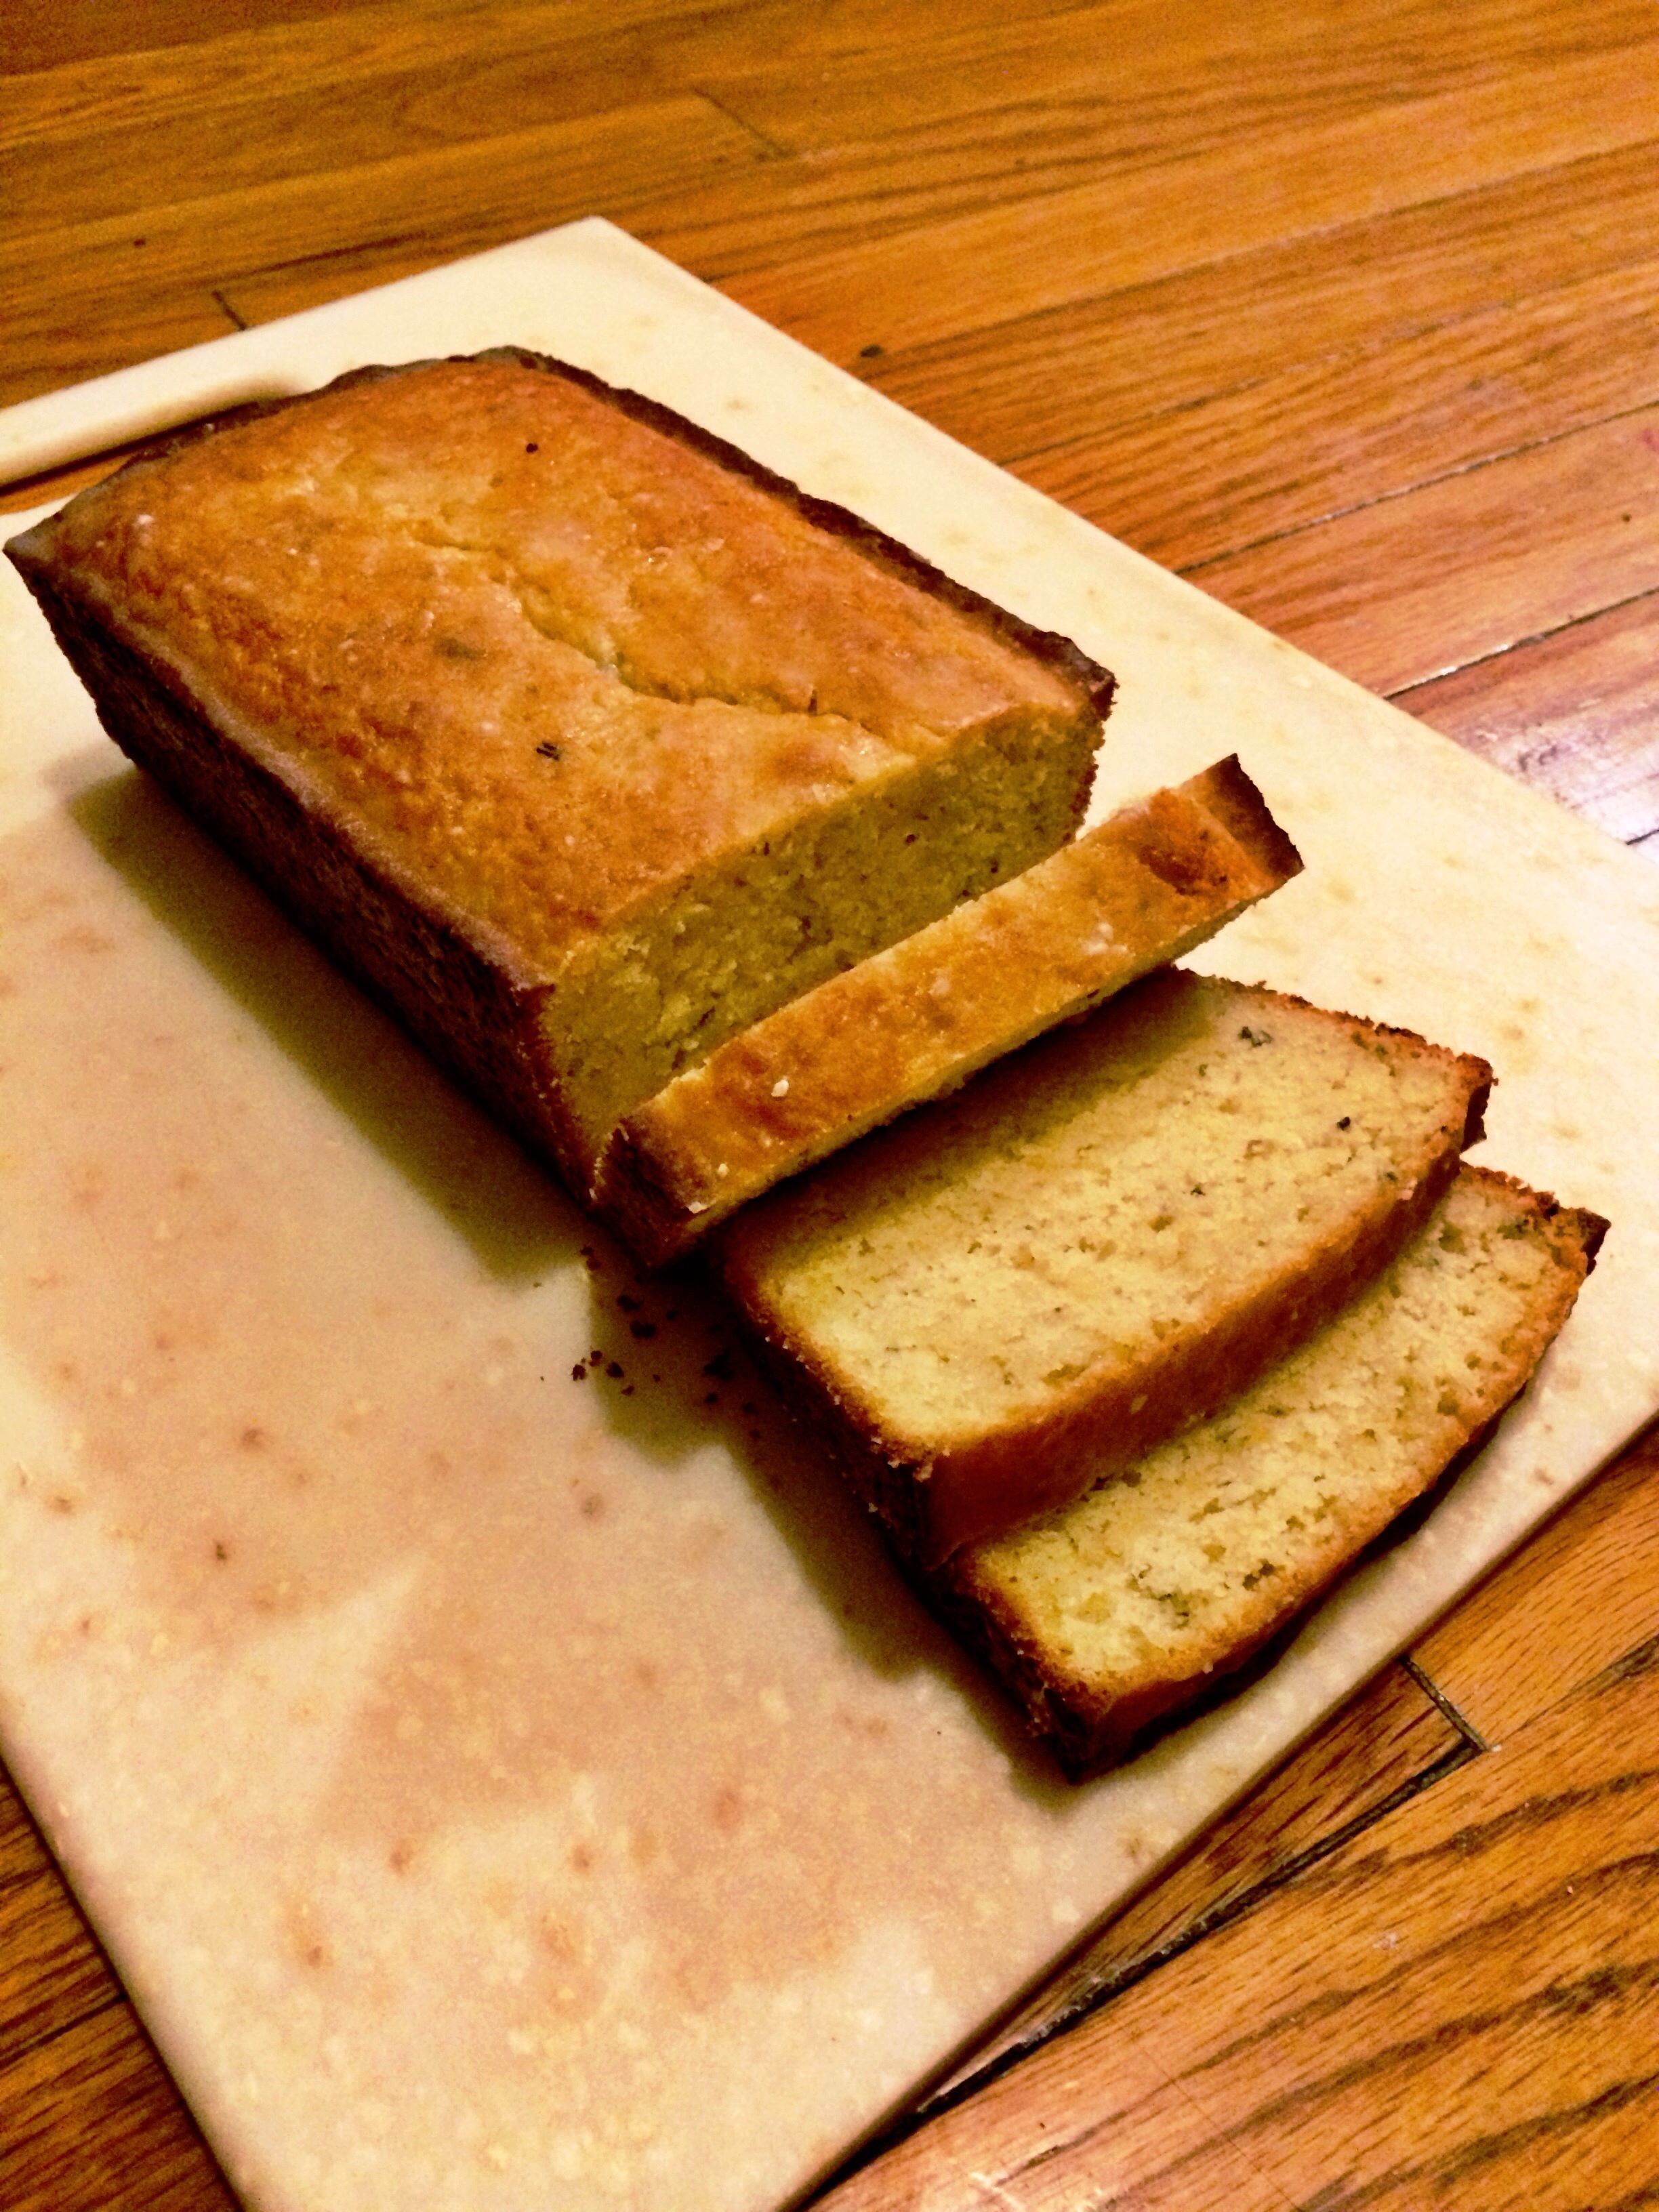
Thankfully, it’s spring break and I’m spending my week here in St. Louis – catching up on sleep, schoolwork and finally getting a chance to cook something besides Trader Joe’s freezer meals and canned soup. Seriously… I hadn’t cooked anything more involved than grilled cheese since my last post about the Lemon Rosemary Bread. But here we are! I’ve got several great recipes to share and so for at least the next few weeks – I’ll have some things to post! Who knows what will happen as this school year starts to wrap up (and how is that possible?!!!!) but for now, I’ve got yummy things to share!

IMG_4260

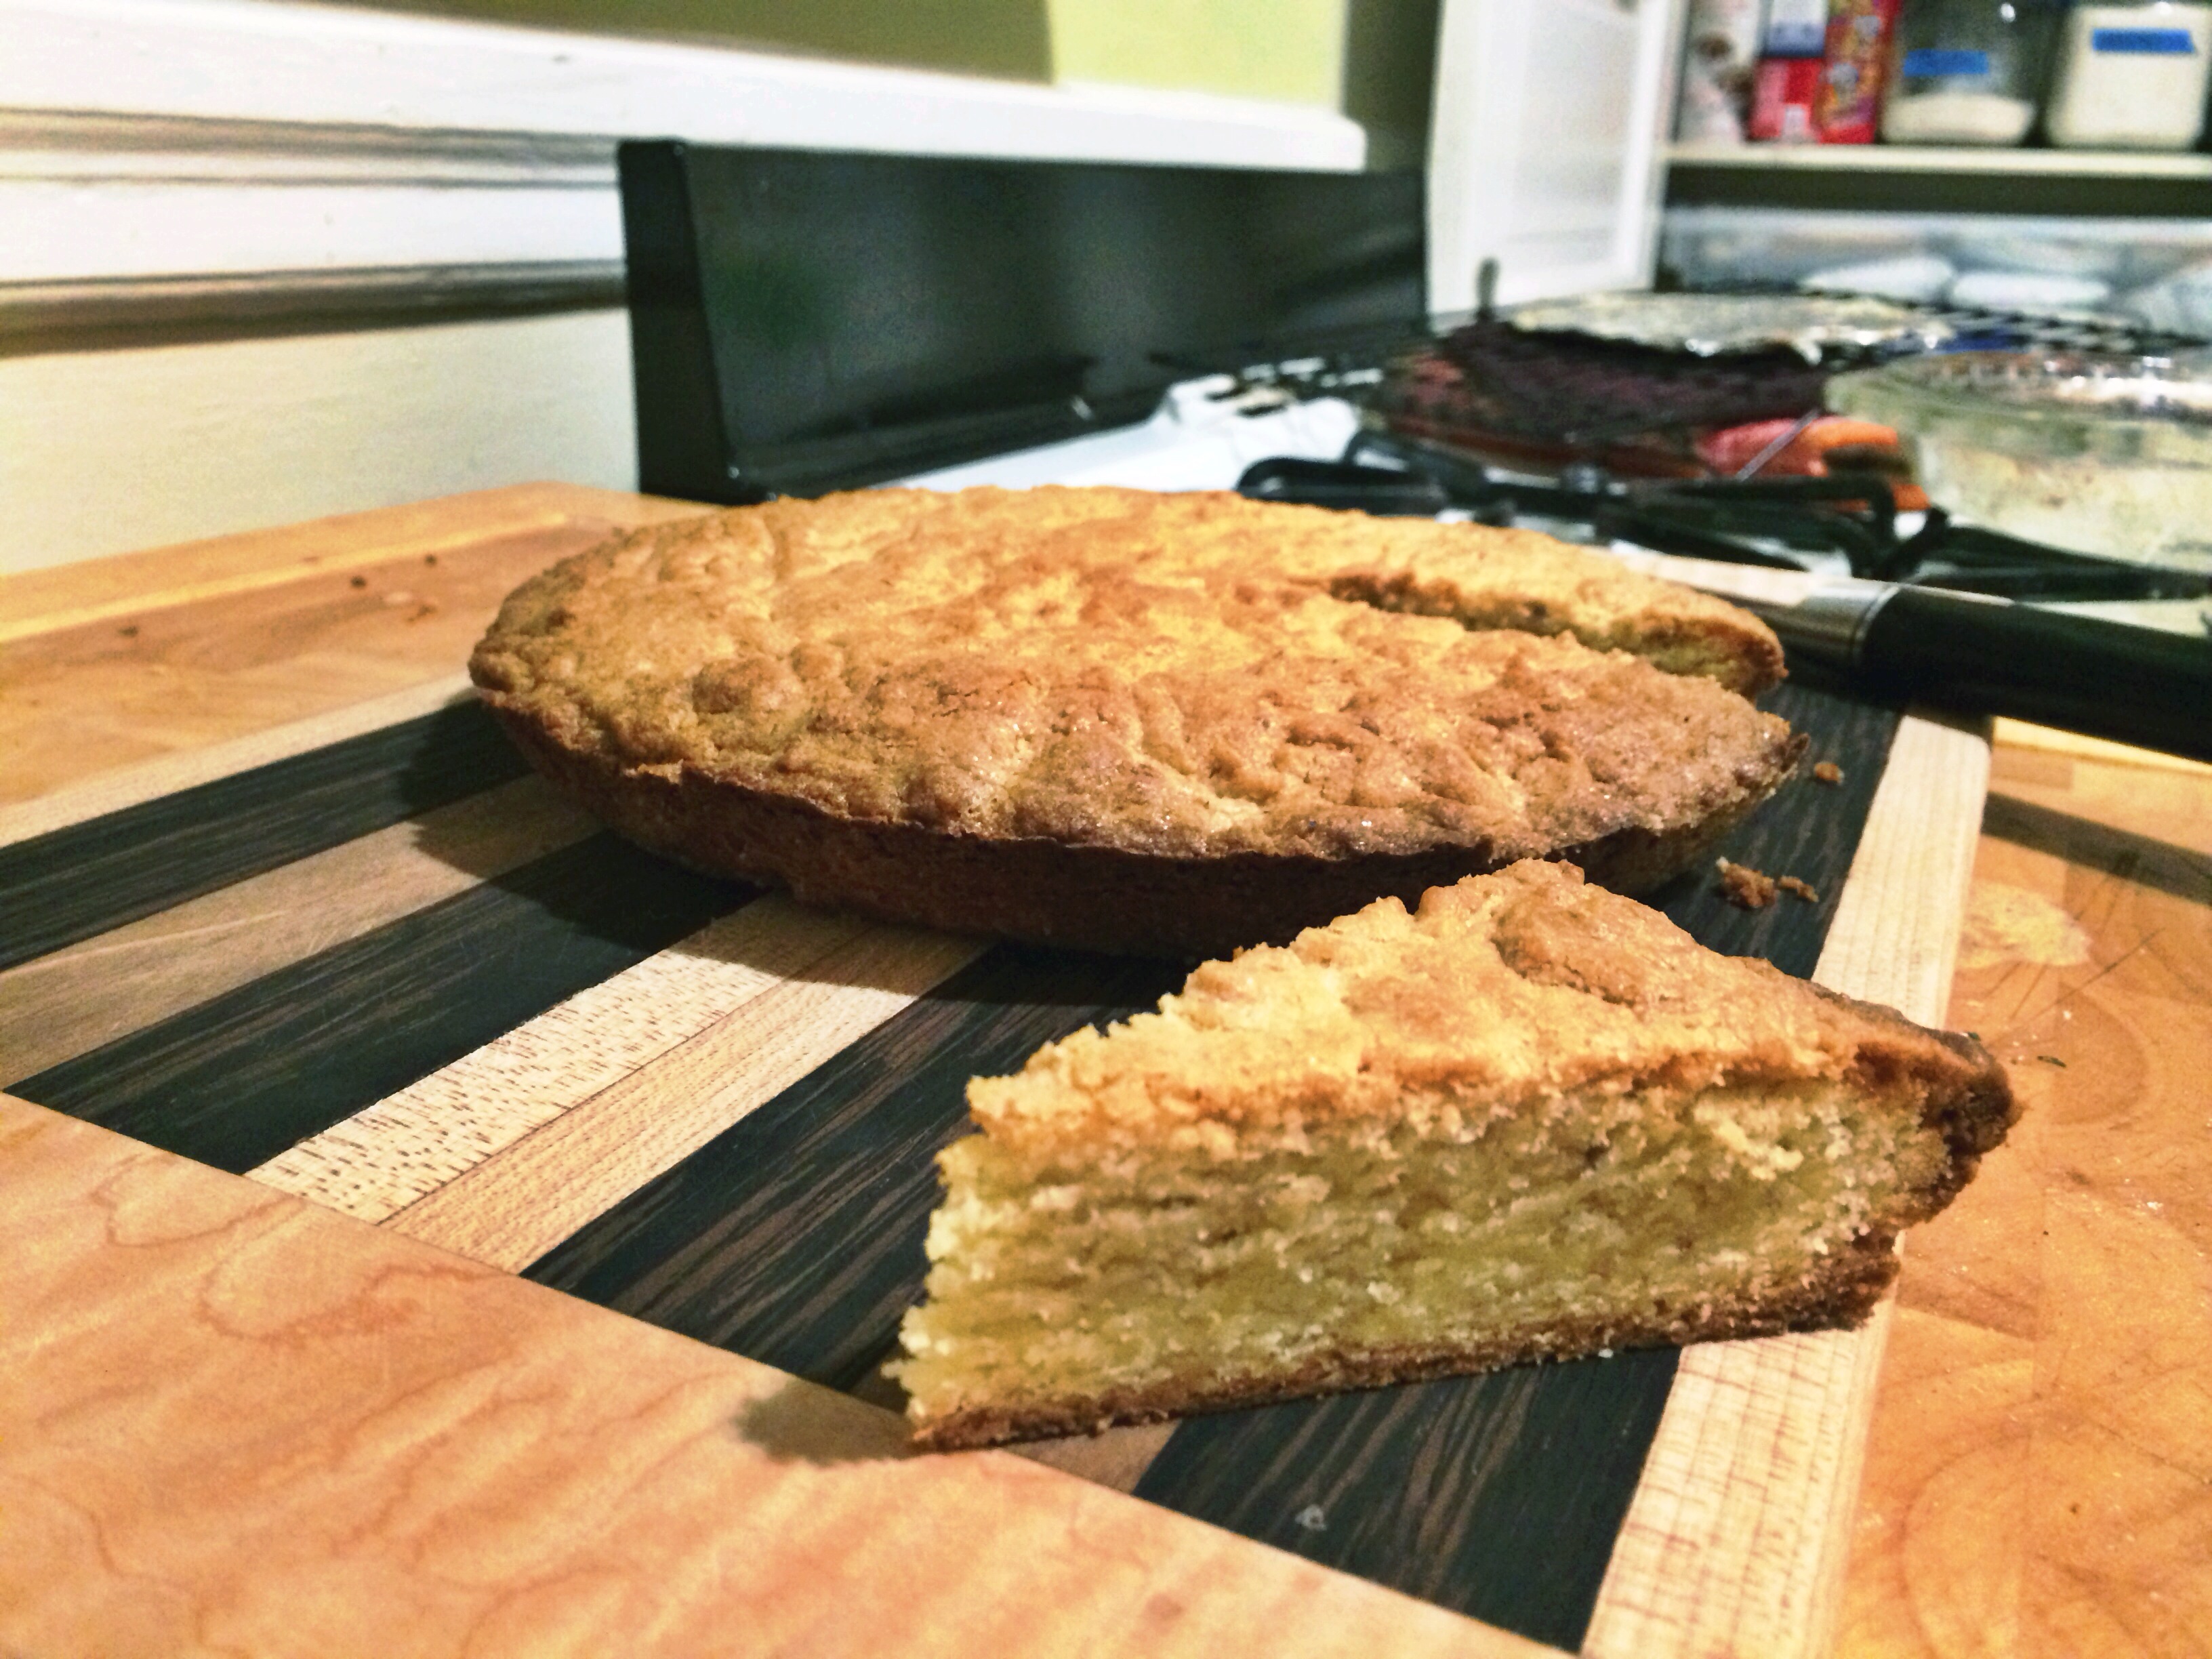
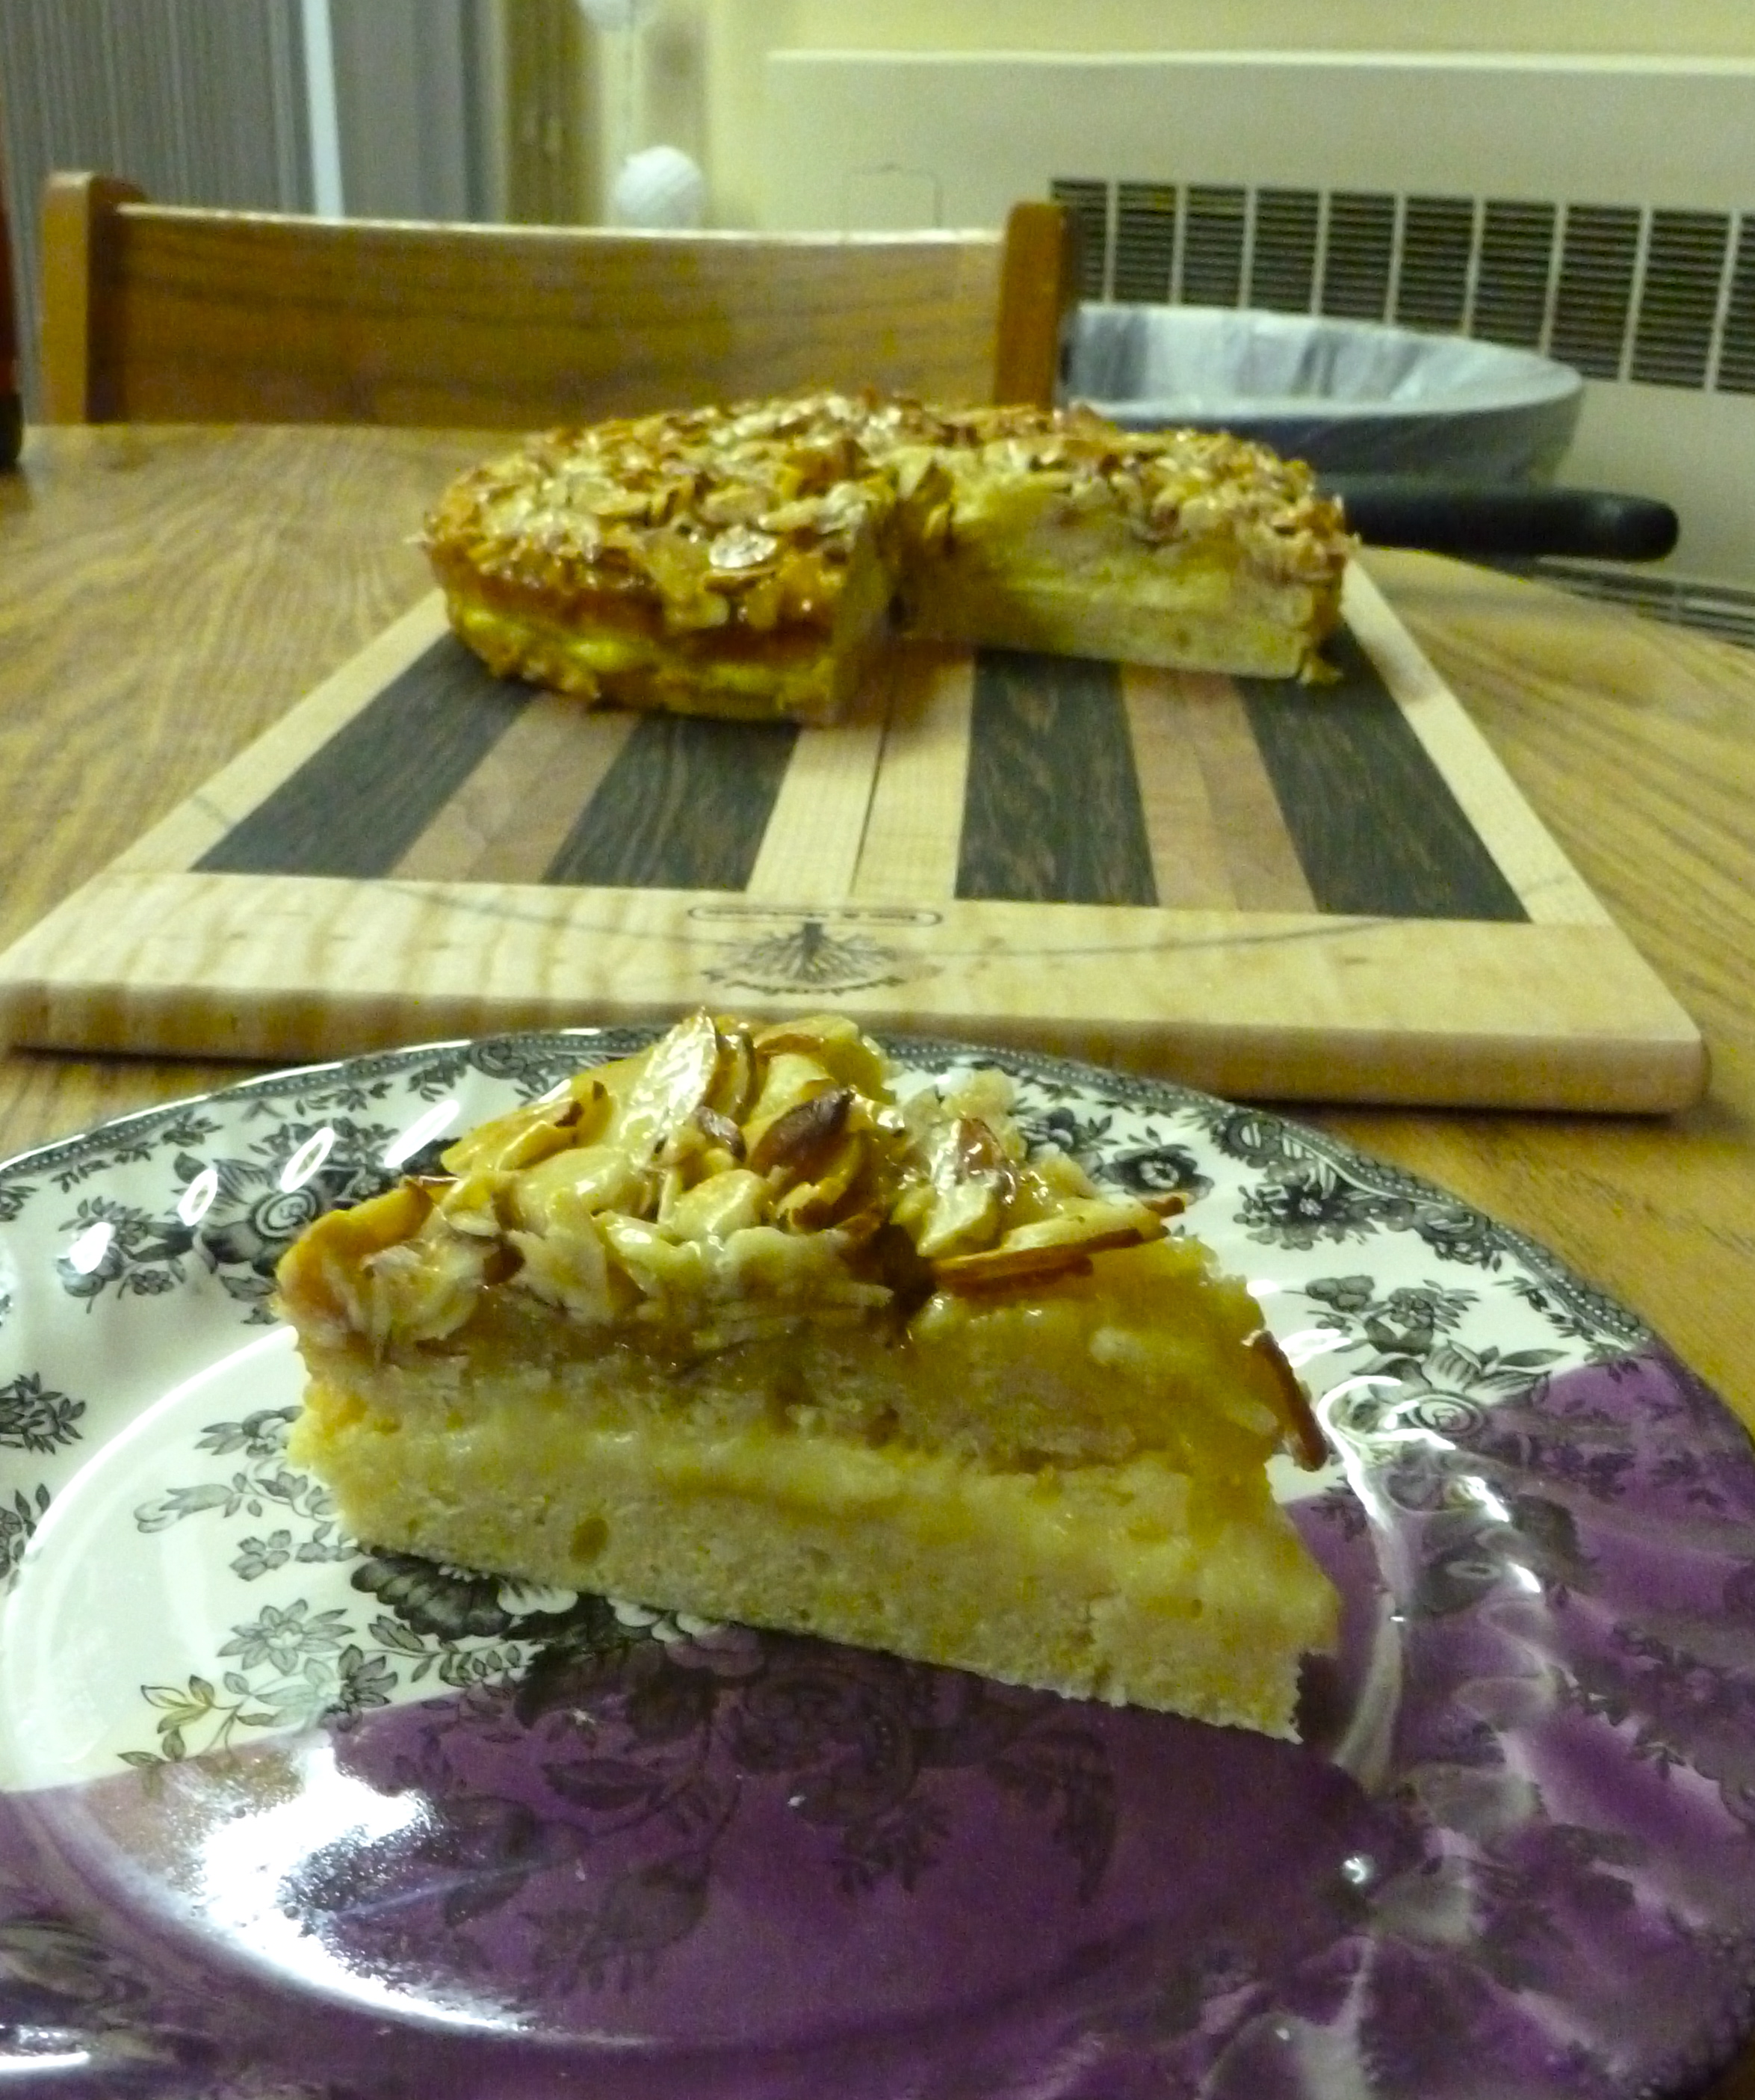
First up, I had to celebrate the beginning of spring break (and my long-awaited return to my kitchen) with a cake!Β I honestly had no idea what to expect of this recipe when I made it. The recipe came from a cookbook with no pictures and the short description said it would taste like shortbread. I had in my mind a moist cake that somehow had shortbread characteristics and in my head it just didn’t add up.

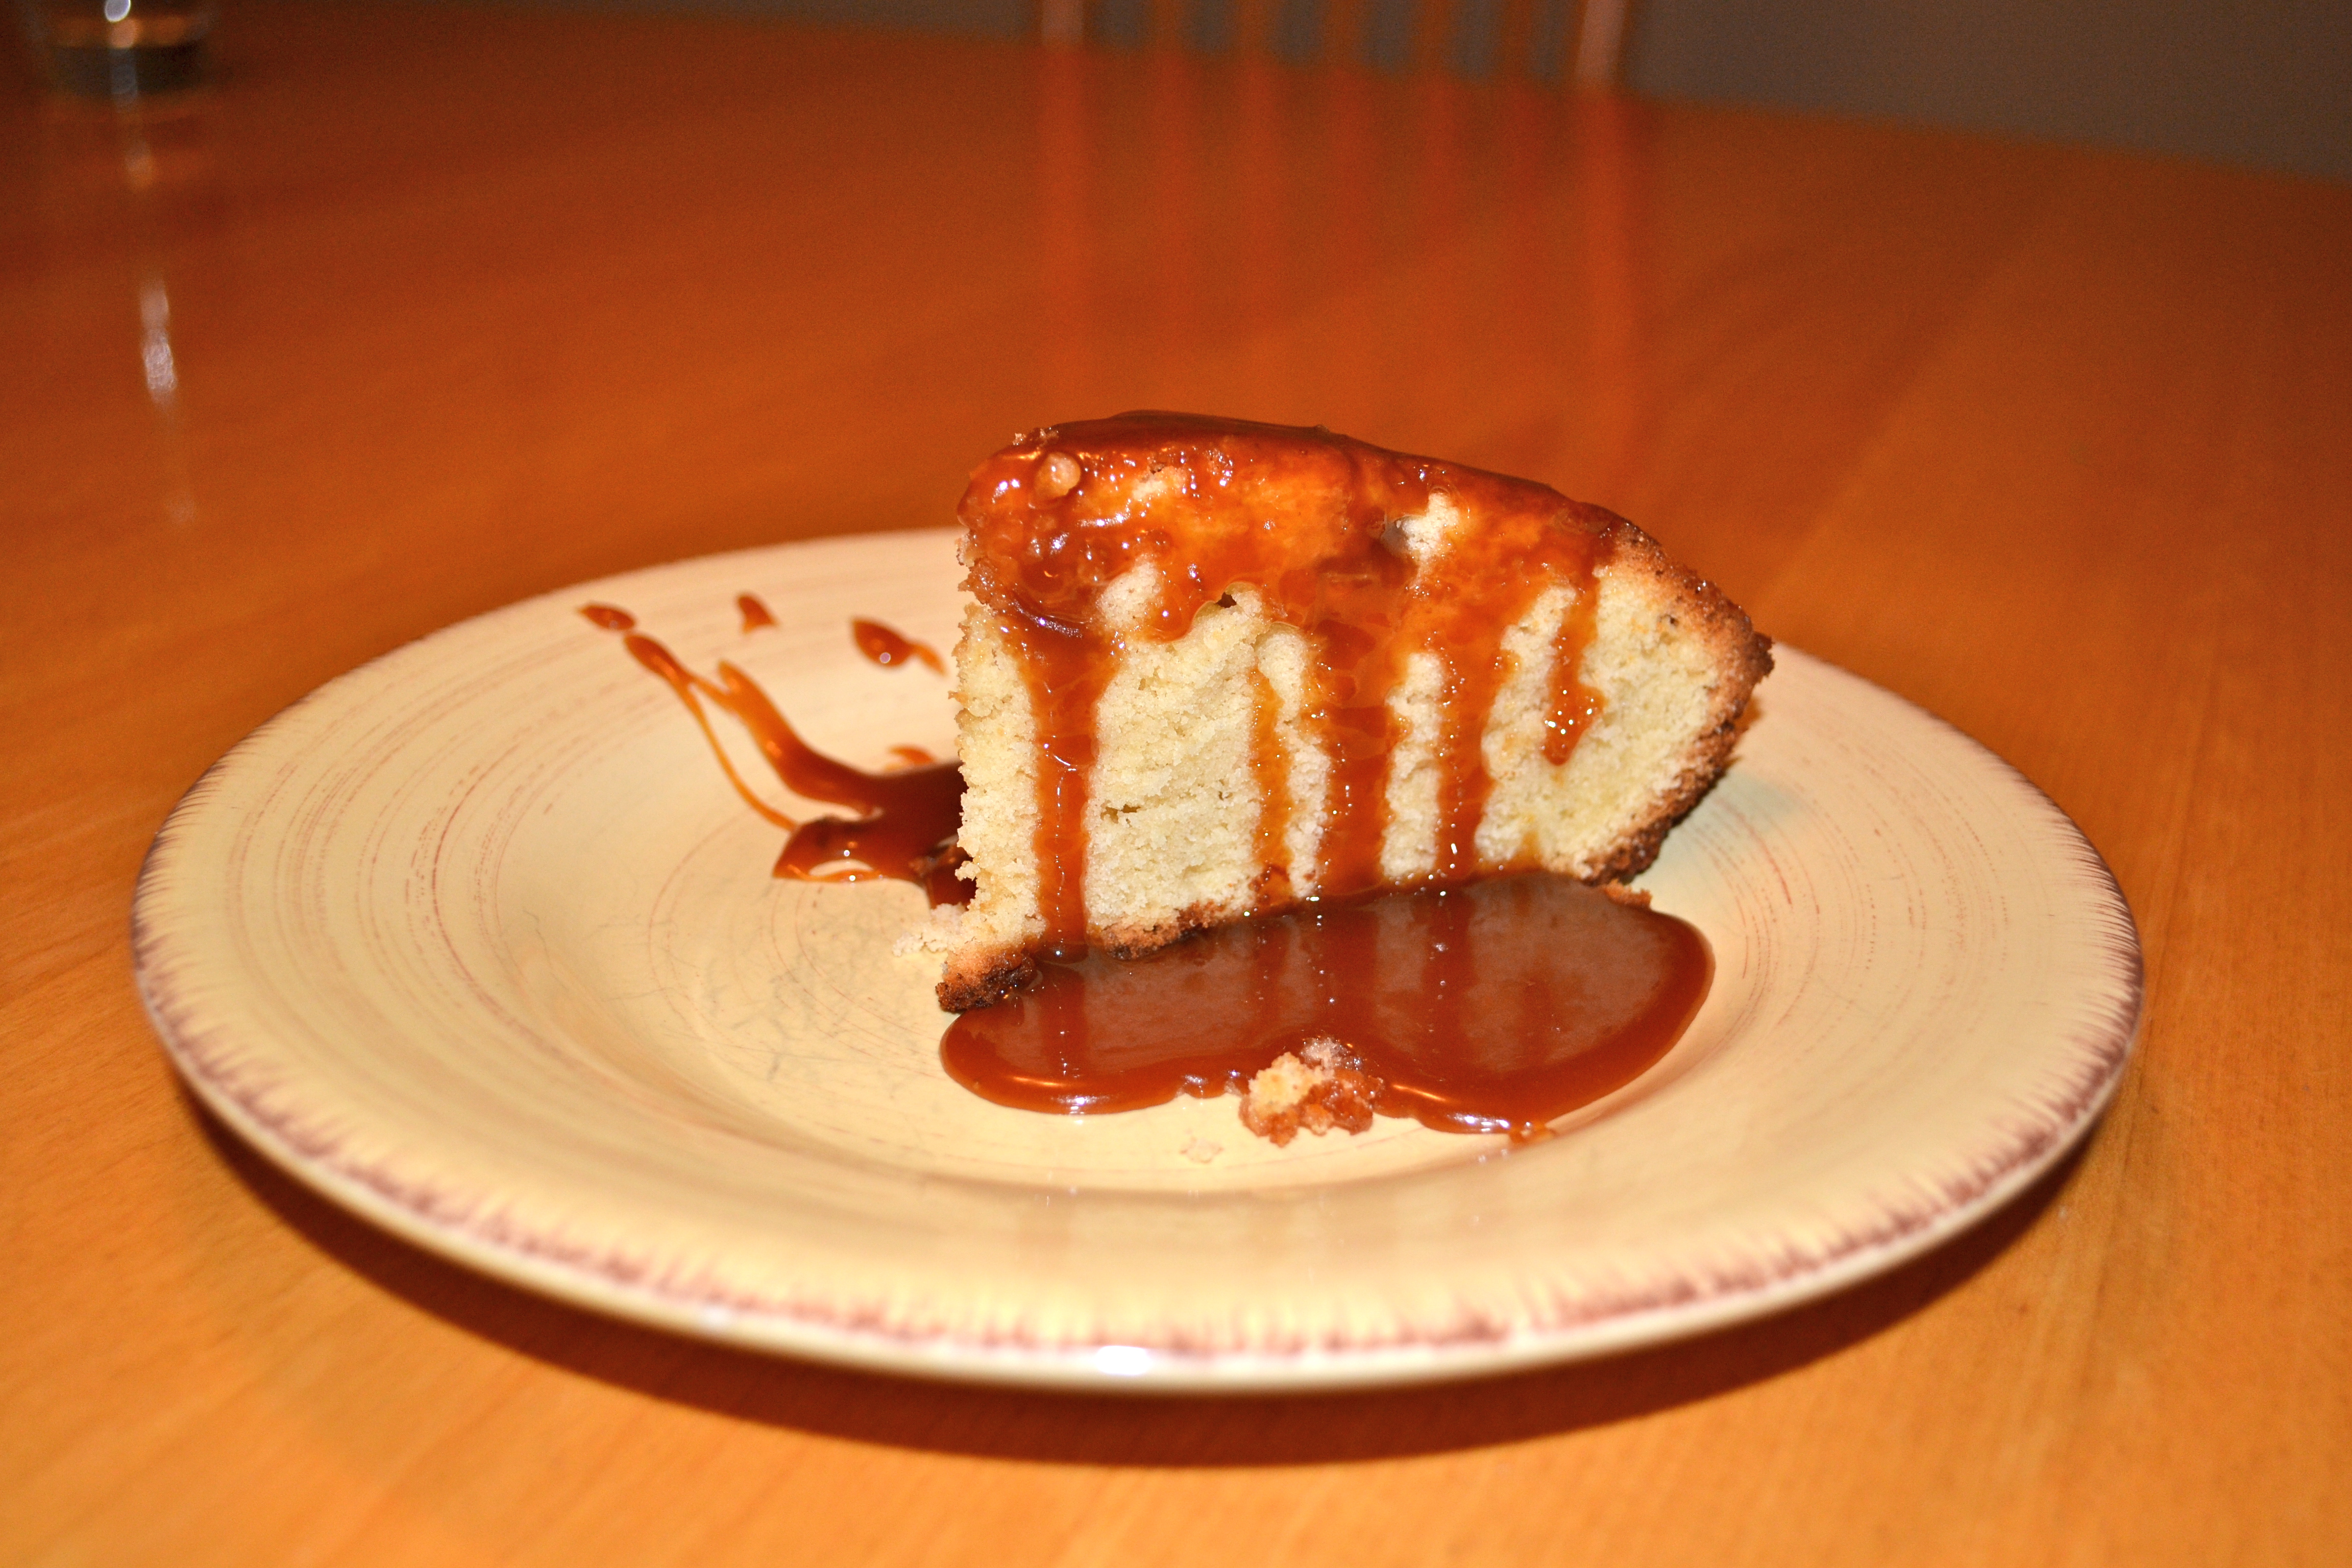
But let me tell you – this cake is amazing. It’s not a moist, tall cake like what you envision when you think of a cake – it’s more like shortbread or spritz cookies baked in a cake pan. The top of the cake is hard like shortbread but the middle of the cake is soft like spritz cookies. Wow. And it’s so simple! Just a few ingredients that you probably already have on hand (if you don’t have cake flour,Β look up how you can turn all-purpose flour into cake flour).

Walnut Breton Cake
Recipe from Baking for All Occasions
Makes one 8-inch round cake, 12-14 servings

Ingredients:
1 1/2 cups plus 3 tablespoons cake flour
1/2 teaspoon salt
1 cup (2 sticks) unsalted butter, at room temperature
1 cup sugar
4 large egg yolks
1/2 cup finely chopped walnuts

Directions:

1. Preheat oven to 350 degrees. Lightly butter an 8-inch round cake pan, then flour it, tapping out the excess flour. Cut out a circle of parchment paper (trace it) to line the bottom. Have all the ingredients at room temperature.

2. Stir together the flour and salt in a medium bowl; set aside. In the bowl of a stand mixer, fitted with the paddle attachment beat the butter on medium speed until it is lighter in color and has a satiny appearance, about 45 seconds. Maintaining the same speed, add the sugar in a steady stream. Stop the mixer and scrap down the sides of the bowl, then continue to beat at medium speed until the mixture is light in color and fluffy, about 3 minutes.

3. With the mixer on medium speed, add the egg yolks, one at a time. Continue to beat until well combined, sopping to scrap down the sides of the bowl at least once.

4. Using a rubber spatula, stir in the flour mixture and mix by hand until it is well combined. Stir in the walnuts. Spoon the thick batter into the prepared ban, spreading it evenly with a spatula. Use a fork to create a lattice design on the surface.

5. Bake the cake until it is golden brown on top, feels firm to the touch and is beginning to contract from the sides of the pan, 45 to 50 minutes. Transfer to a wire rack and let cool in the pan for 5-10 minutes. Carefully invert it onto a wire rack, peel off the parchment liner and turn it right-side-up. Let cool completely. To serve, cut the cake into small wedges with a sharp knife and enjoy!

Store at room temperature for 2-3 days. For longer storage, wrap in plastic wrap and aluminum foil and freeze.

Filed Under: Desserts, Easy Tagged With: cake, Desserts, Easy, shortbread, spritz, walnuts

Lemon Rosemary Bread with Lemon Glaze

February 3, 2014 by Mackenzie

I’ve been “mass-baking” a lot lately for different events and this was one of my favorites. I baked half of it in a loaf pan and the rest in a 9×13 because apparently we only have one loaf pan (oops – should have checked that beforehand). Regardless, both turned out great and were a hit with everyone I shared them with. I loved the strong lemon flavor, especially in the dead of winter when everything seems to be a bit more bland than other times of the year. And the rosemary makes it oh so unique and a little bit fancy πŸ˜€

20140204-141016.jpg

Also, I made my Salted Rice Krispy Bars yesterday for another event and they disappeared SO FAST! Another easy crowd-pleaser!

Lemon Rosemary Bread with Lemon Glaze
Recipe from bakedbree
Makes 1 loaf

Ingredients:
3/4 cup butter
1 cup sugar
2 tablespoons lemon juice
Zest of one lemon
2 teaspoons vanilla
1/2 cup vanilla yogurt
3 eggs
1 1/2 cups flour
2 teaspoons baking powder
1/2 teaspoon salt
1 tablespoon fresh rosemary, chopped

Glaze:
1 cup powdered sugar
4 tablespoons lemon juice

Directions:
1. Preheat oven to 350 degrees. Butter a loaf pan.

2. In a medium bowl, cream the butter and sugar until light and fluffy. Add the lemon juice, lemon zest and vanilla and mix. Add the yogurt and then the eggs, one at a time – mixing between each addition. Add the dry ingredients, the flour, baking powder, salt and rosemary, and mix until combined.

3. Pour batter into prepared loaf pan and bake for 45 to 50 minutes, or until a toothpick inserted into the middle comes out clean. Cool in the pan for 10 minutes than remove it from the pan and allow to cool completely on a rack.

4. When loaf is completely cool, make the glaze by mixing the powdered sugar and lemon juice in a small bowl. Place foil under the rack with the loaf to catch the drippings and then drizzle the glaze over the top. Let stand until glaze is set.

20140204-141005.jpg


Filed Under: Bread, Breakfast, Desserts, Easy Tagged With: Bread, cake, crowd, Desserts, lemon, rosemary

Red Wine Velvet Cake

June 18, 2013 by Mackenzie

To complete Indonesia Cooking Marathon #2, we made this Red Wine Velvet Cake from the Smitten Kitchen Cookbook. In Tom’s words, it was “Super Fantastic!” But really, it was divine.

Instead of using food coloring to get the deep red color, this recipe calls for red wine. Although the alcohol cooks out, the flavor of the wine is still strong in the cake – giving this red velvet cake a delicious, unique flavor! A perfect “adult” cake πŸ˜‰

20130619-060813.jpg

I made a simple cream cheese frosting to go with it, but boy, it really finished it off well! Top it off with a scoop of vanilla ice cream and I think you’ll really enjoy this recipe!

Red Wine Velvet Cake
Recipe adapted from The Smitten Kitchen Cookbook
Makes one 2-layer, 8-inch round cake

Ingredients:

Cake:
8 tablespoons unsalted butter
1 1/2 cups all-purpose flour
1 cup firmly packed dark brown sugar
1/3 cup granulated sugar
2 large eggs, at room temperature
1 cup red wine
1 teaspoon vanilla extract
2/3 cup Dutch cocoa powder
1/4 teaspoon baking soda
1/2 teaspoon baking powder
1/2 teaspoon cinnamon
1/2 teaspoon table salt

Cream Cheese Frosting:
Ingredients:
8 oz cream cheese
1 1/6 cup powdered sugar
Pinch of salt
1/2 to 1 teaspoon vanilla
2-4 tablespoons milk

Directions:
1. Preheat oven to 325 degrees. Line the bottom of two 8-inch, round cake pans with parchment paper and lightly coat with butter (sides too). In a large bowl, cream the butter until smooth with an electric mixer. Add the sugars and beat until fluffy, about three minutes. Add the eggs and beat well, then beat in the red wine and vanilla.

2. Add the rest of the cake ingredients to the wet mixture, piling it all on top before mixing it all together with a rubber spatula. Divide batter between prepared pans and bake for 25 minutes or until a toothpick comes out clean. Cool in pan on rack for ten minutes, then flip out and cool completely on a wire rack.

3. In a medium bowl, beat the cream cheese with the powdered sugar, salt and vanilla with an electric mixture, until light and fluffy (1-2 minutes). Add milk to reach desired consistency.

4. Place the first cake layer on the serving platter and spread 1/2 the frosting over it (I just did the tops and not the sides). Place the second layer on top and spread the rest of the frosting over it. I sprinkled some dark chocolate shards over the top, add if you want! Chill in the fridge until ready to serve.

20130619-061749.jpg

Filed Under: Cake, Desserts Tagged With: cake, Desserts

Honey Almond Caramel Crunch Topped Cake with Custard Cream Filling

April 30, 2013 by Mackenzie

Libby’s birthday was last weekend and we made this cake to celebrate! IT WAS AMAZING. One of the best cakes I have ever had in my life. Hands down.

IMG_0338

The cake itself is simple – not too sweet and slightly dense. The pastry cream filling in the middle adds a touch of sweetness and pairs perfectly with the cake. The honey almond caramel crunch topping however, is a whole other story. This is what makes the cake.

You make caramel, but it is sweetened with honey so it has a wonderfully, unique flavor. Then you mix almonds into it and you get honey caramel coated almonds – amazing by themselves! Add this to the top of your cake and you’ve got the best cake you’ll ever have.

A couple of things to be aware of: the milk, eggs and butter for the cake need to be at room temperature – so be sure you get those out early. Also, there is a total of an hour and a half of rising time for the cake. Be sure to account for that!

Honey Almond Caramel Crunch Topped Cake with Custard Cream Filling
Makes one 9×9, single layer cake (although you slice the one layer in half for the filling)
Recipe from Smitten Kitchen

Ingredients:
Cake:
2 1/2 teaspoons instant yeast (one 1 1/4 oz package) – not active dry!
3/4 cups whole milk, room temperature
1/4 cup sugar
2 cups all-purpose flour
3/4 teaspoon salt
2 large eggs, room temperature
4 tablespoons unsalted butter, room temperature

Topping:
6 tablespoons unsalted butter, cold
1/3 cup sugar
3 tablespoons honey
2 tablespoons heavy cream
1 1/2 cups sliced almonds
Two pinches of sea salt

Filling:
1 cup whole milk
1 teaspoon vanilla extract
3 large egg yolks
1/4 cup sugar
3 tablespoons all purpose flour
Two pinches of sea salt
2 tablespoons unsalted butter, cold

Directions:
1. Set out the milk, eggs and butter for the cake in advance so they are at room temperature when you are ready to make the cake.

2. First, make the cake batter: Combine all of the cake ingredients in a medium-sized mixing bowl, stirring until combined, then for an additional two minutes. Scrape down the sides, cover with a towel and let rise for one hour.

3. After an hour, butter a 9-inch cake pan. Stir the batter to deflate it slightly and then pour it into the prepared pan. You may have to really shake the pan to get the batter to cover the whole thing. Cover again with a towel and let rise for an additional 30 minutes.

4. During the second rise, make the honey almond caramel topping: In a medium saucepan over medium heat, heat the butter, sugar, honey, cream and salt until the butter is melted. Bring to a simmer and let it boil for 3 to 5 minutes, stirring constantly. The mixture will become a shade darker. Remove from heat and stir in the almonds. It’s no longer going to be liquidy, it’s going to be all almonds πŸ™‚ Set aside to cool slightly, until the second rise of the cake is completed.

5. Preheat oven to 350 degrees. When the cake has finished its second rise, scoop out the almond topping and spread it evenly over the top of the cake. (Save yourself a little bit to snack on too!) Bake the cake for 20-25 minutes, until the almonds are slightly browned and a toothpick inserted into the middle comes out clean. Transfer to a cooling rack and allow to cool for ten minutes before removing it from the pan. Run a knife around the edges before you remove it and then invert it onto another cooling rack or plate. The almonds won’t fall off when you invert it, so don’t worry. Let cool completely.

6. While the cake is cooling, make the custard filling: Warm the milk in a medium saucepan and then pour into a bowl or cup (ideally with a spout). Set aside. In a new saucepan, or the previous one cleaned and dried, whisk the yolks and sugar vigorously for one minute – off the heat. Whisk in flour and salt. Drizzle in the warm milk, a spoonful at a time, whisking constantly. Once you’ve added half the milk, add the rest in a steady drizzle. Return the saucepan to the stove and cook on medium-high heat until it bubbles. Reduce to a simmer for one to two minutes, whisking constantly. Remove from heat and add the butter and vanilla extract. Let the custard cool completely.

7. When the custard and cake are both cool, you can assemble the cake. Using a serrated knife, slice the cake in half and place the bottom half on a serving platter. Spread the pastry cream on top of the bottom layer and then place the top half back onto the cake. Serve and enjoy!

P1000386

Filed Under: Cake, Desserts Tagged With: birthday, cake, Desserts

Vanilla Bean Cake with Salted Caramel Sauce

March 8, 2013 by Mackenzie

This recipe is one I made more than two months ago for Steve’s birthday! It’s been buried on my “to blog” list and I just haven’t had a chance to write it up! But with spring break upon us, I have all the time in the world to blog and cook and bake and blog and bake and cook and blog and…. πŸ™‚ It’s going to be a great weekend πŸ˜€ We don’t leave until Monday morning for Arizona and with all of my suite and all my friends gone – I literally have nothing to do except cook and bake and blog about it πŸ˜€ Don’t worry, I don’t plan on eating all of it. I plan on giving it to some boys I know who are staying here over break, and bringing some of it to AZ for the team.

But back to this recipe… It’s pretty easy to whip up and the vanilla bean/salted caramel combo is to die for. The cake is quite dense, and almost has a cornbread-feel to it (or maybe I was just hungry for cornbread). I think we all agreed that the leftovers the second day were even better than having it the first day – not sure why, but hey! That just means another excuse to eat cake!

Vanilla Bean Cake with Salted Caramel Sauce

Vanilla Bean Cake with Salted Caramel Sauce
Makes one 9-inch cake
Recipe from Food and Wine

Ingredients:

Cake:
2 1/2 cups all-purpose flour
1 teaspoon baking flour
1 teaspoon salt
2 sticks unsalted butter, softened
1 cup sugar
1/2 cup brown sugar
4 eggs
1 vanilla bean, seeds scraped or 2 tsp vanilla extract
1/4 cup sour cream

Salted Caramel Sauce:
1 cup sugar
1/4 cup water
2 tablespoons light corn syrup
3/4 cup heavy cream
4 tablespoons unsalted butter
1 1/2 tsp sea salt

Directions:
1. Preheat the oven to 350 degrees. Butter and flour a nine-inch round cake pan. Cut out a circle pf waxed paper the size of the pan and place in bottom. Spray lightly with cooking spray so that it comes out easily. In a medium bowl, mix the dry ingredients, for the cake, together (flour, baking powder, salt). In a large bowl, beat the butter with an electric mixer until creamy. Add both sugars and beat until fluffy. Add the eggs one at a time, beating well in between and then add the sour cream and the vanilla. Slowly mix in the dry ingredients and mix until smooth.

2. Pour batter into prepared pan. Bake for 50 minutes to 1 hour
, until golden and springy and a toothpick inserted into the center comes out clean. Let cool in pan for 20 minutes then invert onto a wire rack, remove parchment paper carefully and allow to cool completely.

3. When the cake is almost cool, make the caramel sauce. In a medium saucepan, combine the sugar, water and corn syrup and bring to a boil. Using a wet pastry brush, wash down any crystals on the side of the pan. Boil over high heat until a deep amber caramel forms, about 6 minutes. Remove from the heat and carefully whisk in the cream, butter and salt. Let cool.

4. When ready to serve, poke the top of the cake all over with a skewer and pour the caramel sauce over the cake, allowing it to seep in and drip down the side. Cut into wedges and serve.

Vanilla Bean Cake with Salted Caramel Sauce


Filed Under: Desserts Tagged With: cake, Desserts, salted caramel

Meet Mackenzie

Hi! I'm Mackenzie! I'm currently a Fulbright English Teaching Assistant in Indonesia! I'm writing all about my year on this blog and hope you'll follow along on this journey! Read More…

Disclaimer:

Students and Indonesian Friends: Please don't take anything I say here as critical of my experience or you and your culture. Rather, through this blog I want to share my experience in your country with my friends and family in America! I may write and laugh about a lot of things that are different but none of it is bad, it's just different!

This blog is not an official Department of State website, and the views and information presented here are my own and do not represent the Fulbright Program or the Department of State.

My Latest Posts on Instagram

[instagram-feed]

My Latest Reads

My Latest Reads

Between the World and Me
5 of 5 stars
Between the World and Me
by Ta-Nehisi Coates
If You Follow Me: A Novel
3 of 5 stars
If You Follow Me: A Novel
by Malena Watrous
The Goldfinch
4 of 5 stars
The Goldfinch
by Donna Tartt
Missoula: Rape and the Justice System in a College Town
4 of 5 stars
Missoula: Rape and the Justice System in a College Town
by Jon Krakauer
Station Eleven
4 of 5 stars
Station Eleven
by Emily St. John Mandel
Fight Back and Win
2 of 5 stars
Fight Back and Win
by Gloria Allred

goodreads.com

Archives

  • August 2017 (1)
  • June 2017 (2)
  • March 2017 (1)
  • February 2017 (1)
  • January 2017 (1)
  • December 2016 (1)
  • November 2016 (3)
  • October 2016 (3)
  • September 2016 (2)
  • August 2016 (2)
  • June 2016 (1)
  • May 2016 (3)
  • April 2016 (1)
  • March 2016 (4)
  • February 2016 (2)
  • January 2016 (1)
  • December 2015 (3)
  • November 2015 (2)
  • October 2015 (4)
  • September 2015 (5)
  • August 2015 (6)
  • June 2015 (2)
  • March 2015 (1)
  • December 2014 (4)
  • November 2014 (3)
  • October 2014 (3)
  • September 2014 (4)
  • August 2014 (5)
  • July 2014 (4)
  • June 2014 (2)
  • April 2014 (1)
  • March 2014 (4)
  • February 2014 (1)
  • January 2014 (3)
  • December 2013 (5)
  • November 2013 (3)
  • October 2013 (1)
  • September 2013 (4)
  • August 2013 (3)
  • July 2013 (2)
  • June 2013 (6)
  • May 2013 (6)
  • April 2013 (6)
  • March 2013 (3)
  • February 2013 (7)
  • December 2012 (10)
  • November 2012 (4)
  • October 2012 (1)
  • September 2012 (3)
  • July 2012 (3)
  • June 2012 (5)
  • May 2012 (18)

Mackenzie

Hi! I'm Mackenzie! I'm currently a Fulbright English Teaching Assistant in Indonesia! I'm writing all about my year on this blog and hope you'll follow along on this journey! Read More…

A Look Back

President Bill Clinton
This blog is not an official U.S. Department of State website and the views and opinions expressed here are entirely my own, and do not represent the U.S. Department of State or the Fulbright Program.

Copyright © 2025 · Foodie Child Theme by Shay Bocks · Built on the Genesis Framework · Powered by WordPress