The Year of Living Audaciously

Former food blog, now travel blog - following my year as a Fulbright ETA in Indonesia

  • Home
  • About Me
    • Travels and Life Updates
    • Privacy Policy
  • Fellow Fulbrighters
  • Never Skip Dessert
    • Recipes By Category
    • Recipe Index
    • The Best of the Best
    • The Social Kitchen Project
  • Recommended

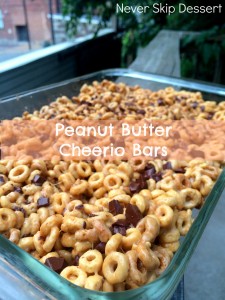
Peanut Butter Cheerio Treats

July 23, 2014 by Mackenzie

Peanut Butter Cheerio Treats

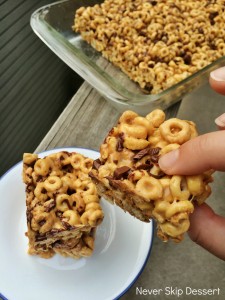
Rice Krispy Treats… always a childhood favorite! For whatever reason, I wasn’t a fan of rice krispy treats when I was growing up. It was always the post-game snack after soccer games or the summer camp go-to. But I just refused to like them. I honestly think it was because my mom loved them. Don’t you remember as a kid when your parent loved something and you just decided that you don’t like it, really just to spite them? Yeah, I’m pretty sure that was why I never liked rice krispy treats – because my mom LOVED them. Well, when I got to college and discovered our campus bakery’s rice krispy treats, all of my rice krispy treat resolutions went flying out the window. The cafes sell individually packaged, just-made rice krispy bars and they are so good. Gooey, sticky, marshmallow-y… So much better than the store-bought kind! They quickly became my go-to library study treat and at the end of the school year, when I had to finish out my meal points, I bought ten of them to bring home for my mom and I! Oh, how things change 🙂 Well, I found this recipe on Pinterest awhile back and have been dying to try it. I’m not sure what took me so long – it is the simplest recipe! It took me a whopping ten minutes to make. And seeing as I did NOT need to eat them all, and I would have if they stayed in my kitchen, I brought them in to work to share with my coworkers. They were a hit! I watched several of the staffers casually wander by for seconds and even thirds! Ha 😀 It’s a fun twist to a classic treat!


Peanut Butter Cheerio Treats

Peanut Butter Cheerio Treats
Recipe Type: Dessert
Author: Mackenzie
Serves: 28
Recipe slightly adapted from JustJennRecipes
Ingredients
  • 2 tablespoons butter
  • 3/4 cup peanut butter
  • 1 (10 oz) bag marshmallows
  • 6 cups cheerios (peanut butter cheerios, multigrain cheerios, honey nut…whatever your favorite is!)
  • 1 cup chocolate chips
Instructions
  1. Butter a 9×13 glass baking dish. In a large saucepan over medium heat, melt the butter and peanut butter. Add the marshmallows and melt them down. Just as the marshmallows dissolve into the peanut butter, pour in the cheerios and stir it all together, making sure all the cheerios are coated in the peanut butter mixture.
  2. Transfer the cheerios to the prepared baking dish and spread evenly. Sprinkle the chocolate chips over the top. Let sit for 10 minutes to set and cool and then serve!
3.2.2802

Peanut Butter Cheerio Treats

Filed Under: Bars, Desserts, Easy, Summer Tagged With: cheerios, chocolate, Desserts, Easy, fast, marshmallows, peanut butter, Rice Krispies, treats

Salted Rice Krispy Treats

June 19, 2013 by Mackenzie

As its my last week of work here in Indonesia, I decided to share some of my favorite American desserts with my colleagues. I brought in a massive Deep Dish Apple Pie on Monday, my family’s favorite dessert, Pretzel Jello Salad, on Tuesday, and these Rice Krispy Treats today! They loved all of them and I had a blast making and sharing these desserts with them.

20130619-210727.jpg

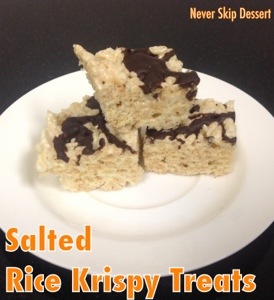
The pretzel jello salad will come in a future post, but these Rice Krispy treats need to go up now! They were easy to make, delicious to eat and unique with the addition of the sea salt. I highly encourage you to make these asap – they are fantastic!

Salted Rice Krispy Treats
Recipe adapted from The Smitten Kitchen Cookbook
Makes 16, 2-inch bars

Ingredients:
8 tablespoons unsalted butter
Heaping 1/4 teaspoon sea salt
1 10 oz bag large or mini marshmallows
6 cups rice krispy (puffed rice) cereal
1 bar dark chocolate

Directions:

1. Butter an 8-inch square pan. In a large pot, melt butter over medium low heat. Let it melt, foam then turn clear golden and then slightly brown. This gives it a really good nutty taste but if you are impatient, just melt the butter 😉

2. When the butter is melted (and browned if you want), turn the heat off, sprinkle in the sea salt, and stir in the marshmallows. Stir until the marshmallows are smooth – you may need to turn the heat back on to low to get them to melt, but don’t let the marshmallows actually cook.

3. Take the pot off the stove and stir in the cereal. Fold it in gently, until it is all combined, then transfer to the prepared pan. Press it down with your hands to get it smooth and even.

4. Melt chocolate in a saucepan over low heat, then drizzle over rice krispies. Place in the fridge so the chocolate hardens but take it out an hour before you serve them so they return to room temperature. They are also pretty darn good after just a could minutes of cooling!

Filed Under: Bars, Desserts, Easy Tagged With: Desserts, Rice Krispies

Anything and Everything, Chewy Oatmeal Bars

March 5, 2013 by Mackenzie

Anything and Everything, Chewy Oatmeal Bars

Now that the golf season has officially started, my days are a bit more jam-packed than they used to be. I fly from my last class to my dorm, change and am up to the Clocktower in just 15 minutes (usually that would take least 25 minutes). And of course, it’s 4 o’clock, which means I’m starting to get hungry…

I made these bars this weekend as a grab-and-go snack for when I’m running out the door to practice. I knew I wanted something that wasn’t crunchy and would make a mess in the car when I bit into it, that would reenergize me for golf and that would be a tasty snack to look forward to!

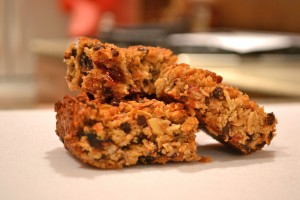
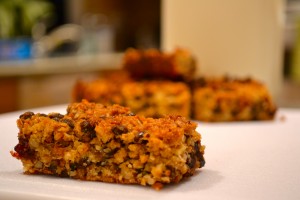
These bars are great because you can use whatever you have on hand – hence the name, “anything and everything.” I used what I had on hand – dried figs, raisins, walnuts, coconut and sunflower seeds – and they turned out great! I also cut down on the butter from the original recipe and substituted it with applesauce to make these healthier – and you couldn’t tell a difference!

Anything and Everything, Chewy Oatmeal Bars

Anything and Everything, Chewy Oatmeal Bars

Makes 1 8×8 pan – 9 large bars
Recipe adapted from Smitten Kitchen

Ingredients:
1 2/3 cups quick oats
1/2 cup sugar
1/3 cup oat flour (if you don’t have oat flour, measure out 1/3 cup of oats and process in a food processor until very fine)
1/2 teaspoon salt
1/4 teaspoon cinnamon
2 to 3 cups of dried fruits or nuts (my combination was 1/2 cup diced dried figs, 1/2 cup raisins, 1/2 cup of roughly chopped walnuts, 1/3 cup ofshredded coconut, and 1/3 cup raw, unroasted sunflower seeds – other options would be dried cranberries, pecans, almonds, dates, apricots, pepitas, chocolate chips…)
1/3 cup peanut butter or almond butter
1 teaspoon almond extract
3 tablespoons melted butter
3 tablespoons unsweetened applesauce
1/4 cup honey or maple syrup
2 tablespoons lightcorn syrup
1 tablespoon water

Directions:
1. Preheat oven to 350 degrees. Line an 8×8 baking pan with parchment paper, making sure it comes up the sides so you can easily remove the bars from the pan. Lightly spray the parchment paper with non-stick spray as an extra precaution.

2. In a large bowl, stir together all the dry ingredients – oats, sugar, oat flour, salt, cinnamon and all the dried fruit and nuts.

3. In a small bowl, whisk together all of the wet ingredients (all the remaining ingredients). Add wet mixture to the dry mixture and mix it all together – I found using my hands was easiest.

4. Spread mixture into prepared pan and pat it all down nice and firm. Bake for 30 to 40 minutes until the edges have begun to brown. When you pull them out, they may seem a little soft but they will harden as they cool, plus you want them soft and chewy. Allow to cool completely and then slice bars. I found that storing them in an airtight container in the refrigerator helped to solidify them if they seem a little crumbly. Enjoy!

Filed Under: Bars, Snacks Tagged With: healthy, snack

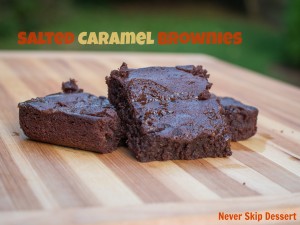
Salted Caramel Brownies

February 28, 2013 by Mackenzie

Salted Caramel Brownies
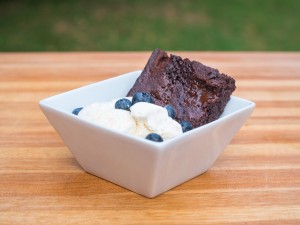
Salted Caramel anything is automatically my favorite dessert – I love salted caramel ice cream (especially from Molly Moon’s in Seattle), salted caramels themselves (Fran’s has the BEST – also in Seattle), salted caramel frozen yogurt (new flavor at Chill in STL this month), salted caramel milkshakes (Bailey’s Range in STL has awesome ones!), salted caramel pie, salted caramel chocolate chip cookies… you name it and I love it. So when I saw these brownies on Smitten Kitchen’s blog (a blog Libby and I follow semi-religiously!), I knew these were going straight to the top of my “Next Up to Bake” list!

I brought them to a College Central Fellowship event and they were devoured!!! I even doubled the recipe and they were GONE. And I’m not ashamed to say I had three (although they were cut small so I didn’t feel quite as guilty!).

This recipe is GREAT and I highly recommend you take them to the next event you need to bring a dessert to – so you can’t eat them all because I totally would have if they had been left on my counter…

Salted Caramel BrowniesSalted Caramel Brownies
Recipe from Smitten Kitchen
Makes an 8×8 pan

Ingredients:

Caramel:
1/2 cup sugar
4 tablespoons unsalted butter
Heaped 1/4 teaspoon flaky sea salt
3 tablespoons heavy cream

Brownies:
3 oz. unsweetened chocolate, roughly chopped
1 stick unsalted butter
1 cup sugar
2 large eggs
1 teaspoon vanilla extract
Heaped 1/4 teaspoon flaky sea salt
2/3 cup all-purpose flour

Directions:

Caramel:
1. Place a square of parchment paper on a plate – spray the plate to keep the paper from slidding off and also spray the paper just to make sure the caramel will come off easily.

2. Melt sugar in a medium saucepan over medium-high heat – about 5 minutes, stirring to break up chunks. It should be copper colored when it is done, if not, cook until it reaches a nice copper. Remove from heat and stir in the butter, then the cream and salt. Return the saucepan to the stovetop and cook over medium high heat, melting it fully and cooking until it is a shade darker.

3. Pour caramel onto the parchment-plate and place in the freezer. Freeze until solid, about 30-40 minutes.

Brownies:
1. While the caramel is firming up, make the brownies. Heat oven to 350 degrees. Line an 8×8 inch square baking pan with parchment, making sure that it extends up the sides so you can easily lift the whole thing out. Spray with cooking spray.

2. Melt chocolate and butter together in a heatproof bowl over gently simmering water or melt in the microwave in 30 second bursts, stirring in between. (I did the microwave way because I was impatient). Stir until smooth. Add in sugar, then the eggs, one at a time, then the vanilla and salt. Add flour and mix until combined.

Assembly:
1. When the caramel has hardened, chop into rough 1-inch squares. Gently fold 3/4 of the caramel squares into the batter. Pour batter into prepared pan, spreading evenly. Scatter the remaining caramel squares on top of the batter. Bake for 30 minutes or until a toothpick inserted into the middle comes out clean.

Filed Under: Bars, Desserts Tagged With: brownies, Desserts

Christmas Cookies #5: Peppermint Bark

December 15, 2012 by Mackenzie

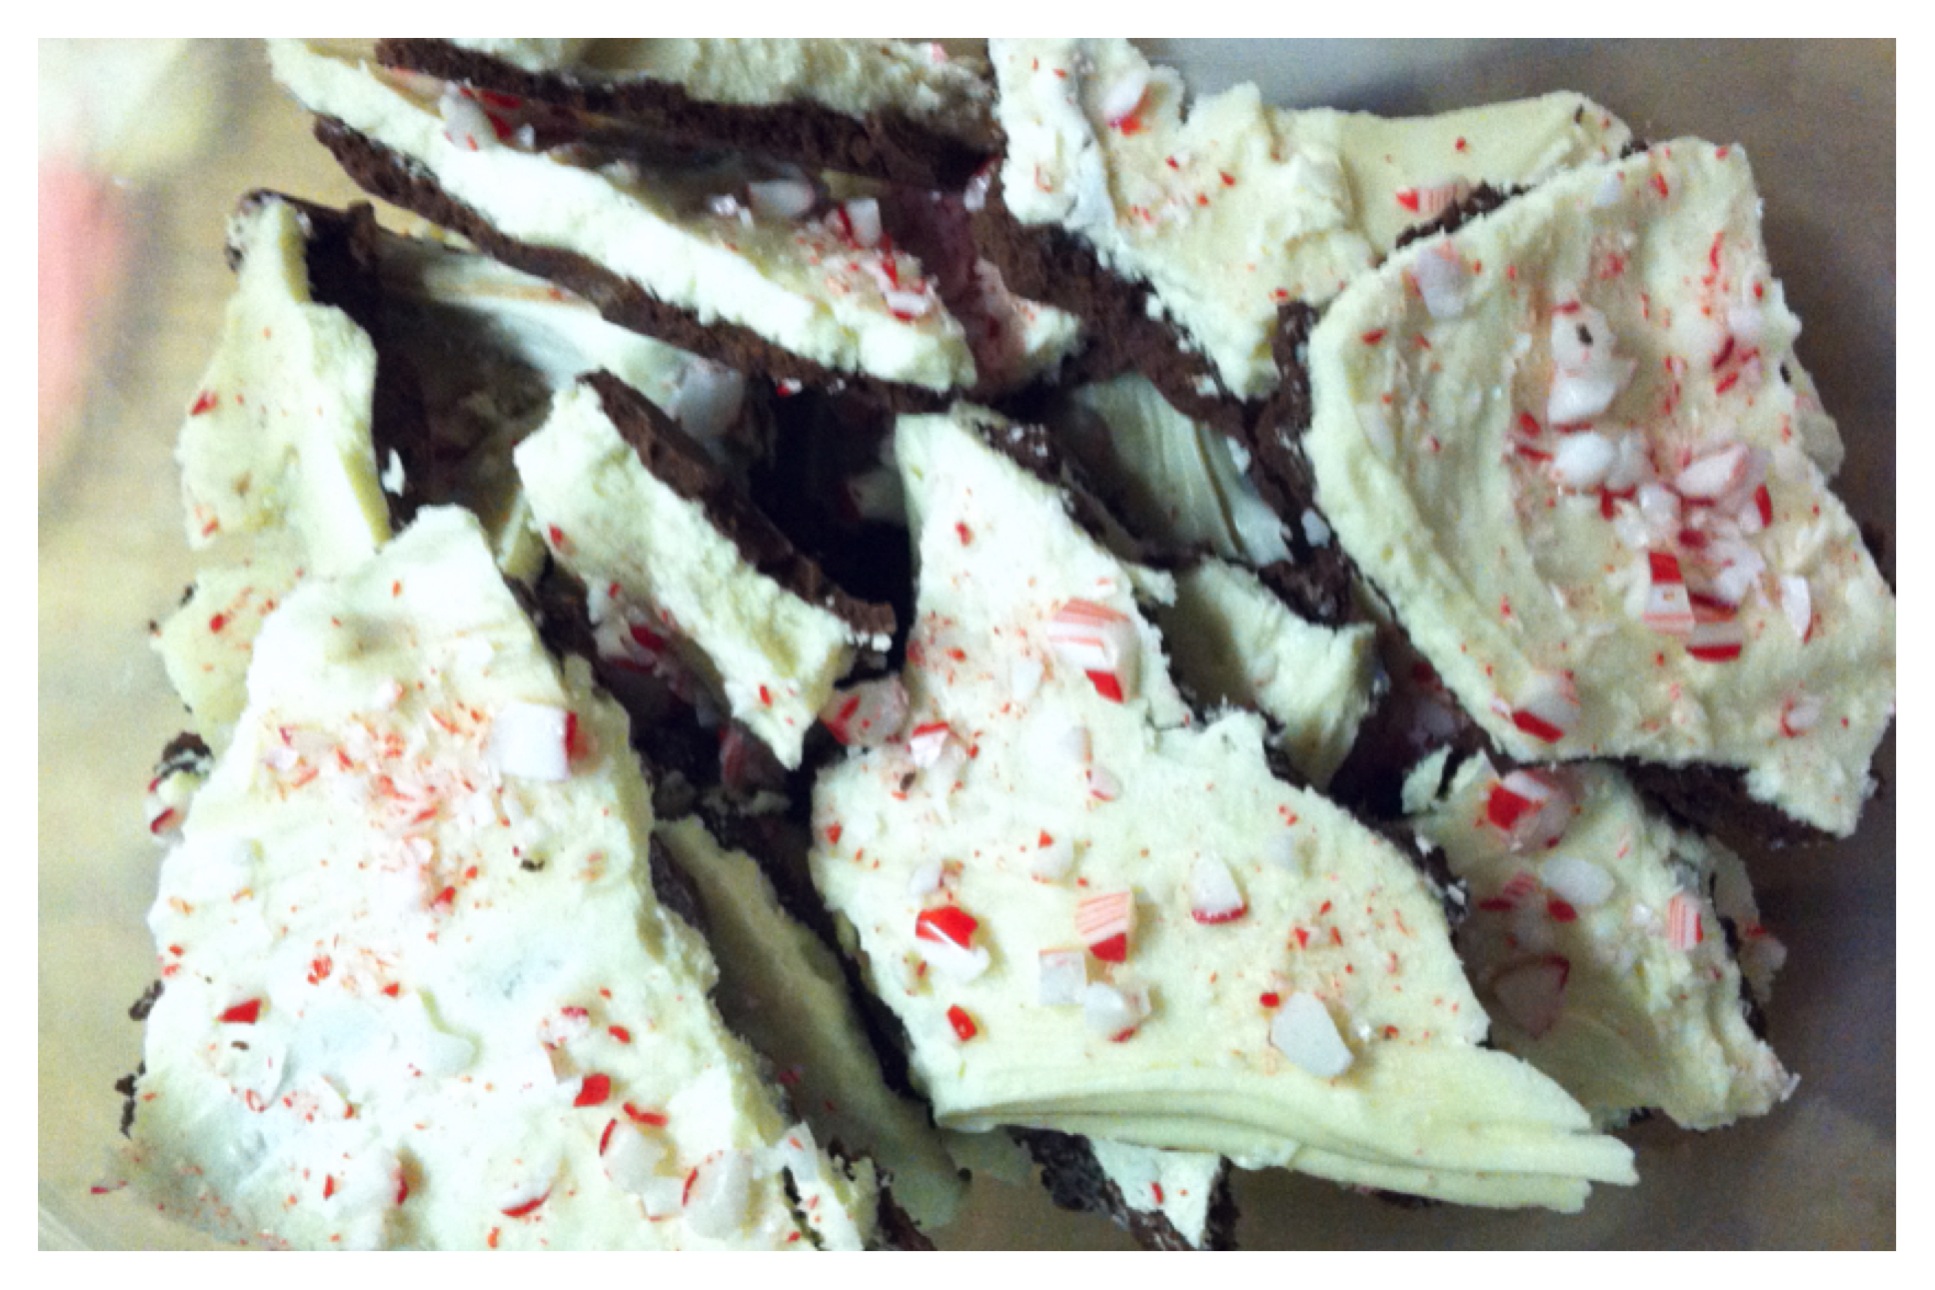
This recipe is from Food Network Magazine and is a copycat recipe to William Sinoma’s peppermint bark! It was fantastic!!

IMG_2569

Peppermint Bark

Recipe from Food Network

Ingredients:

  • 12 ounces good-quality semisweet chocolate, chopped into 1/2-inch pieces
  • 1 1/2 teaspoons peppermint extract
  • 1 pound good-quality white chocolate, chopped into 1/2-inch pieces
  • 3 candy canes or 12 round hard peppermint candies, crushed

Directions:

Line a 9-by-13-inch baking dish with aluminum foil, shiny-side up; smooth out any wrinkles. Heat 1 inch of water in a saucepan over low heat until steaming.

Put all but 3/4 cup of the semisweet chocolate in a heatproof bowl. Set the bowl over the saucepan of steaming water (do not let the bowl touch the water) and stir until one-third of the chocolate is melted. Remove the bowl from the saucepan; keep the steaming water over low heat. Gradually stir the reserved 3/4 cup semisweet chocolate into the bowl, a few pieces at a time, until all of the chocolate is melted. Return the bowl to the saucepan, 5 to 10 seconds at a time, to help melt the chocolate, if needed. Do not rush this step: It may take up to 10 minutes to melt the chocolate.

Wipe off any moisture from the bottom of the bowl. Stir 3/4 teaspoon peppermint extract into the chocolate, then quickly pour into the prepared baking dish and spread in an even layer. Firmly tap the dish against the counter to remove any air bubbles. Set aside at room temperature until almost set, about 10 minutes.

Meanwhile, put all but 1 cup of the white chocolate in a large heatproof bowl and repeat the melting process over the steaming water; dry off the bottom of the bowl. Stir in the remaining 3/4 teaspoon peppermint extract; pour over the semisweet chocolate and spread in an even layer. Sprinkle immediately with the crushed candy canes, gently pressing them into the white chocolate. Set aside at room temperature until firm, about 1 hour. Lift the bark out of the pan using the foil and break it into pieces. Store in an airtight container at room temperature for up to 2 weeks.

Filed Under: Bars, Christmas, Desserts Tagged With: Bark, Christmas, Desserts, Peppermint

Cinnamon Quinoa Bake

November 30, 2012 by Mackenzie

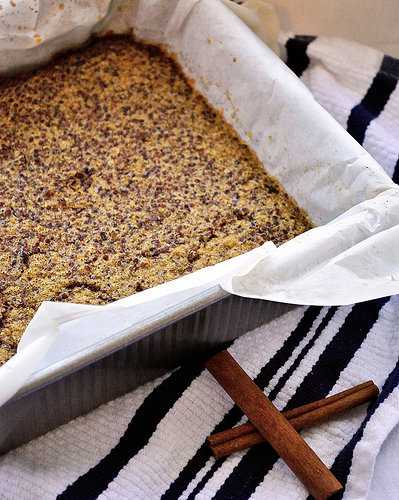
This is perfect for breakfast or a midmorning snack. It’s even better with jam spread over the top and a cup of coffee!
 
Photo from Gabby’s Gluten-Free blog
Cinnamon Quinoa Bake
Recipe from
Gabby’s Gluten-Free
Makes 9-12 bars
 
Ingredients
2 1/2 cups cooked quinoa, cooled (1 cup dry)
4 eggs, beaten
1/3 cup vanilla soy milk
1/3 cup maple syrup
1 teaspoon vanilla extract
1 tablespoon cinnamon
 
Directions
1. Preheat the oven to 375ºF and place the cooked quinoa in a large mixing bowl. Line an 8-by-8-inch baking pan with lightly greased parchment.
2. In a small bowl, whisk together eggs, soy milk, vanilla extract, and cinnamon until thoroughly combined. Add maple syrup and whisk.
3. Add egg mixture to cooked and cooled quinoa. Stir with a large spoon to combine. Pour into the parchment-lined baking dish and spread it around to ensure that it’s even.
4. Bake for 20 to 25 minutes until set and golden.
5. Using parchment, remove bake from pan as soon as possible so that it doesn’t steam.
6. Cool completely and cut into squares. Delicious when warmed in the microwave and jam spread on top.

Filed Under: Bars, Breakfast Tagged With: Bars, Breakfast, Cinnamon, healthy, quinoa

Next Page »

Meet Mackenzie

Hi! I'm Mackenzie! I'm currently a Fulbright English Teaching Assistant in Indonesia! I'm writing all about my year on this blog and hope you'll follow along on this journey! Read More…

Disclaimer:

Students and Indonesian Friends: Please don't take anything I say here as critical of my experience or you and your culture. Rather, through this blog I want to share my experience in your country with my friends and family in America! I may write and laugh about a lot of things that are different but none of it is bad, it's just different!

This blog is not an official Department of State website, and the views and information presented here are my own and do not represent the Fulbright Program or the Department of State.

My Latest Posts on Instagram

[instagram-feed]

My Latest Reads

My Latest Reads

Between the World and Me
5 of 5 stars
Between the World and Me
by Ta-Nehisi Coates
If You Follow Me: A Novel
3 of 5 stars
If You Follow Me: A Novel
by Malena Watrous
The Goldfinch
4 of 5 stars
The Goldfinch
by Donna Tartt
Missoula: Rape and the Justice System in a College Town
4 of 5 stars
Missoula: Rape and the Justice System in a College Town
by Jon Krakauer
Station Eleven
4 of 5 stars
Station Eleven
by Emily St. John Mandel
Fight Back and Win
2 of 5 stars
Fight Back and Win
by Gloria Allred

goodreads.com

Archives

  • August 2017 (1)
  • June 2017 (2)
  • March 2017 (1)
  • February 2017 (1)
  • January 2017 (1)
  • December 2016 (1)
  • November 2016 (3)
  • October 2016 (3)
  • September 2016 (2)
  • August 2016 (2)
  • June 2016 (1)
  • May 2016 (3)
  • April 2016 (1)
  • March 2016 (4)
  • February 2016 (2)
  • January 2016 (1)
  • December 2015 (3)
  • November 2015 (2)
  • October 2015 (4)
  • September 2015 (5)
  • August 2015 (6)
  • June 2015 (2)
  • March 2015 (1)
  • December 2014 (4)
  • November 2014 (3)
  • October 2014 (3)
  • September 2014 (4)
  • August 2014 (5)
  • July 2014 (4)
  • June 2014 (2)
  • April 2014 (1)
  • March 2014 (4)
  • February 2014 (1)
  • January 2014 (3)
  • December 2013 (5)
  • November 2013 (3)
  • October 2013 (1)
  • September 2013 (4)
  • August 2013 (3)
  • July 2013 (2)
  • June 2013 (6)
  • May 2013 (6)
  • April 2013 (6)
  • March 2013 (3)
  • February 2013 (7)
  • December 2012 (10)
  • November 2012 (4)
  • October 2012 (1)
  • September 2012 (3)
  • July 2012 (3)
  • June 2012 (5)
  • May 2012 (18)

Mackenzie

Hi! I'm Mackenzie! I'm currently a Fulbright English Teaching Assistant in Indonesia! I'm writing all about my year on this blog and hope you'll follow along on this journey! Read More…

A Look Back

Palangkaraya smog
This blog is not an official U.S. Department of State website and the views and opinions expressed here are entirely my own, and do not represent the U.S. Department of State or the Fulbright Program.

Copyright © 2025 · Foodie Child Theme by Shay Bocks · Built on the Genesis Framework · Powered by WordPress