Libby and I came across this recipe in the Food Network magazine and thought we would try it out for a potluck we were going to. Everyone loved it at the potluck so we made it again for ourselves the following week. Then, it’s so good that I had to make it for my family when I went home for Christmas. All that to say, it’s REALLY good!!!
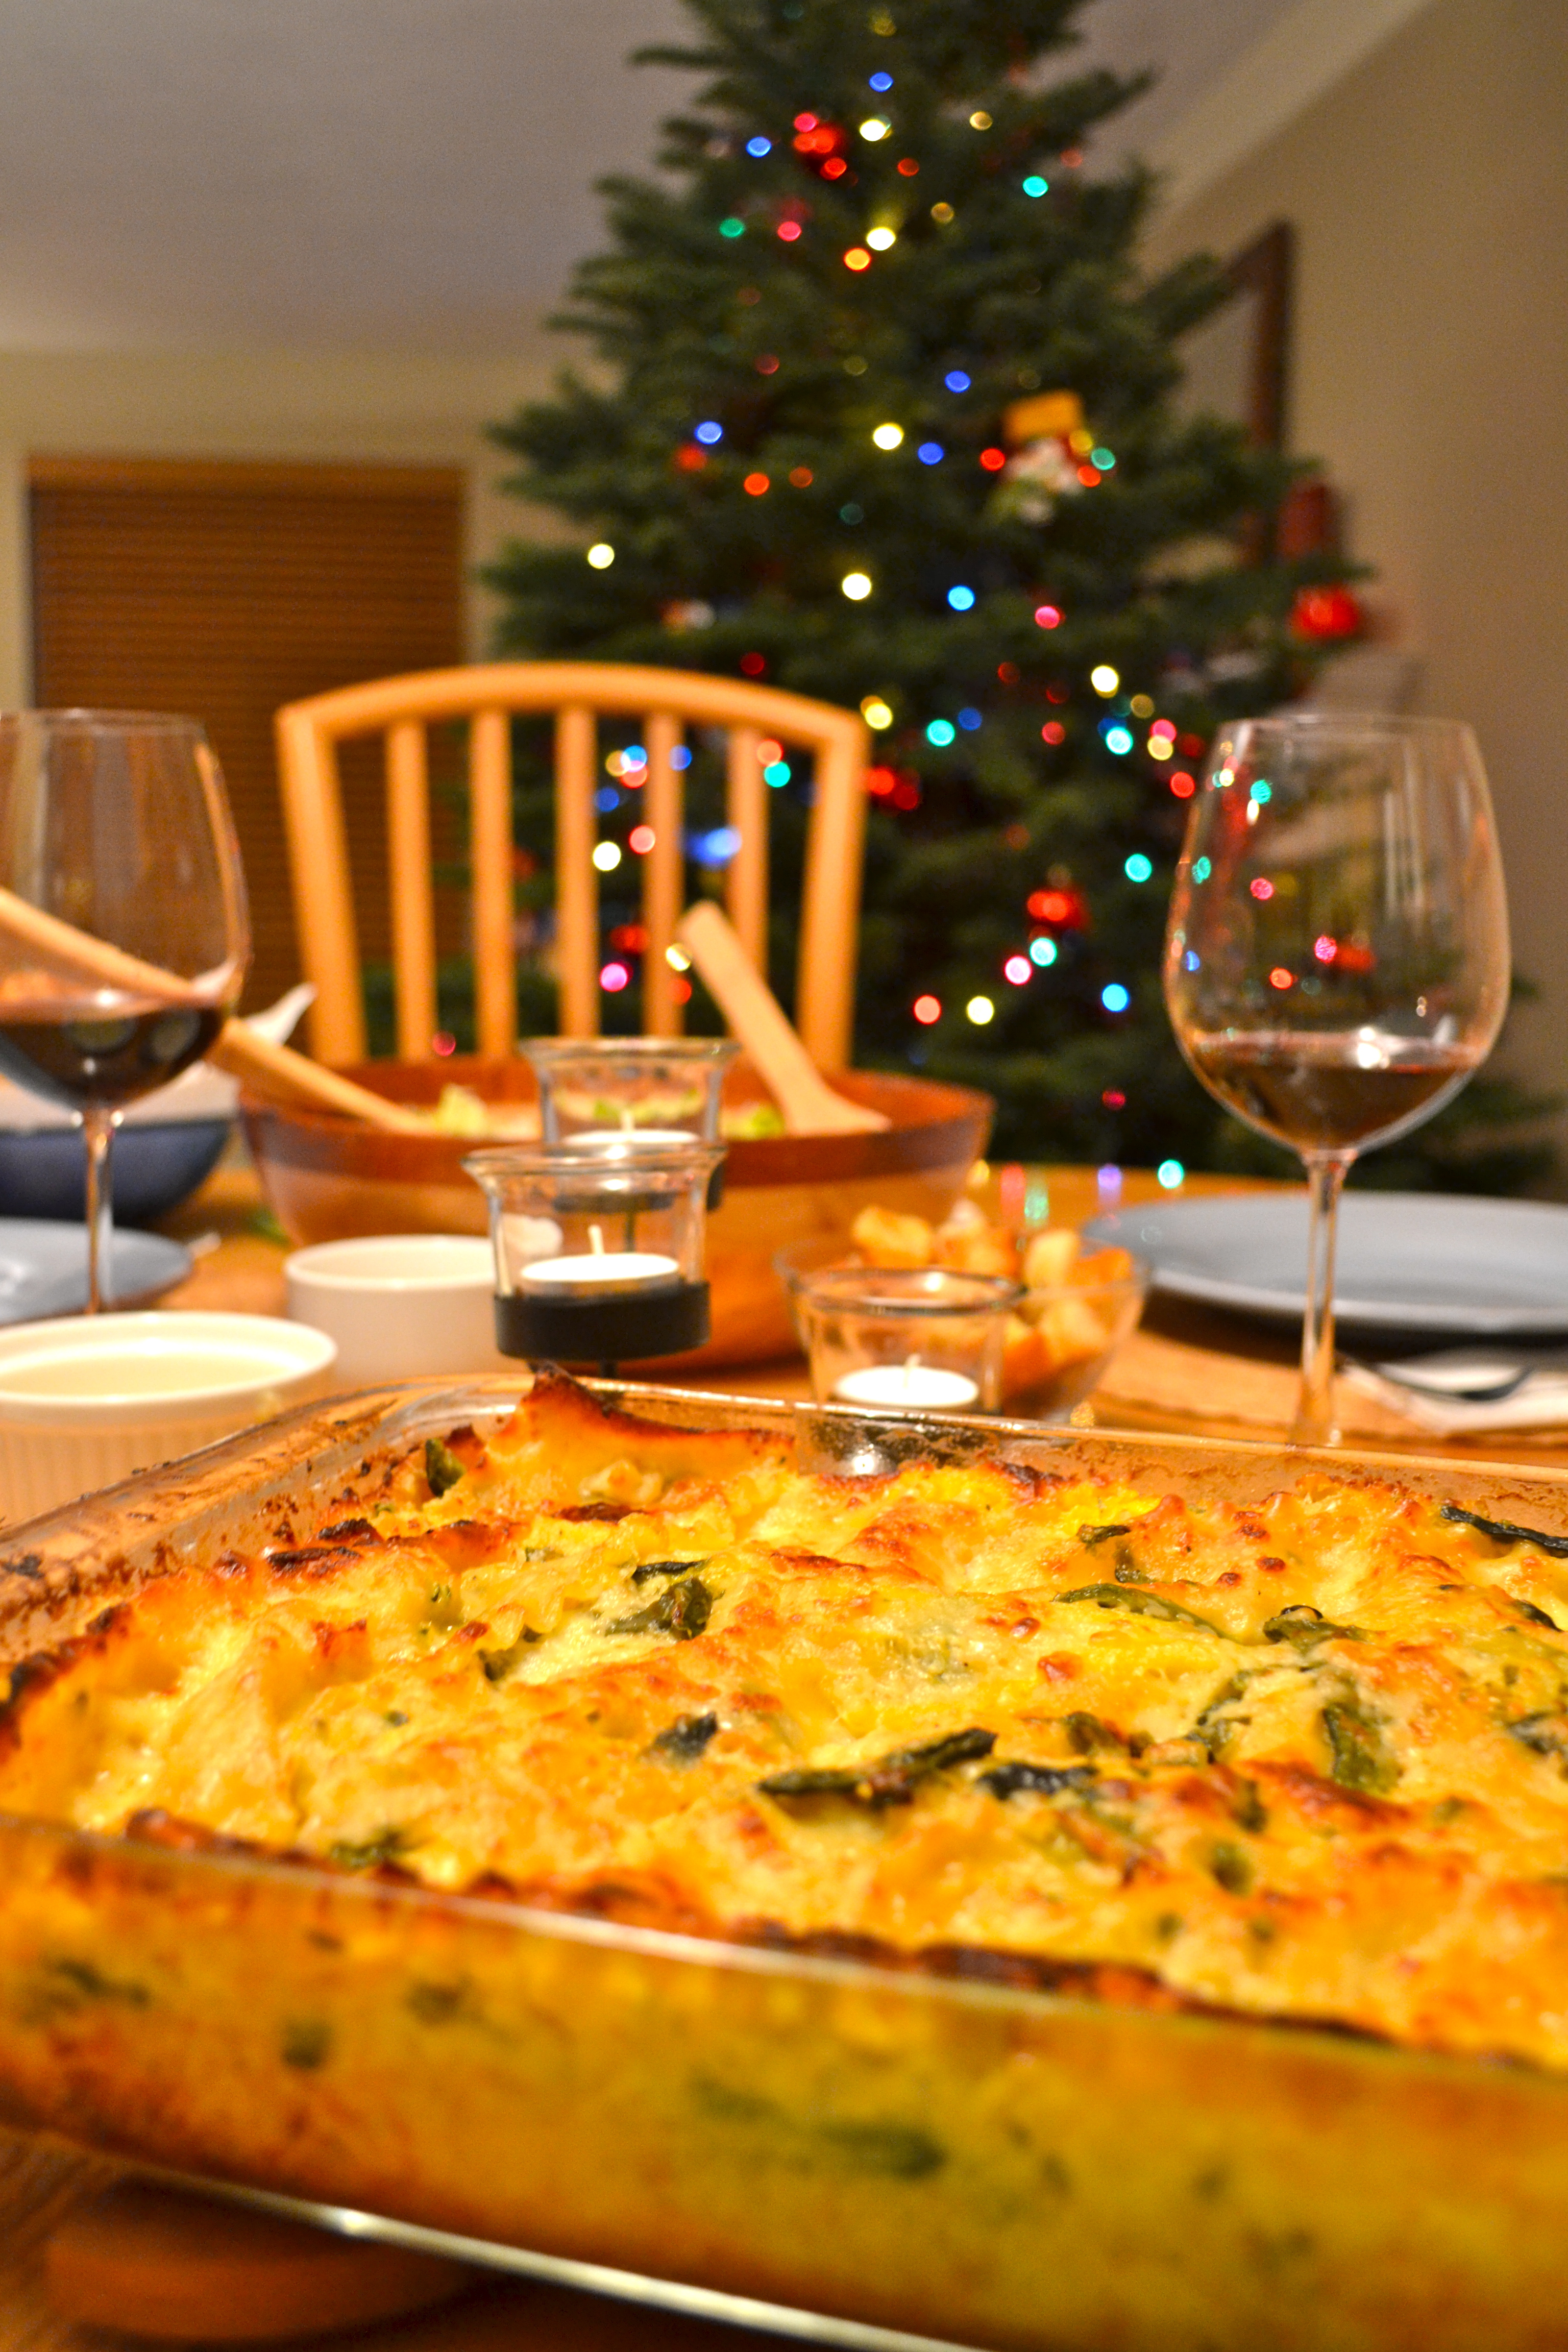
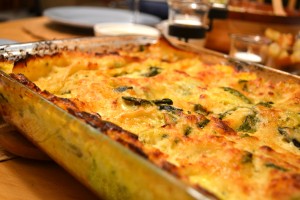
It’s definitely not a traditional lasagna with sausage and tomato sauce… this has a corn cream sauce and is loaded with veggies so it is even on the healthier side!
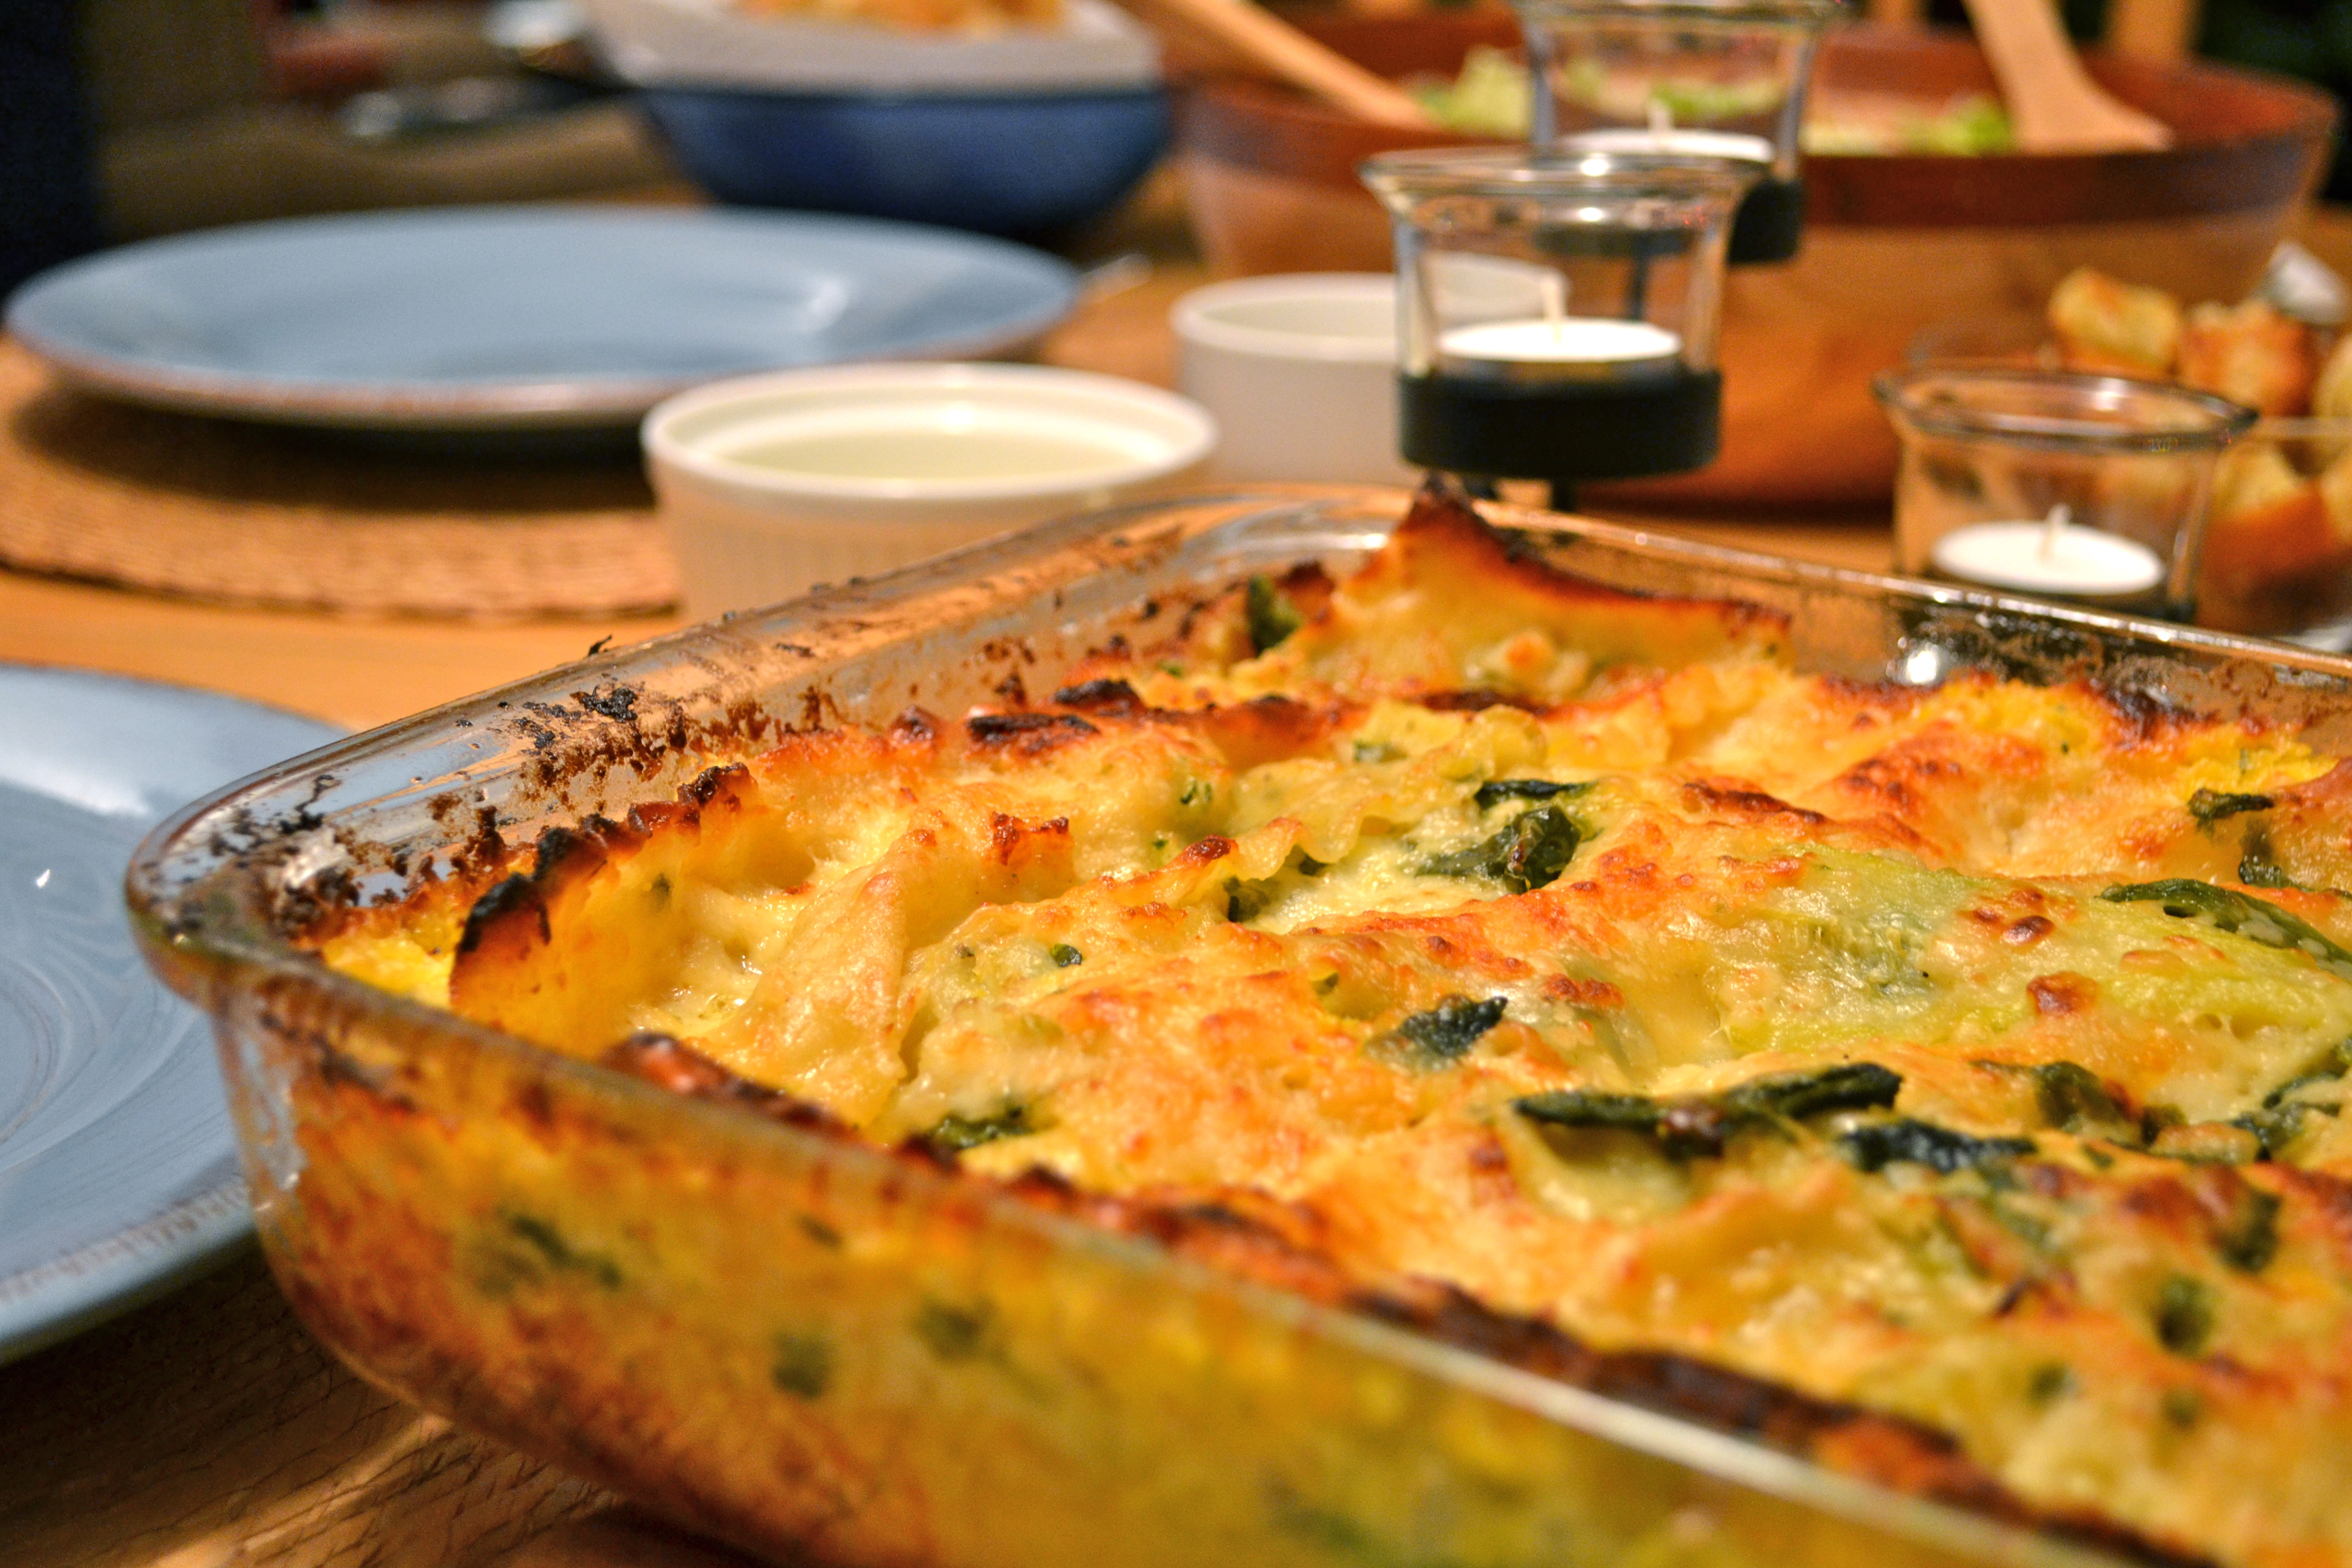
Corn and Poblano Lasagna
Recipe from Food Network Magazine
Makes one 9×13 – serves 8-10
Ingredients
4 poblano chile peppers
4 tablespoons unsalted butter
3 cloves garlic, minced
2 cups frozen corn kernels (thawed)
2 cups heavy cream
1 teaspoon fresh thyme
Kosher salt and freshly ground pepper
1/2 cup thinly sliced white onion
1 large zucchini, thinly sliced lengthwise
12 (7-by-3-inch) no-boil lasagna sheets
2 cups shredded Oaxaca or mozzarella cheese
Preheat the broiler. Halve the poblanos lengthwise and remove the stems and seeds. Place cut-side down on a baking sheet and broil until browned in spots, about 5 minutes. Transfer to a bowl, cover with a plate and set aside 5 minutes. Peel off the skin with your fingers, then cut the peppers into 1-inch strips.
Melt 2 tablespoons butter in a medium heavy saucepan over medium heat. Add 2 minced garlic cloves and saute 1 minute. Mix in the corn and saute 5 minutes. Stir in the cream and thyme, reduce the heat to medium low and cook 5 minutes to let the flavors incorporate. Turn off the heat and let cool slightly, then transfer to a blender and puree until smooth. Add 1/4 teaspoon salt, and pepper to taste.
Preheat the oven to 350 degrees F. Heat the remaining 2 tablespoons butter in a medium heavy skillet over medium heat. Add the onion and saute until translucent, about 5 minutes. Add the remaining minced garlic clove and cook 1 minute. Mix in the zucchini and poblano strips and cook 5 minutes; season with salt and pepper.
Spread about one-quarter of the corn mixture in the bottom of an 8-by-11-inch baking dish. Cover with 3 lasagna sheets. Layer one-quarter each of the poblano mixture and cheese over the pasta. Repeat the layering 3 more times. Cover with aluminum foil.
Bake until the pasta is tender, about 50 minutes. Turn on the broiler. Remove the foil and broil until golden brown and bubbly, 8 to 10 minutes. Let stand 15 minutes before serving.