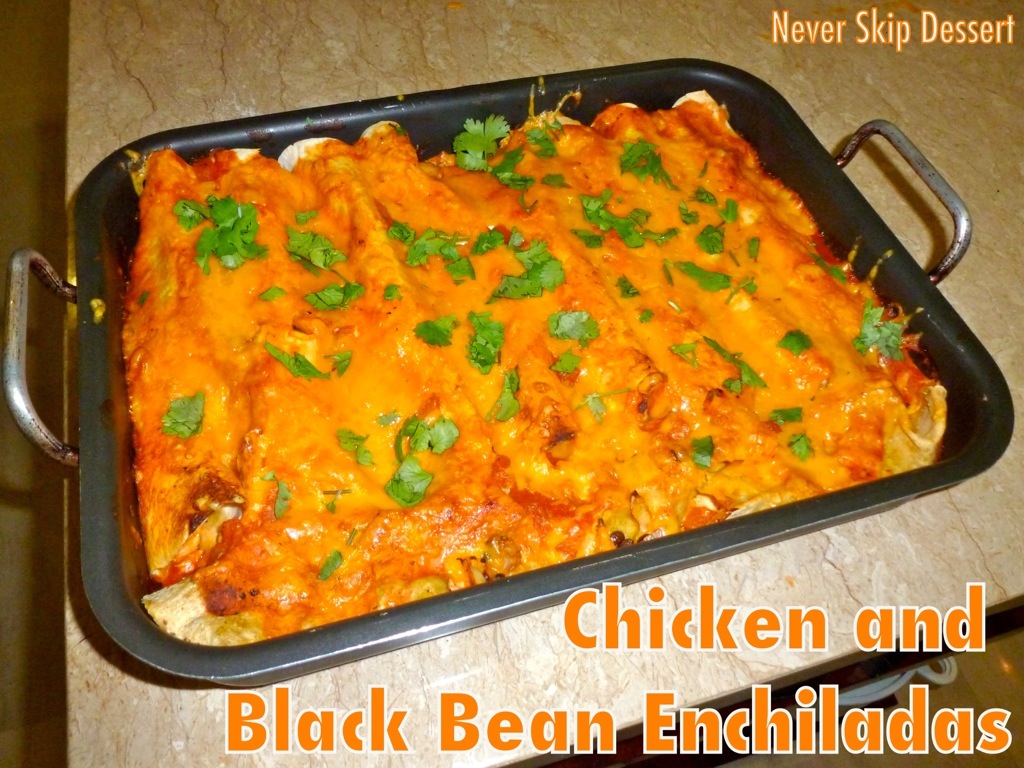
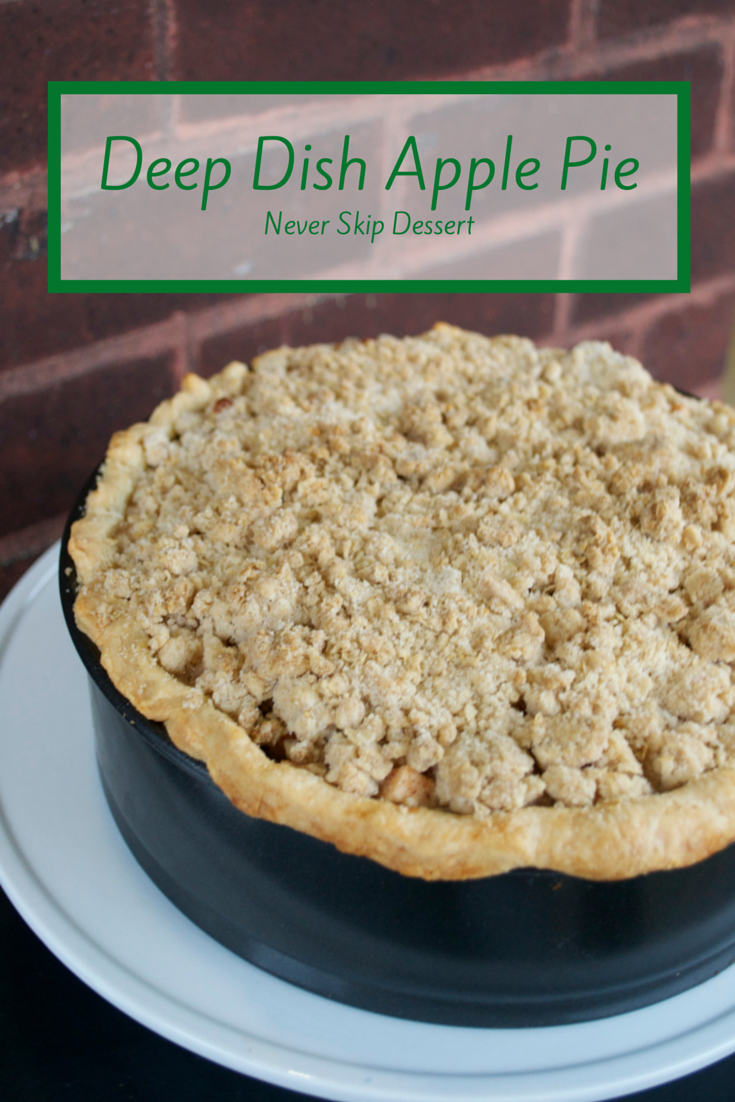
Indonesia cooking marathon #2 occurred Sunday! We cooked and baked all afternoon, in their hot, unair-conditioned kitchen – and had a blast! The menu was a bit of everything and it turned into a delicious meal!
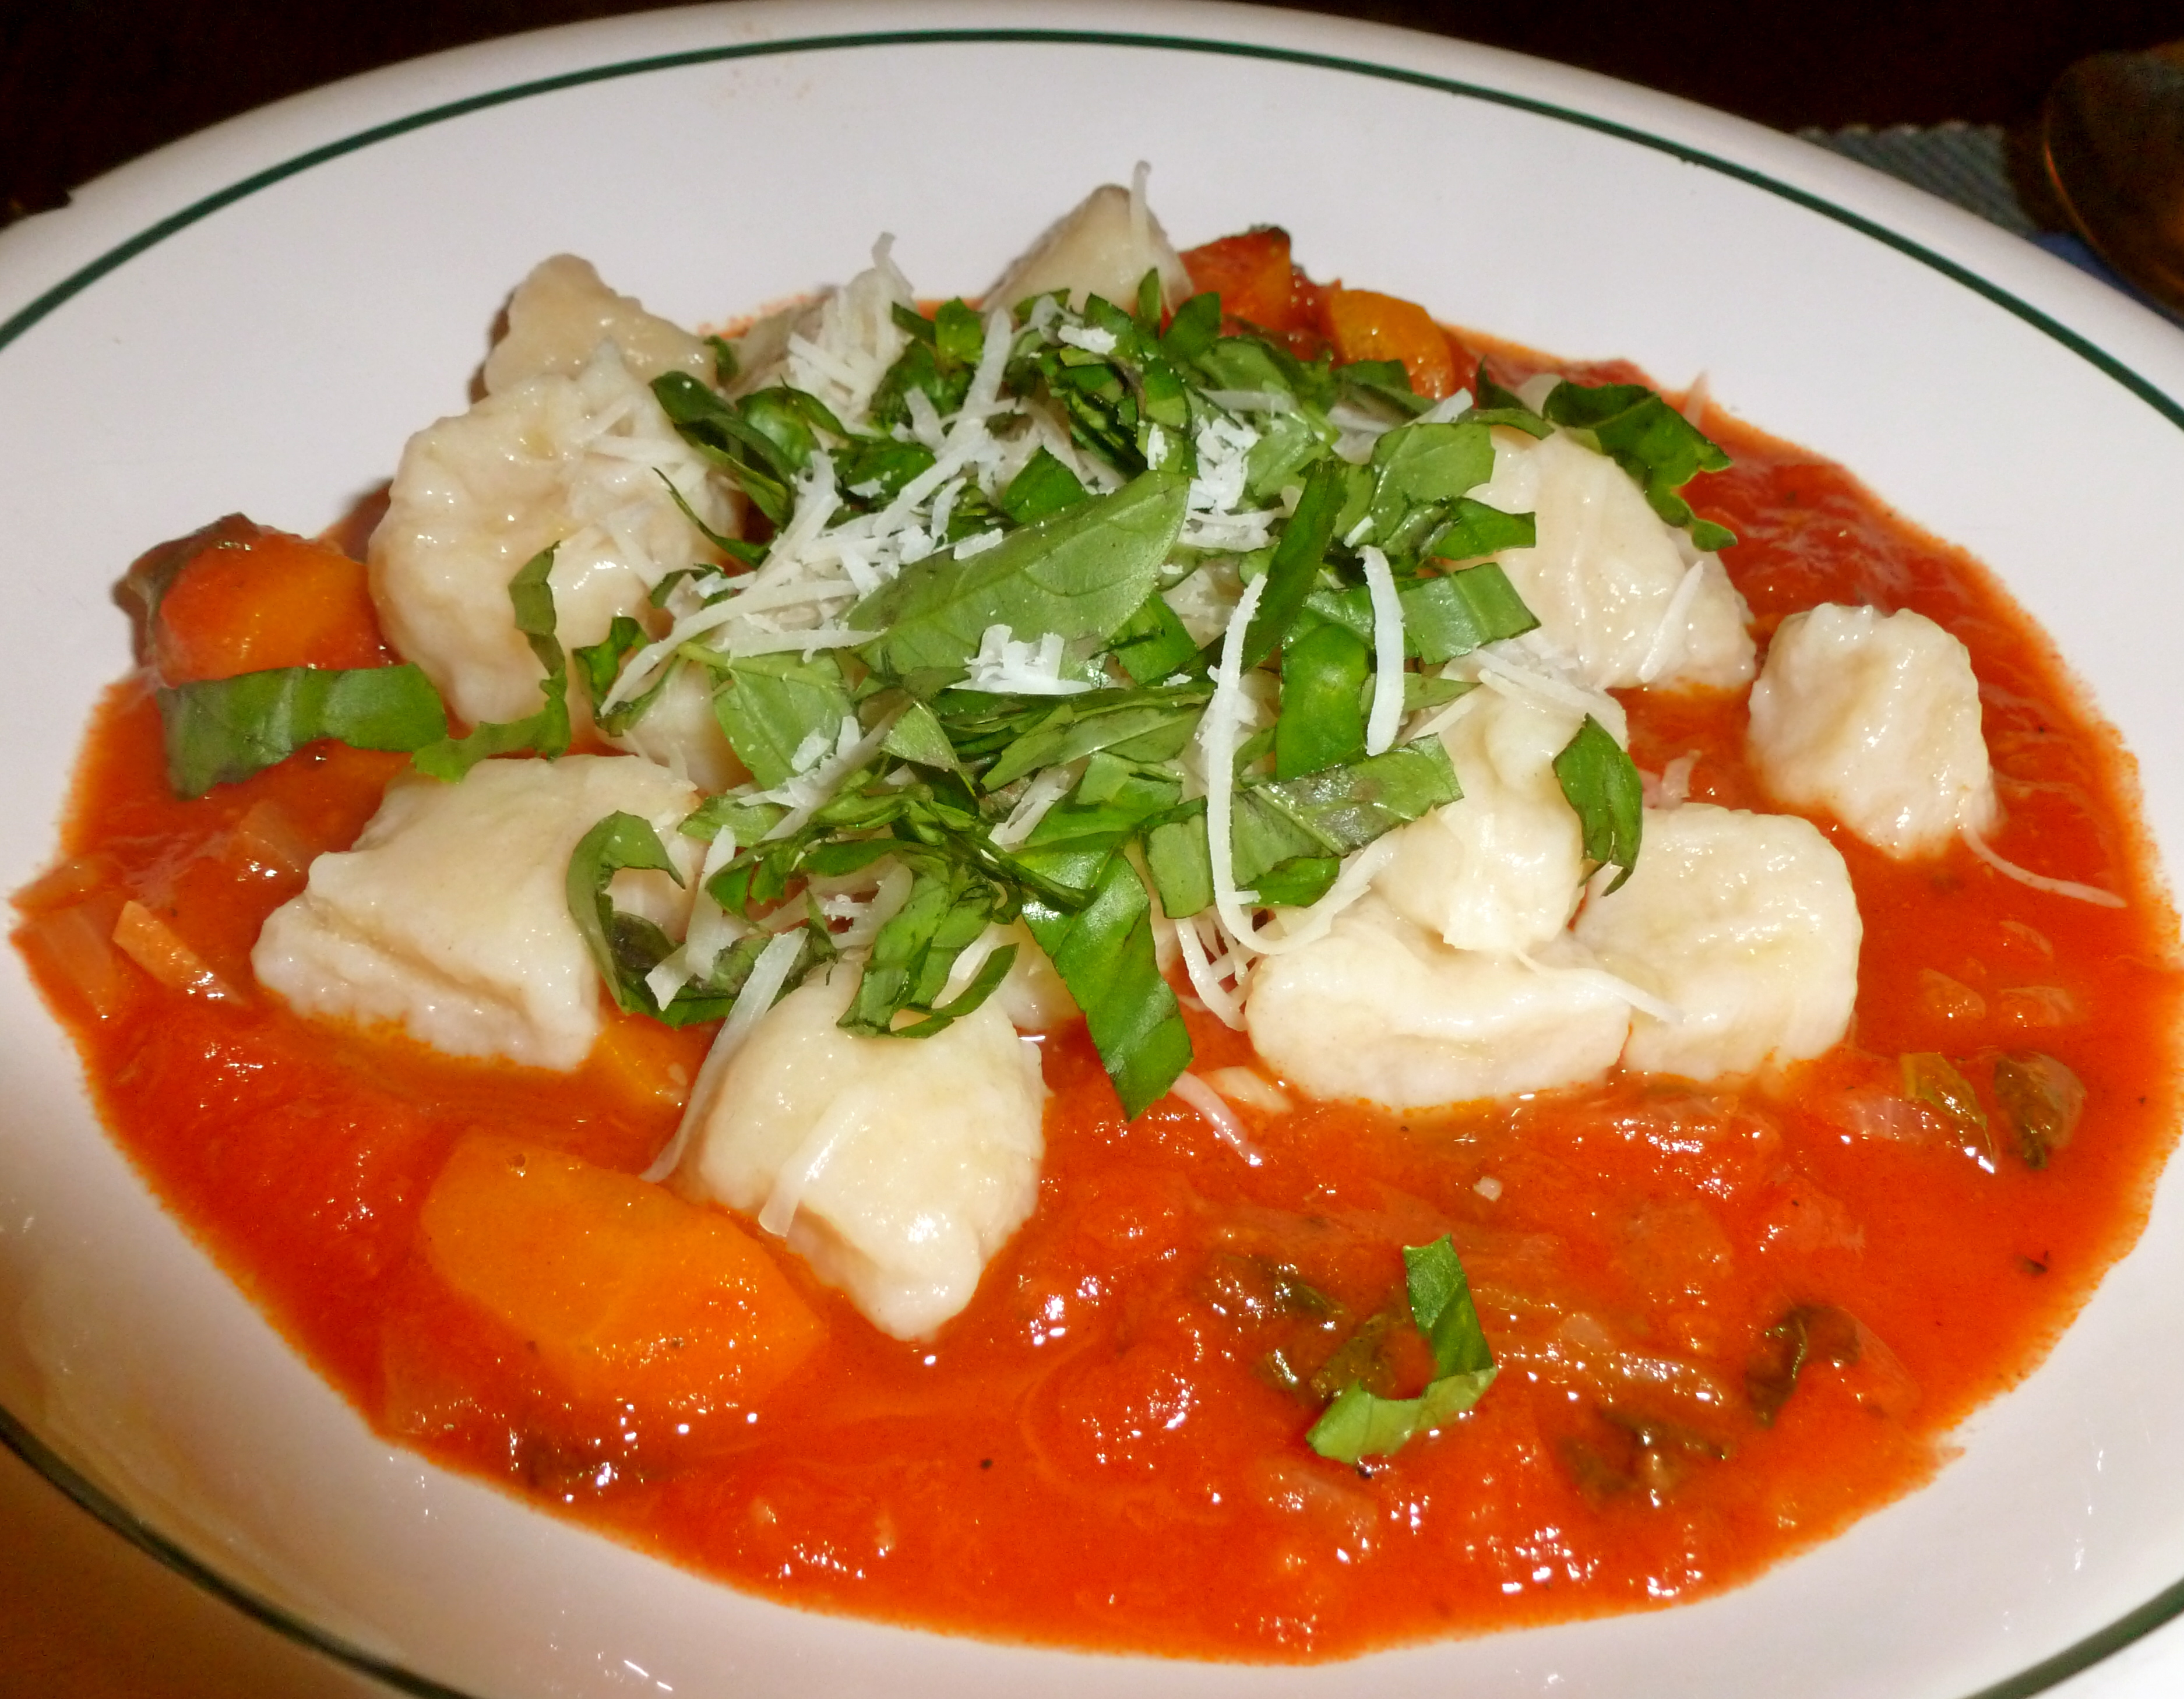
The main dish was roasted sweet pepper rolls with caper-pinenut stuffing, served with a garlic cream sauce, lemon risotto and sugar snaps. These sweet peppers were QUITE a process but I really enjoyed them in the end – and I always love a good cooking challenge! The lemon risotto has a separate post because it was quite outstanding and thus, deserves its own post! On the other hand, the garlic cream sauce wasn’t all that great – and the dish would have been fine without it – so I’m not even going to include it here. The sugar snaps were just barely steamed, but added a great crunchy texture to the dish. Overall, recipe #1 of this marathon was a success!
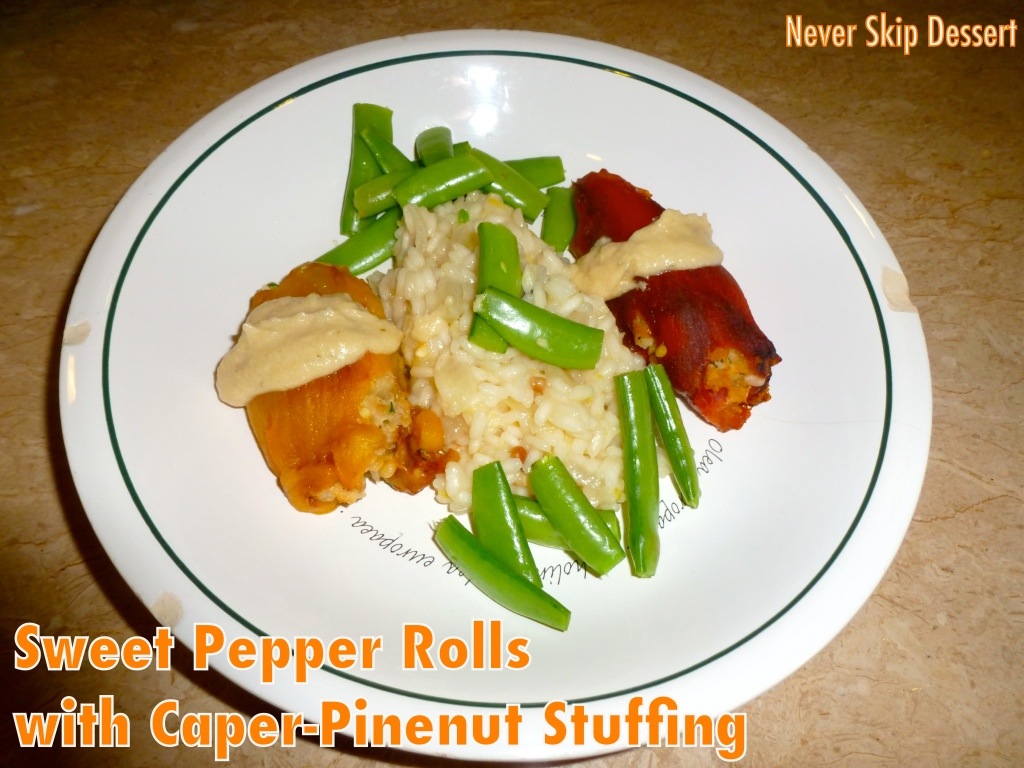
Roasted Sweet Pepper Rolls with Caper-Pinenut Stuffing
Recipe from The Cafe Paradiso Cookbook
Serves 4
Ingredients:
1 onion, finely chopped
2 garlic cloves, finely chopped
1 tablespoon butter
1/3 cup heavy cream
1 teaspoon Dijon mustard
1/4 cup pine nuts
1/4 cup capers
2/3 cup breadcrumbs
fresh parsley, chopped
Black pepper, to taste
6 red or yellow peppers
Serve with risotto and sugar snaps
Directions:
1. Melt the butter over medium heat in a medium saucepan. Add the onion and garlic and cook until onion has softened, about 5 minutes. Add cream and mustard and bring mixture to a boil, the reduce the heat and let simmer for about five minutes to thicken. Allow sauce to cool, then stir in pine nuts, capers, breadcrumbs, and parsley. Season with black pepper.
2. Meanwhile, roast the peppers in a 400 degree oven for 30-40 minutes, or until blistered. Remove from oven and place in a large bowl and cover with a plate to allow them to steam and the skins to begin to peel off. After 5 minutes, remove the rest of the peel and slice peppers in half.
3. To stuff the peppers, place a few teaspoons of filling on the edge of each pepper and carefully roll it up. Place the pepper, seam side down, on a baking dish and repeat with all the peppers. Brush lightly with olive oil and bake at 350 for ten minutes.
4. While peppers are baking, steam the sugar snaps for 3-4 minutes, just barely cooking them. Serve the peppers with lemon risotto (next post) and sugar snaps!


