Again, I must apologize for my long blogging absence. I have been busy working crazy hours (4am shifts!), driving between Lynnwood and Renton, trying out new “real food” recipes, and spending some quality time with my friends and family before I head back to school!
But in this long absence, I’ve tried tons of great recipes and I am finally going to share them with you! Today, we’ve got a Potato Salad with Green Beans and Salsa Verde. I made this twice in one week it was so good! It’s a “real food” recipe because it is just vegetables and herbs, but don’t underestimate this dish – the salsa verde is outstanding and takes this dish from good to great!
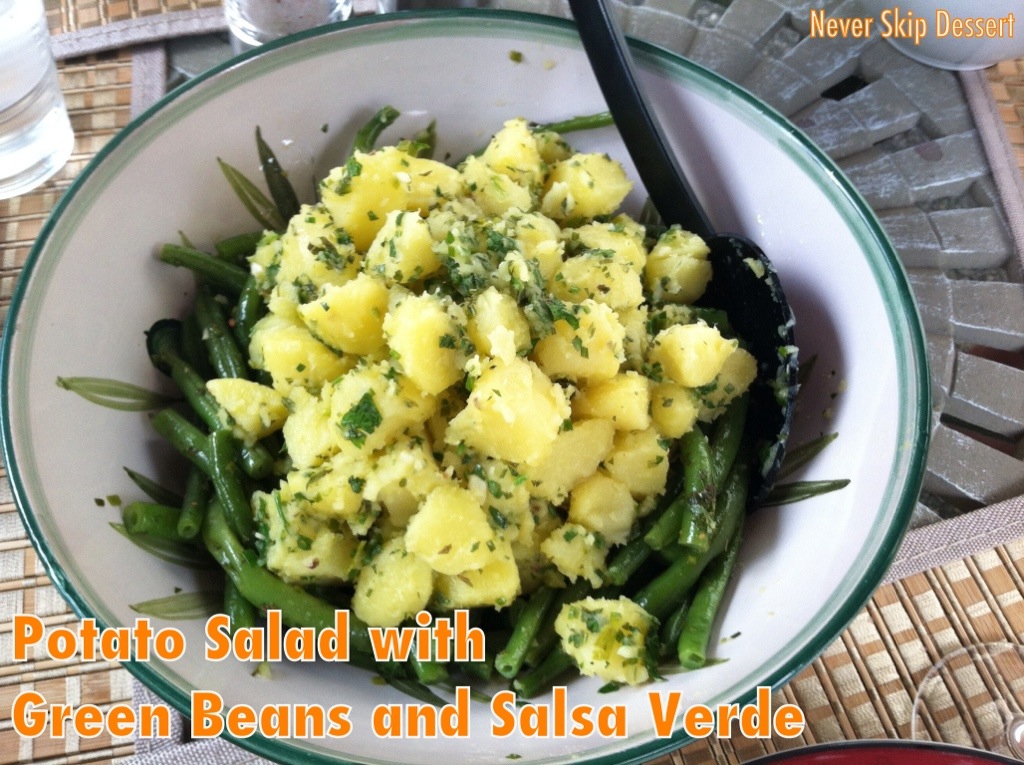
Potato Salad with Green Beans and Salsa Verde
Serves 5
Recipe from FoodandWine
Ingredients:
1/4 cup extra virgin olive oil
1/4 cup minced chives
1/4 cup finely chopped parsley
2 tablespoons finely chopped mint
1 teaspoon finely grated lemon zest
2 tablespoons fresh lemon juice
1 large garlic clove, minced
Sea salt
1 1/4 lbs Yukon Gold Potatoes, peeled and cut into 1-inch cubes
2 tablespoons unsalted butter
1 1/2 lbs green beans, trimmed
Directions:
1. Prepare salsa verde: In a medium bowl, combine the olive oil with the chives, parsley, mint, lemon zest, lemon juice and garlic and season with salt. Let it stand at room temperature for 15 minutes to 1 hour.
2. Cook the potatoes: Meanwhile, in a large saucepan, cover the potatoes with cold water, add a large pinch of salt and bring to a boil. Cook the potatoes over moderately high heat until just tender, about 8 minutes; drain and return them to the saucepan. Add 1 tablespoon of the butter and toss to coat. Season with salt.
3. Cook the green beans: While the potatoes are cooking, bring a large pot of salted water to a boil. Add the beans and cook until tender but crisp, about 4 minutes; drain. Return the beans to the pot and stir in the remaining 1 tablespoon of butter. Season with salt.
4. Assemble: add half the salsa verde to the potatoes and half to the green beans, tossing to coat. Transfer the beans to a serving dish and top with the potatoes. Serve right away.