Brussels sprouts do not generally elicit much excitement in an eater. They have a horrible reputation that far precedes them. How many of you have actually eaten brussels sprouts? I hadn’t until just a year ago – I’d gone along with the common school of thought that brussels sprouts were an evil, mushy, horribly-tasting vegetable and to have a pleasant life, you must stay as far away from them as possible.
Well, last year my roommate discovered that I’d never had Brussels sprouts and she was adamant that I change that. Reluctantly, I let her make me some – and lo and behold, I tasted one and thought, where have these been all my life? There’s nothing evil, mushy, or horrible about them! In fact, they are a little bit crunchy, very flavorful and quite delicious! What do ya know? 🙂
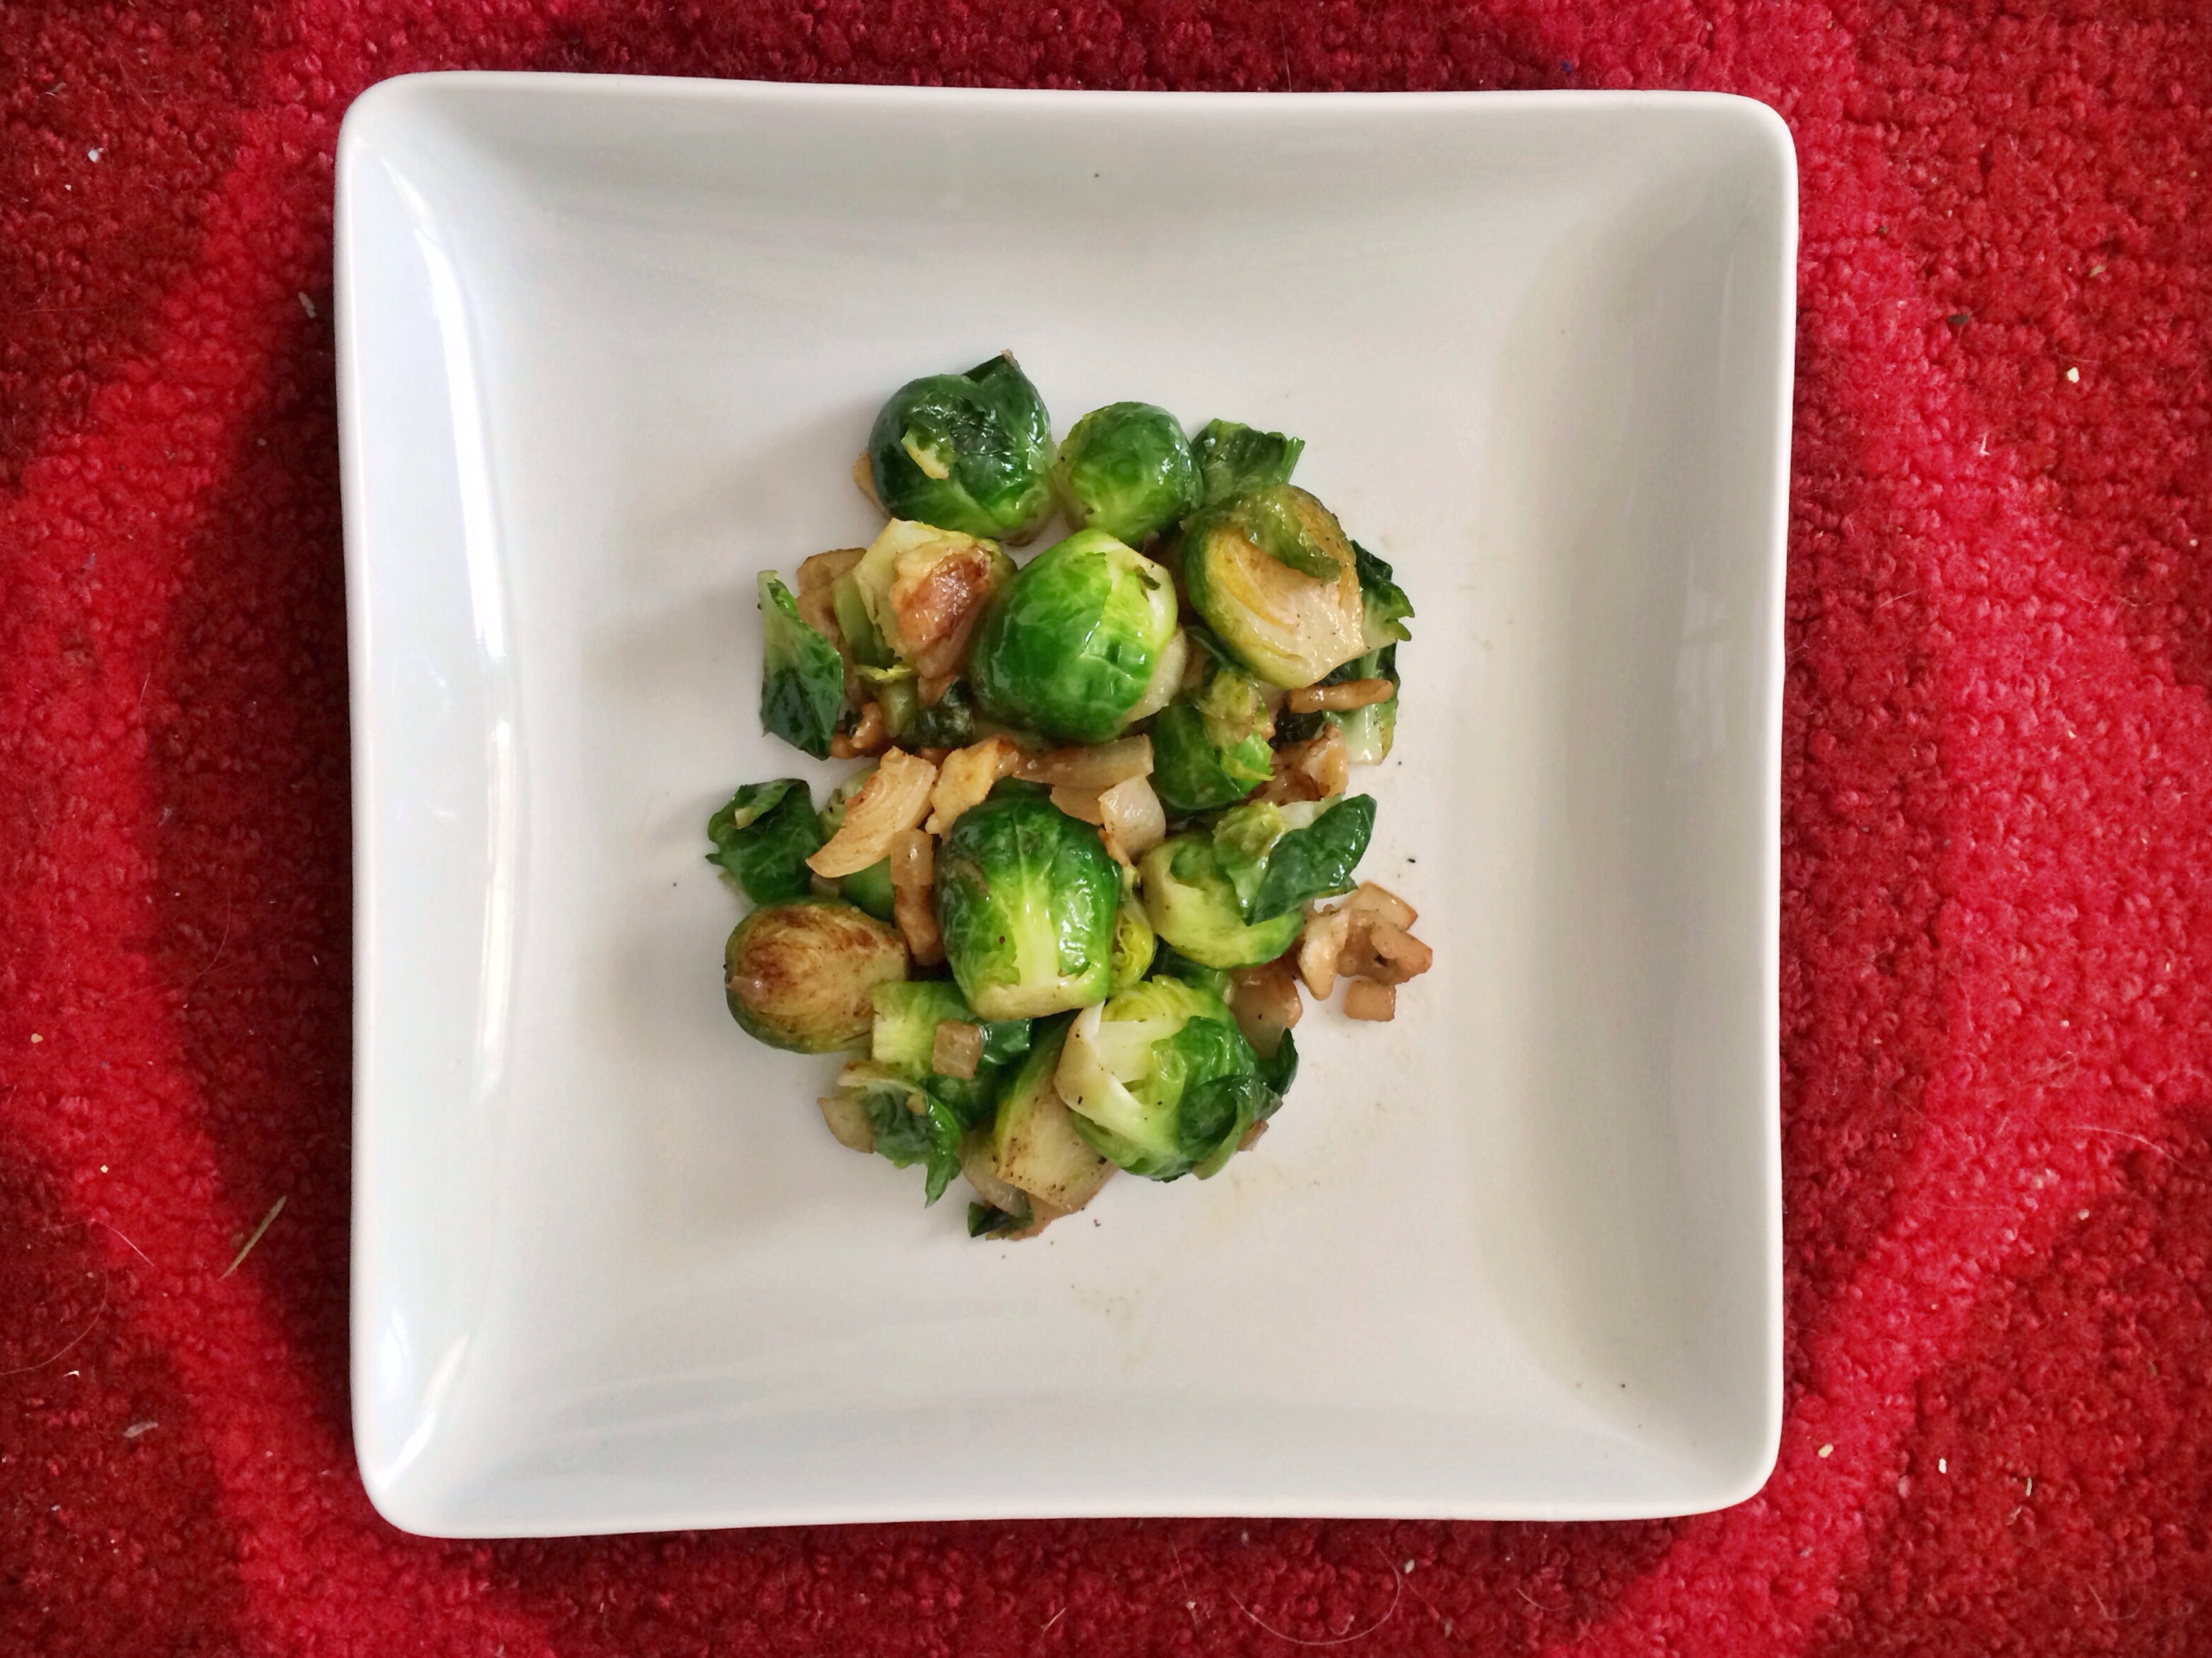
So here’s an easy, quick, and delicious brussels sprouts recipe that is sure to make you love them too. The title makes it sound sweet – but I added enough salt, pepper and garlic powder to balance it out so it weighs more heavily on the savory side. I created this recipe based off of a dish from a restaurant in Bellevue, called Palomino. They turned out great – and I’ll definitely be making them often! Here’s another recipe I’ve got that uses brussels sprouts, this butternut squash sauce pasta with brussels sprouts,
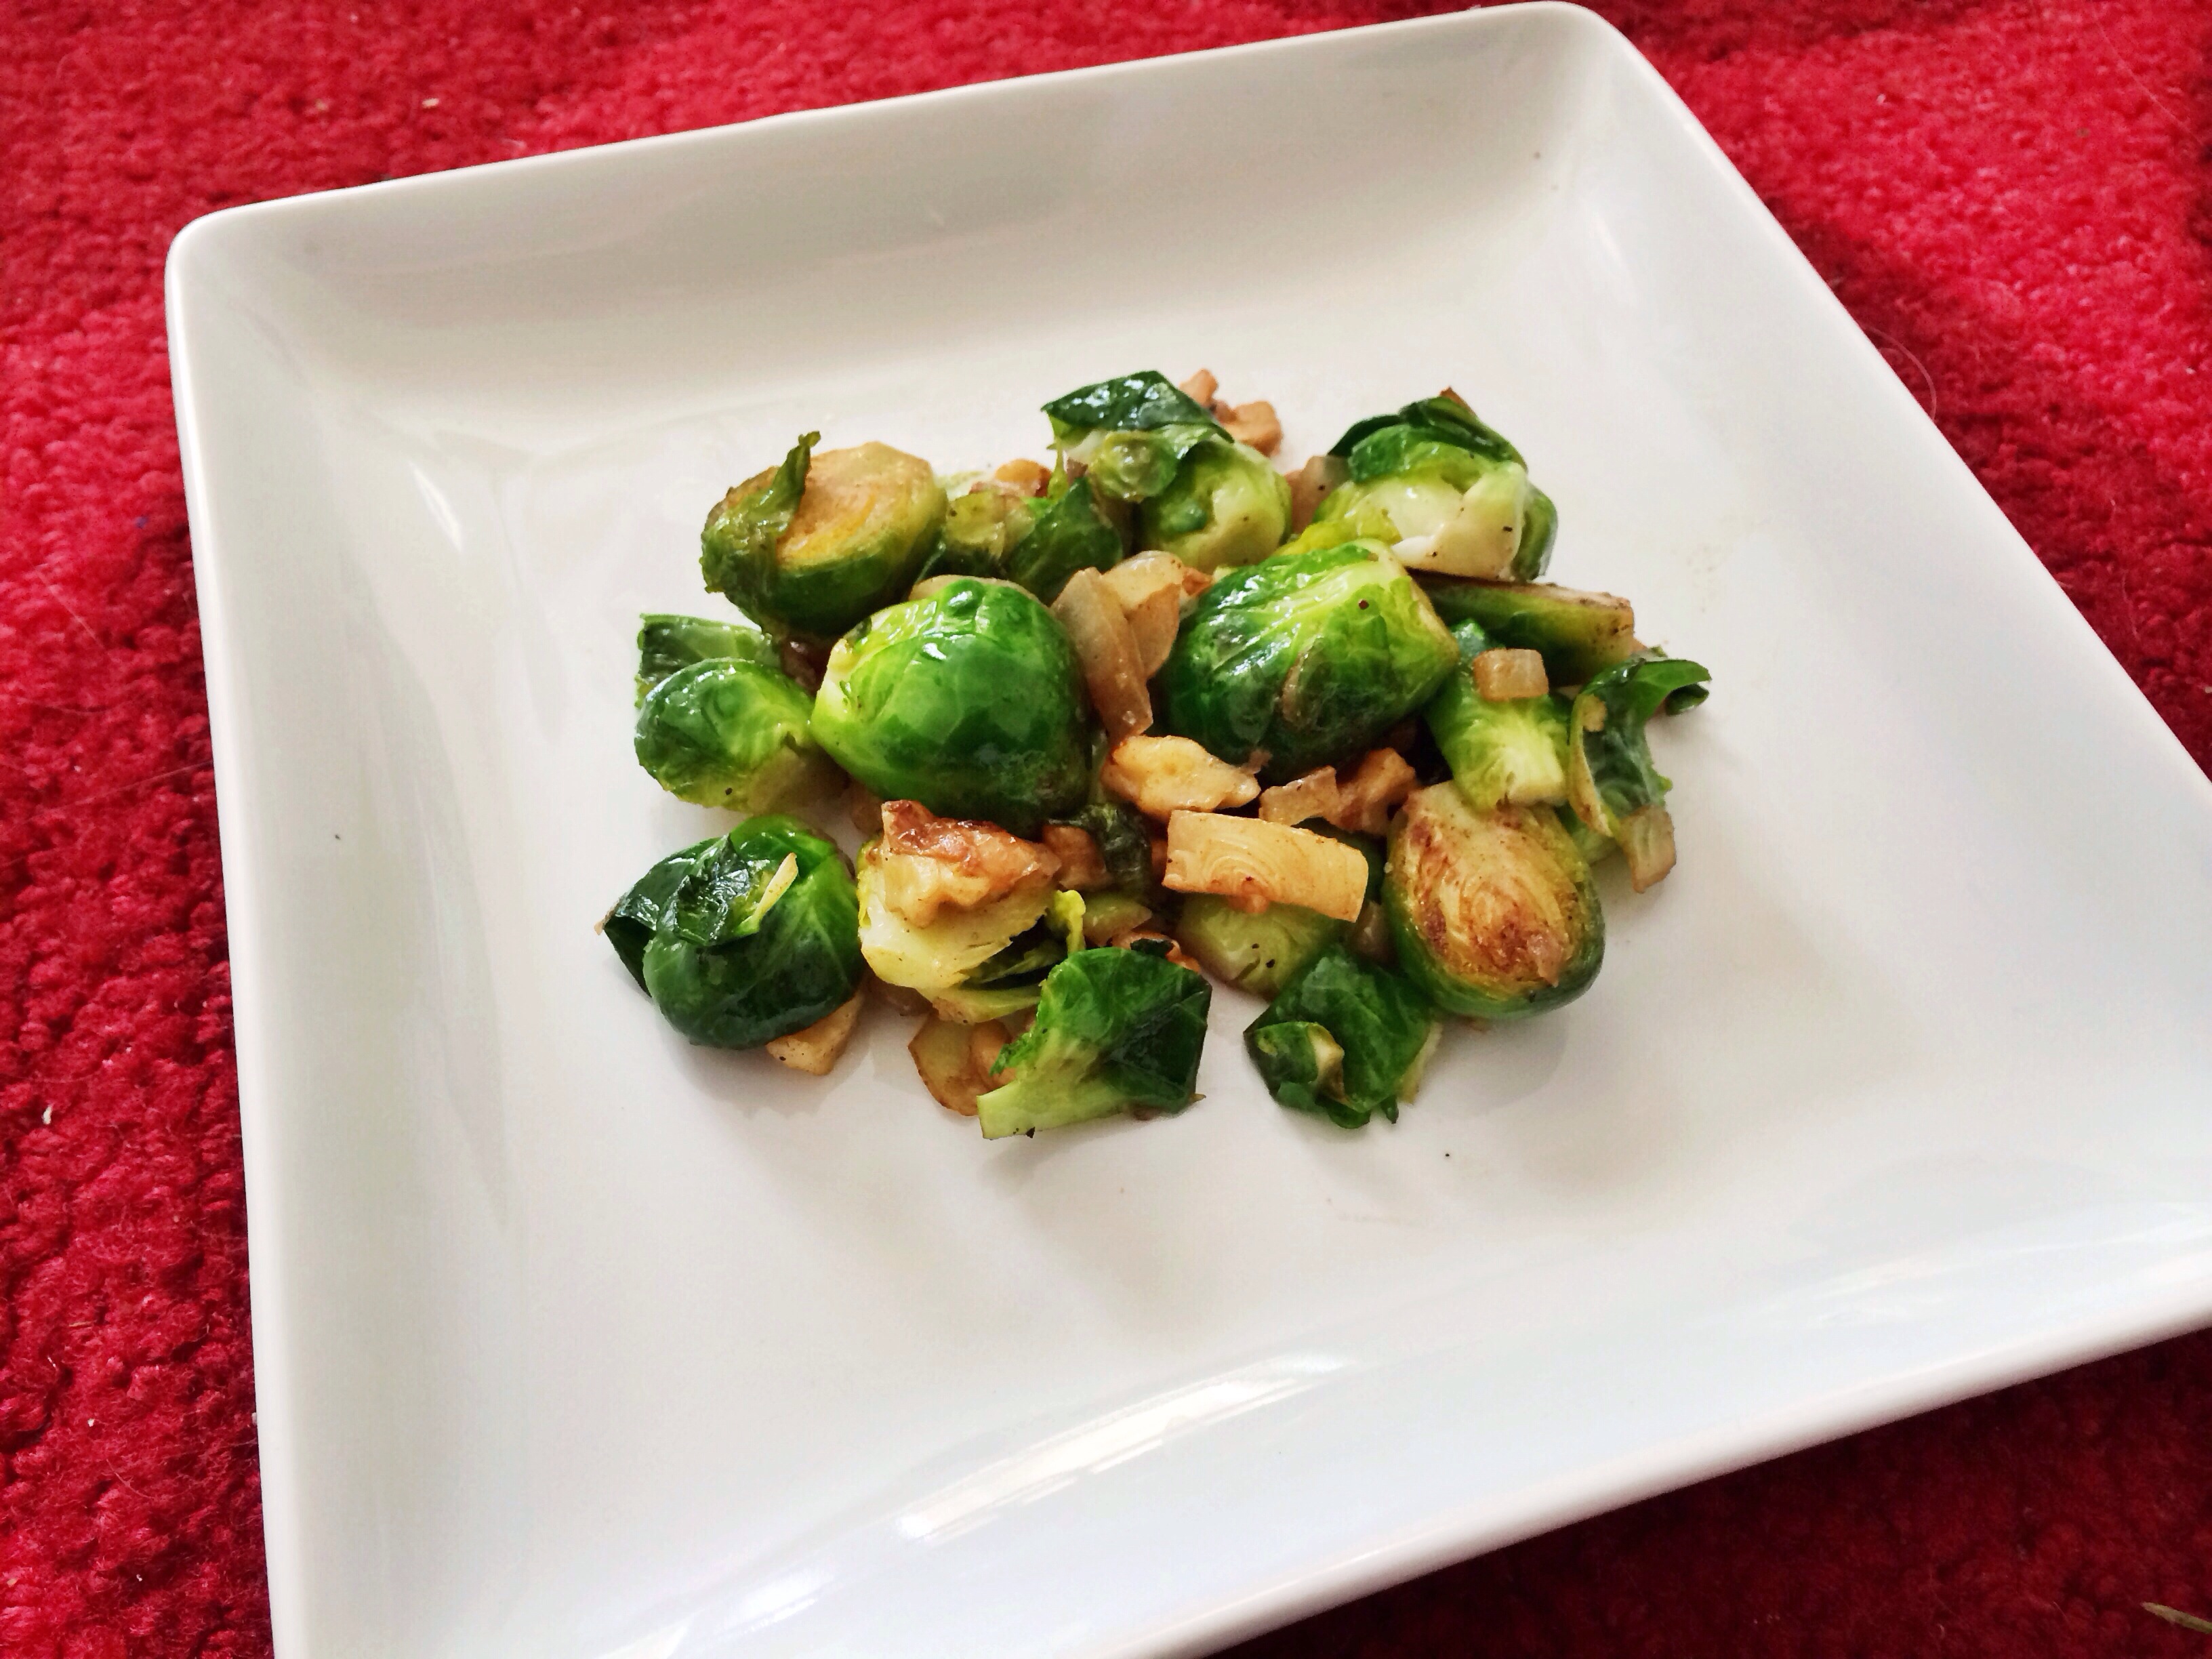
Brown Butter Vanilla Brussels Sprouts
Recipe inspired by Palomino’s “Brussels Sprouts in Vanilla Butter”
Serves 2
3 tablespoons butter, divided
3/4 cup onions, diced
1 1/2 teaspoon vanilla extract, divided
1 lb Brussels sprouts (about 20), washed, ends trimmed and then halved
1/2 teaspoon garlic powder, roughly
1/4 cup walnuts
Salt and pepper, to taste
1. In a medium skillet, melt two tablespoons butter over medium heat. Watching carefully, let it cook until it begins to brown. Let it brown for about 20 seconds and then add the onions and sauté for three minutes. Add 1 tablespoon vanilla extract and cook for an additional minute.
2. Add brussels sprouts and cook for about five minutes, until sprouts are beginning to brown and are getting soft. Add last tablespoon butter, 1/2 teaspoon vanilla extract, walnuts, garlic powder and salt and pepper to taste (start with just a little salt and pepper and continue to taste it as you add more. I wanted it more savory than sweet so ended up adding a good bit of salt and pepper in the end) Allow it all to cook together for another 2 minutes then remove from heat and serve immediately.